GPU Passthrough On FreeBSD 14.3-RELEASE - Gaming in a Virtual Machine - AMD CPU/GPU + Windows 10 Pro
Author: Jonathan Vasquez <jon@xyinn.org>
Last Updated: 2025-10-18-1800
Running: FreeBSD 14.3-RELEASE-p2 GENERIC amd64
pub fn main() !void
The below documentation shows how to get a working GPU Passthrough setup for the following configuration primarily for gaming, but can also be used for other tasks requiring 3D acceleration:
- CPU:
AMD Ryzen 9 7950X 16-Core Processor - GPU:
AMD Radeon RX 6900 XT - Host OS:
FreeBSD 14.3-RELEASE - Guest OS:
Windows 10 Pro - Hypervisor:
bhyve - Bhyve Firmware:
1.0_2
This will not work for Intel/NVIDIA as is. You will need to tweak some of my instructions for your specific config.
I want to give a shout out to Corvin Köhne. He has done a lot of work over the years to make all of this possible on FreeBSD. Thank you for everything and thanks for answering my questions :).
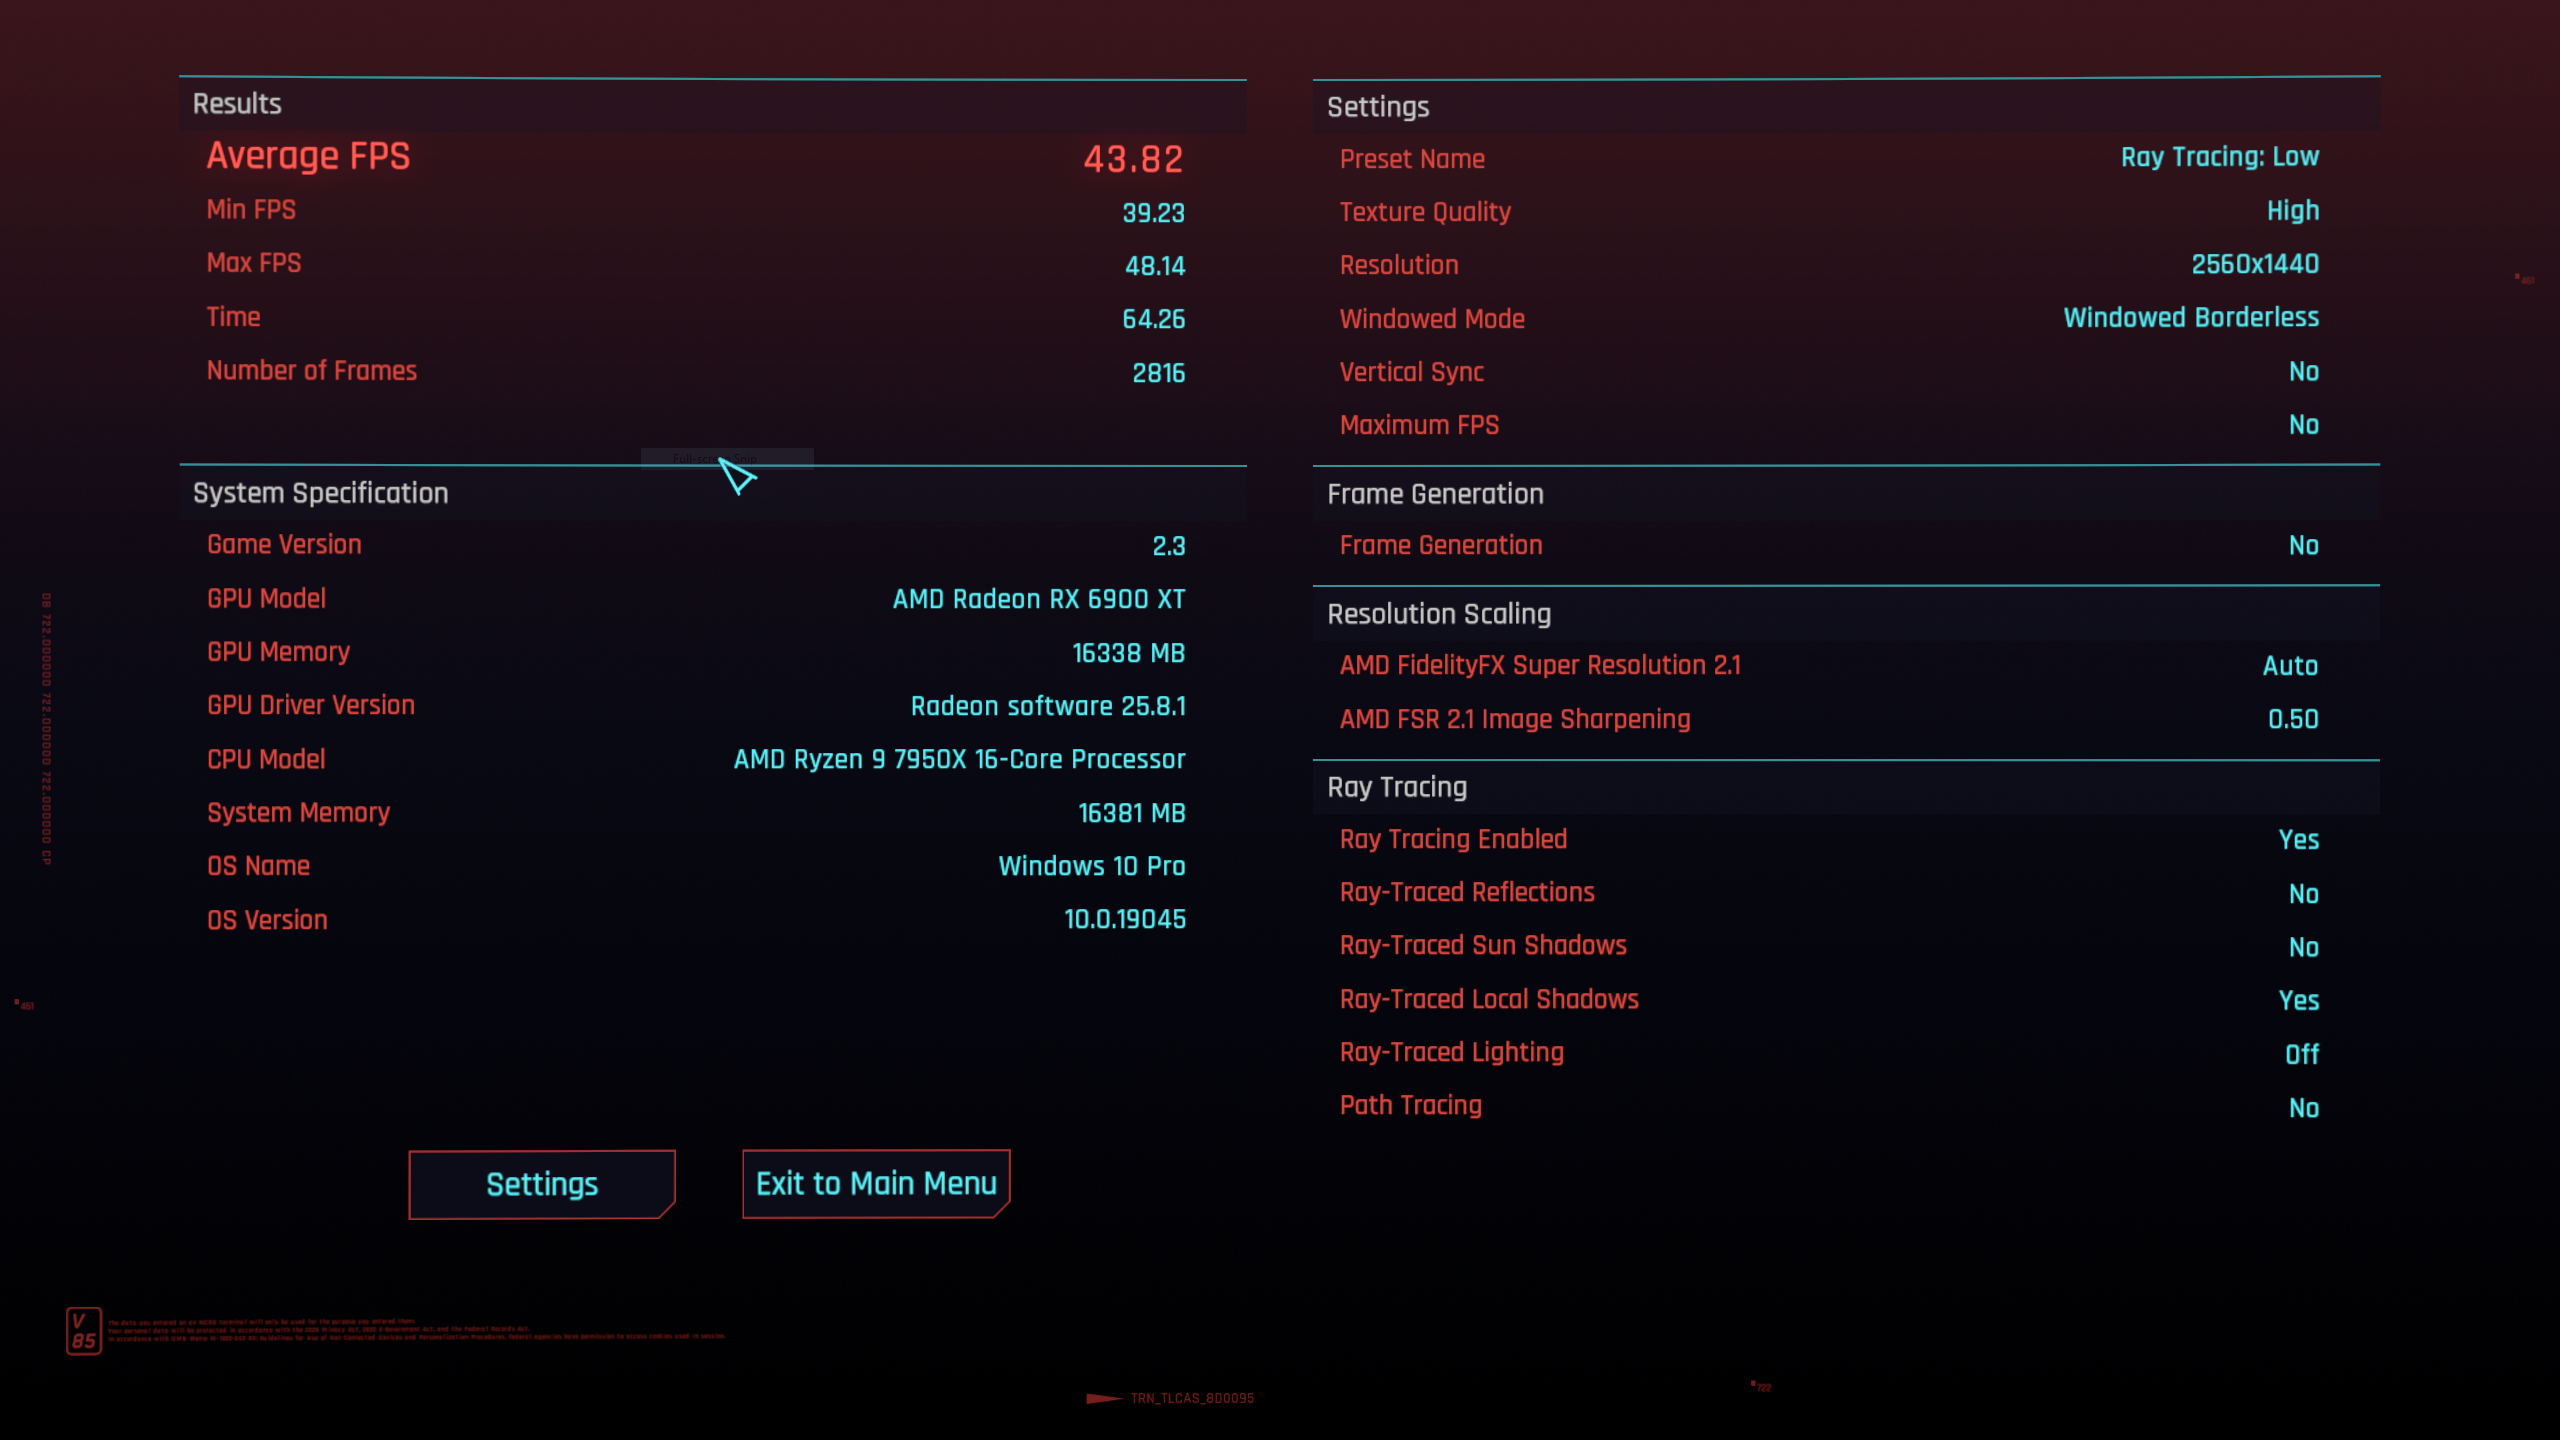
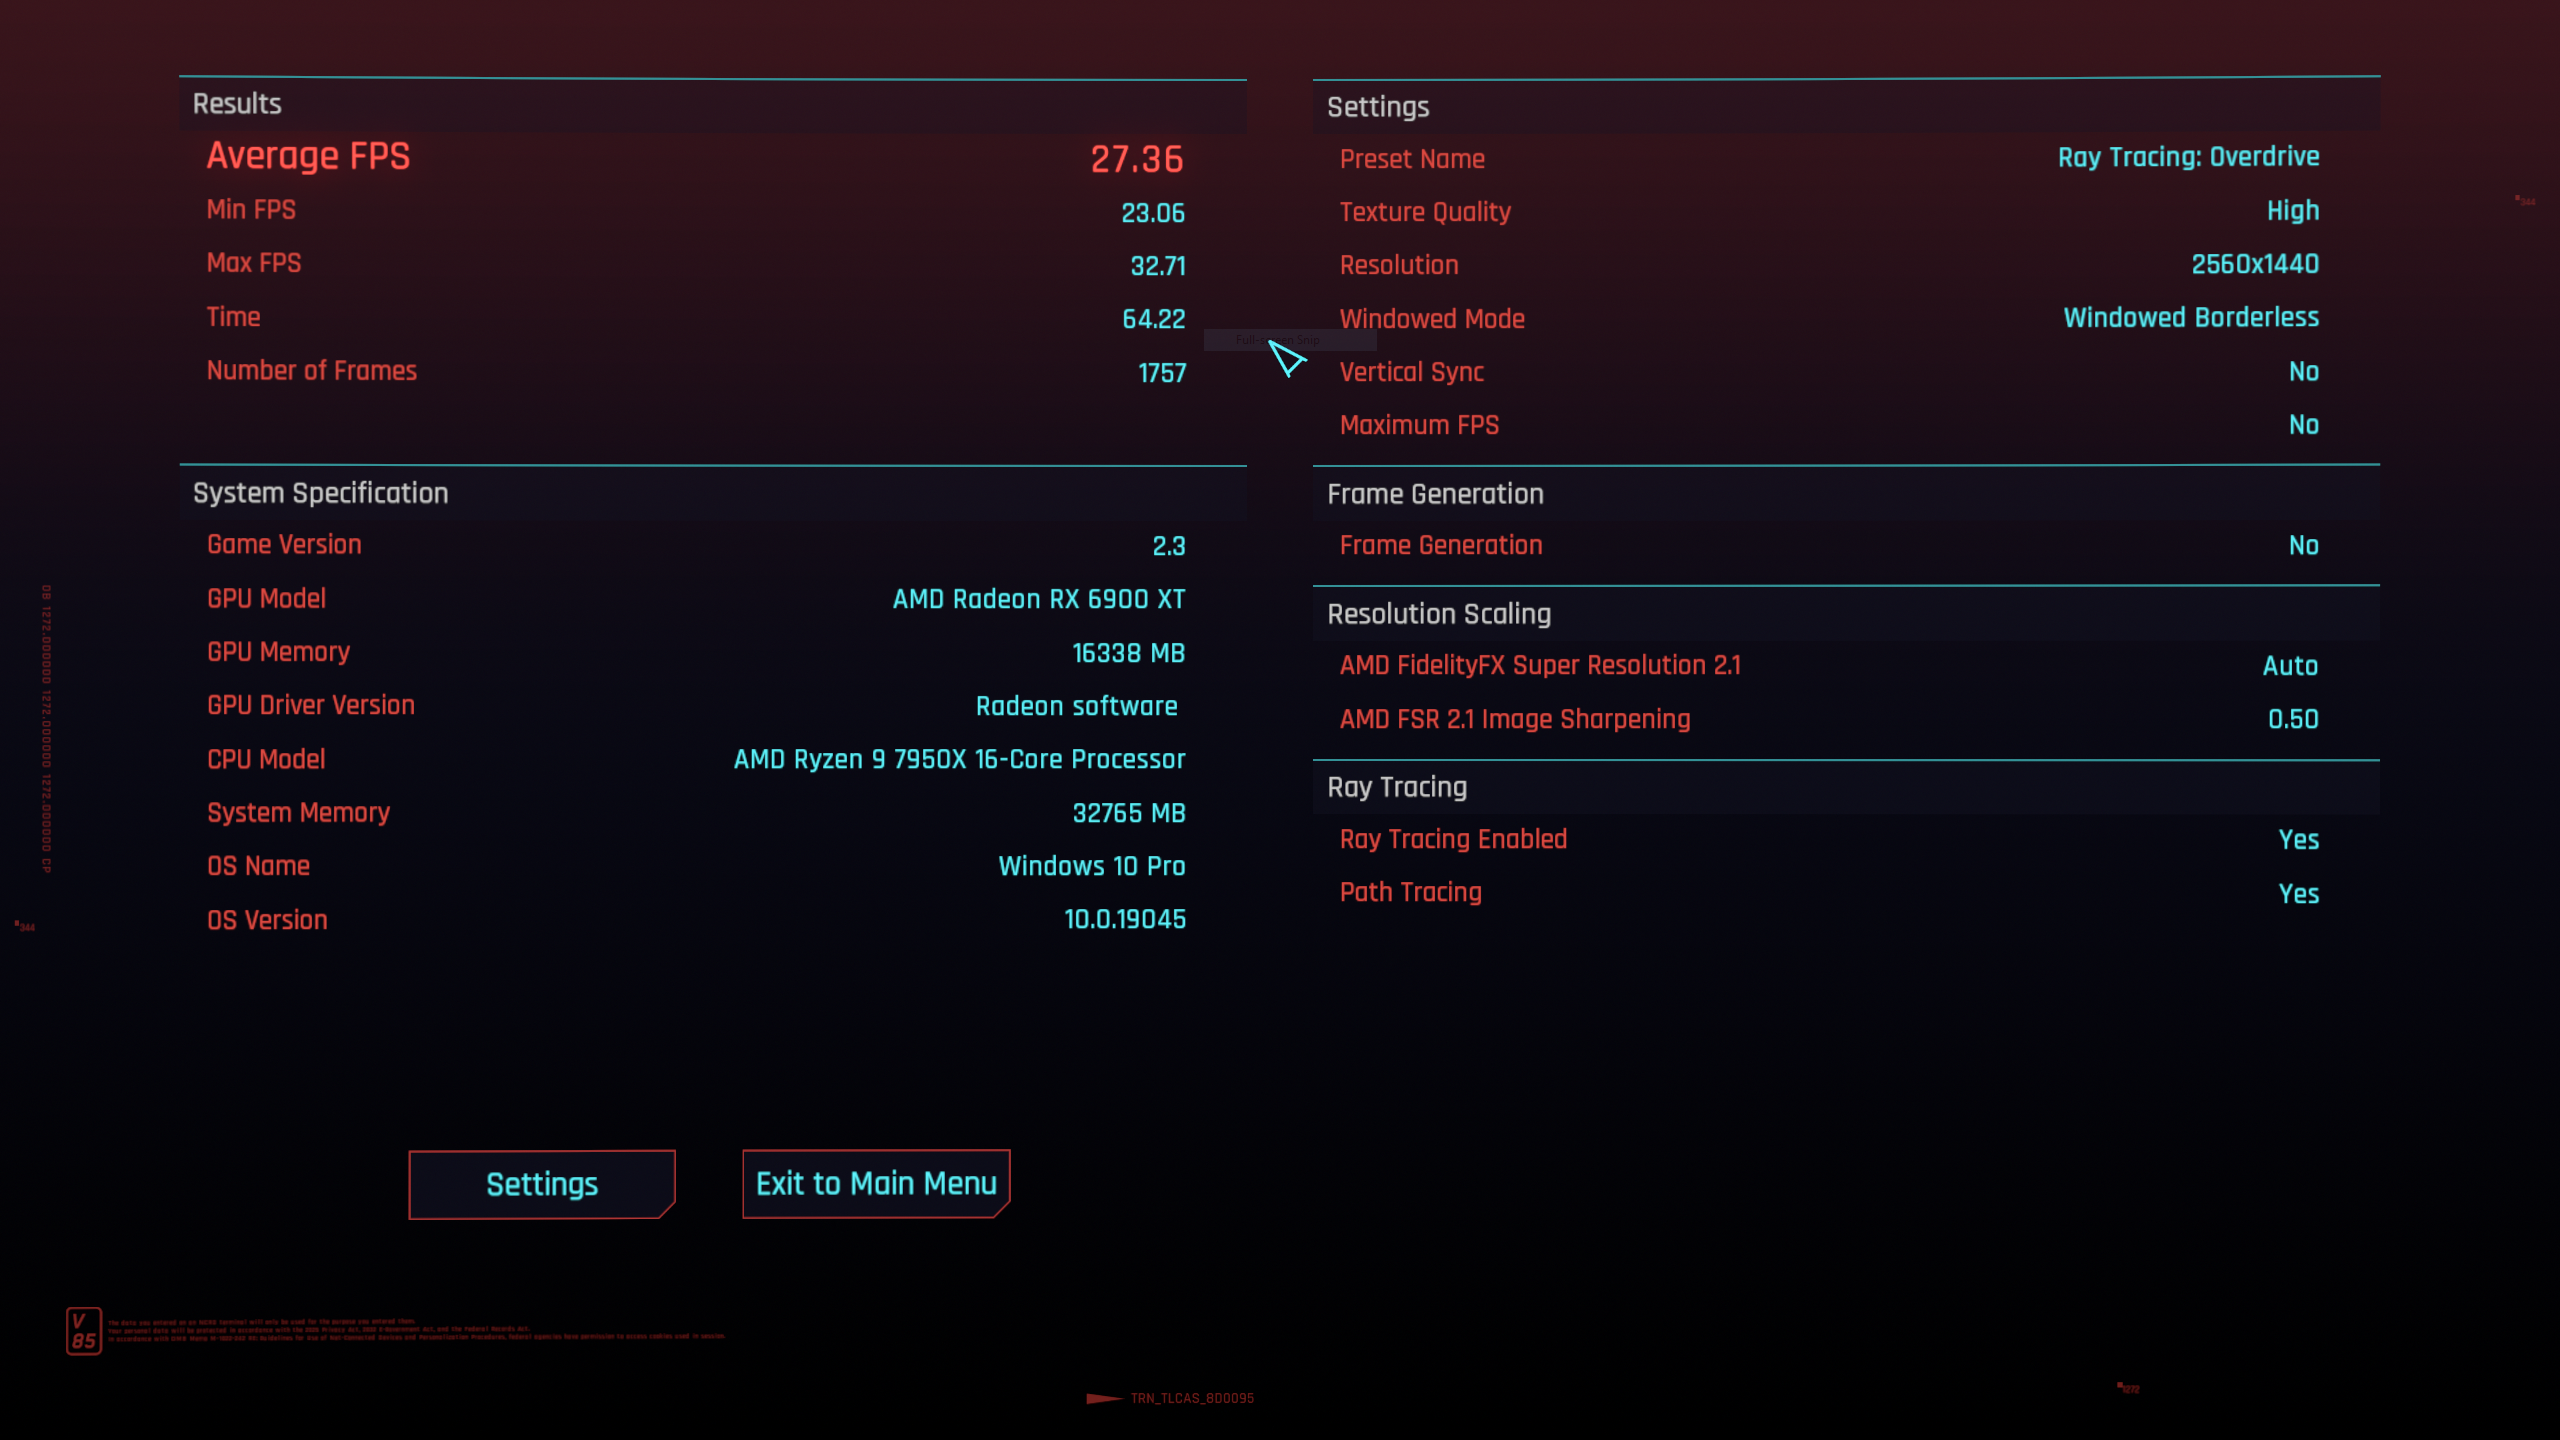
Lastly, I also temporarily experimented with an AMD Radeon RX 9070 XT. All of the instructions were exactly the same, so much so that I literally just had to shutdown the server, swap the card, and turn it back on. The Windows 10 drivers were exactly the same. I've uploaded another video showing the performance on this card. The card does have better performance than the 6900, but for whatever reason, regardless of me using the RX 6900 XT or RX 9070 XT, I wasn't able able to get over 40 FPS on maximum settings in Cyperpunk 2077 benchmarks, and this is with me already giving the VM 16 cores and 32 GB of RAM. You'll see in my video that the CPU and GPU have plenty of resources left for it to go higher. Once I enable Frame Generation the FPS goes up to 77-80. Although I shouldn't need to enable frame generation to get over 60 FPS.. this hardware should easily be able to hit 60 FPS on 2K resolution. I'm wondering if this has something to do with FreeBSD not supporting Resize BAR and thus I had to turn that off in the BIOS. From the sizes of Bars 10/18, the prefetchable memory is signifiantly smaller when the Resize BAR support is disabled. Due to this, I decided to return the 9070 XT and stay with my 6900 XT.
Videos
- Gaming in a Virtual Machine - Overview Demo
- Gaming in a Virtual Machine - Performance Demo
- Virtual Machine Gaming on the AMD Radeon RX 9070 XT
- Virtual Machine Gaming - Cyberpunk 2077 - #1
Remarks
-
I'm now officially calling this as stable (with caveats lol). From my testing so far, I don't seem to be getting much or any crashes once I get a "stable" setup. It seems I may need to restart the VM several times before I can get it to stabilize though, meaning that the VM won't just freeze when idling. It doesn't seem like I've been getting crashes while gaming. The recent bhyve exit codes have been
0x60,0x77, and0x78which are interrupt, halt, and exit related. I'm thinking that this may mean there is a bug with either some sort of power management or CPU synchronization. You could try running a game like Cyberpunk 2077 and leaving it running for a bit to see if that helps the VM to force it to stabilize (I have a theory that making the VM not trigger any power management or idling code may help it "overcome" some issues. There is usually a moment when I get a massive lag spike which shows increased CPU usage (for no real reason) and then it "stabilizes". Once that happens, I don't seem to get any more VM crashes. The VM has kept working for 5+ days with on and off gaming and no reboots). I've been using this as my primary gaming machine for like 3 weeks now and I will continue to do so. I will mention to keep in mind the AMD Hardware Reset Bug, so you'll just want to reboot the host if you want to reboot the VM. Also, I've noticed that sometimes after I reboot the VM, the bhyve VM may get "stuck". If that happens you can try to do aservice vm_gaming restart, and if you see that it is stuck at the "Waiting for PIDS" message, then do abhyvectl --vm=gaming --force-poweroffin another terminal. If you still don't get any video output, then the AMD Hardware Reset Bug may have also kicked in so you can just reboot the host. It should work once the reboot is complete.I'll recommend taking periodic screenshots of your gaming VM just in case the Windows VM gets corrupted, you can easily rollback. This shouldn't happen though if everything is working fine. But you may want to do this especially if you are playing around with bhyve and are still "learning the ropes".
I would also recommend enabling Remote Desktop. I've noticed sometimes Windows would disable the Dedicated GPU, which requires me to log in and enable it again so that I can use the monitor directly when the VM boots up. I have steps for how to this later on this page.
-
So far I've achieved 100% Game Compatibility using this method. All of the Windows games in my collection that I've tested so far in my bhyve Windows VM are working perfectly. Due note that I don't play any multiplayer games, and all of my Offline Single Player games like Baldur's Gate III, Witcher III, Cyperpunk 2077, and my beloved Diablo II (2000) and Lord of Destruction (2001) are working perfectly. Baldur's Gate III may be slow when performing its operations during the start up screen, but it will be smooth once you are in game.
-
If you want to use this for gaming purposes, you'll want to:
- Connect your monitor's cable directly to your GPU. Do not use RDP/VNC for your actual day-to-day experience.
- You'll want to pass in some of your mobo's USB ports over to the VM so you can use your keyboard/mouse.
- You'll want to pass in whatever device you will be using for sound.
For my case, I have a KVM that has my keyboard/wireless receivers, sound via its headphone jack, and ethernet all connected to it. The KVM's USB cable is connected to one of the passthrough USB ports on the mobo. This means I can easily switch between the Windows VM and my laptop with one click on the KVM. Due note I only use Windows in an offline capacity exclusively, so I disabled the Ethernet adapter in Windows and I never let Windows connect to the internet even during installation. You can read more about my Dark Island stategy at the previously mentioned link.
More info at the Devices To Passthrough section below.
-
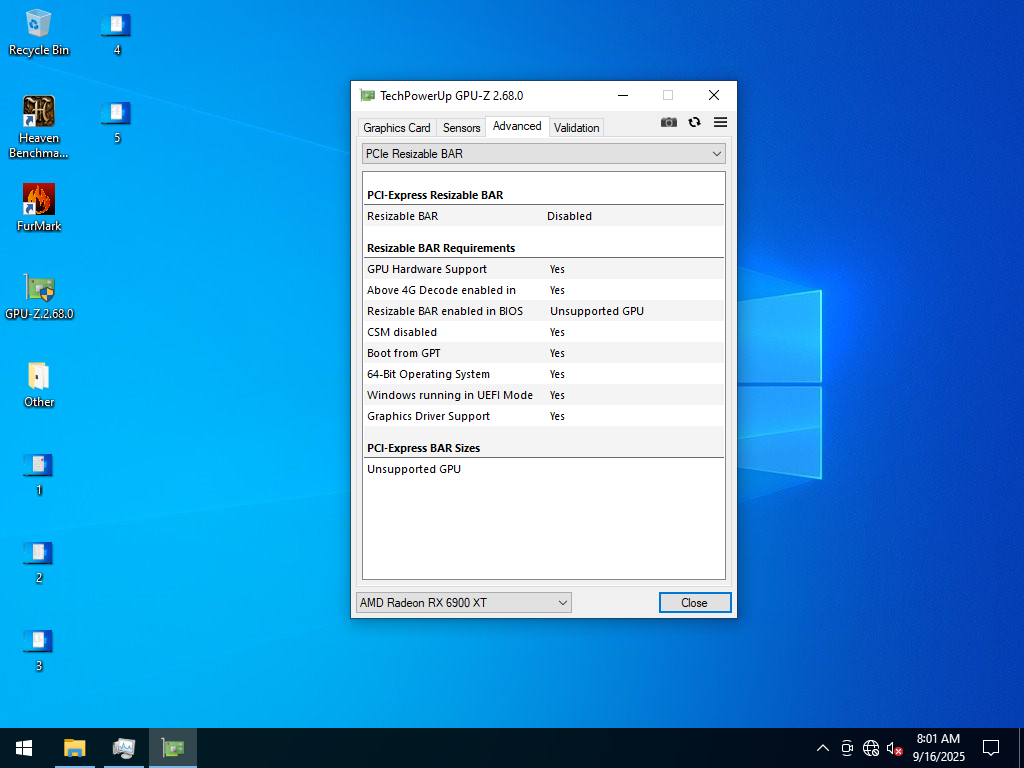
You must disable
Resize BAR Supportif you have that in the BIOS. This was the main setting that prevented my card from working for my setup. FreeBSD doesn't currently support this so if this is enabled and the Host or VM decide to resize, you will get unexpected results (most likely Code 43). Disabling this means you won't be able to take full advantage of the GPU's memory. From what Corvin mentioned to me, this should only give you a penalty if you are doing memory intensive operations, not necessarily computation intensive operations. So we might be fine for most games.. Although I think FreeBSD will eventually have Resize BAR support. -
Since AMD cards suffer from the old AMD Hardware Reset Bug, the card will only work the first time you start up the VM from the host. As long as you don't reboot the VM, you should be fine. If you need to reboot the VM, you'll need to restart the host to get the card working again.
-
After you have installed the GFX drivers, the Windows VM should boot up with the card already working. So if you have your monitor cable directly connected to the card, you will get video output immediately. If you don't, then something is wrong.
-
If you aren't gaming and want good performance, you should use Remote Desktop (RDP) instead of VNC. You can use VNC to install the VM, and then enable RDP after. If you are gaming, follow the other instructions I mentioned.
-
I'll be showing how to do this using a raw bhyve setup, and not use
vm-bhyvefor now. This allows us to directly interact and debug the core technologies without abstractions. Since we don't need to pass in the vBIOS file through the VM when using Windows, it should be relatively easy to do this same setup in vm-bhyve. -
When you are installing Windows, you'll want to only use 1 CPU and 1 Core. You can change it to whatever you want afterwards.
-
You can ignore the errors regarding the 4 COM devices in the Device Manager, or the failed QEMU FwCfg Device. They don't seem to cause any issues.
-
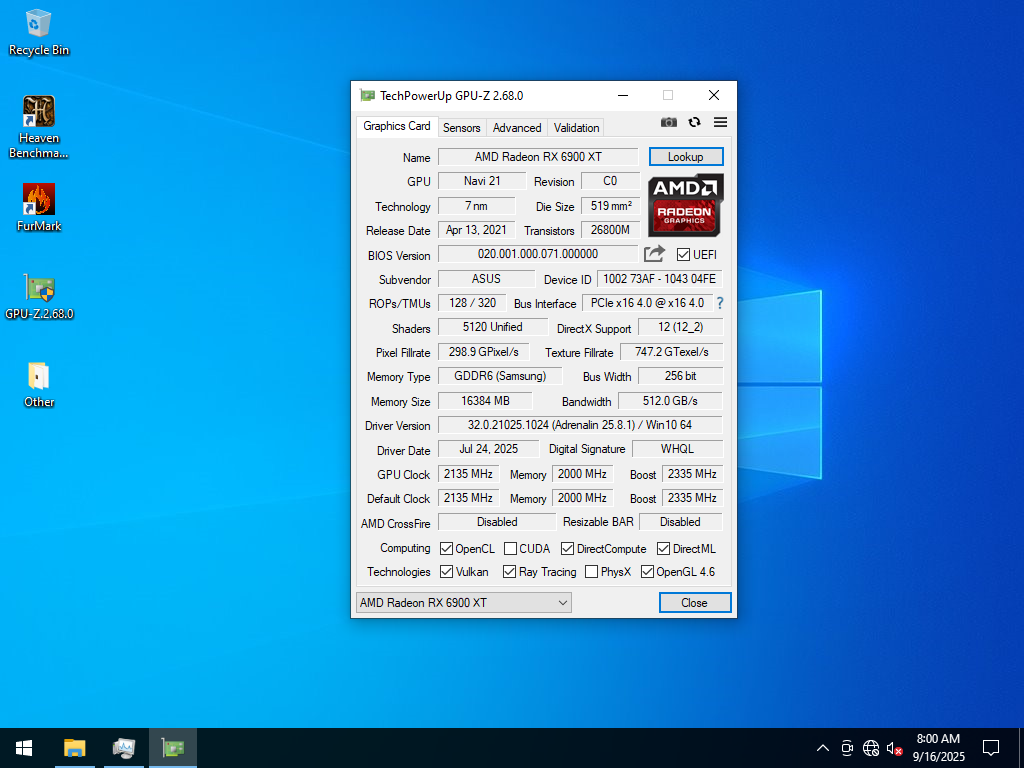
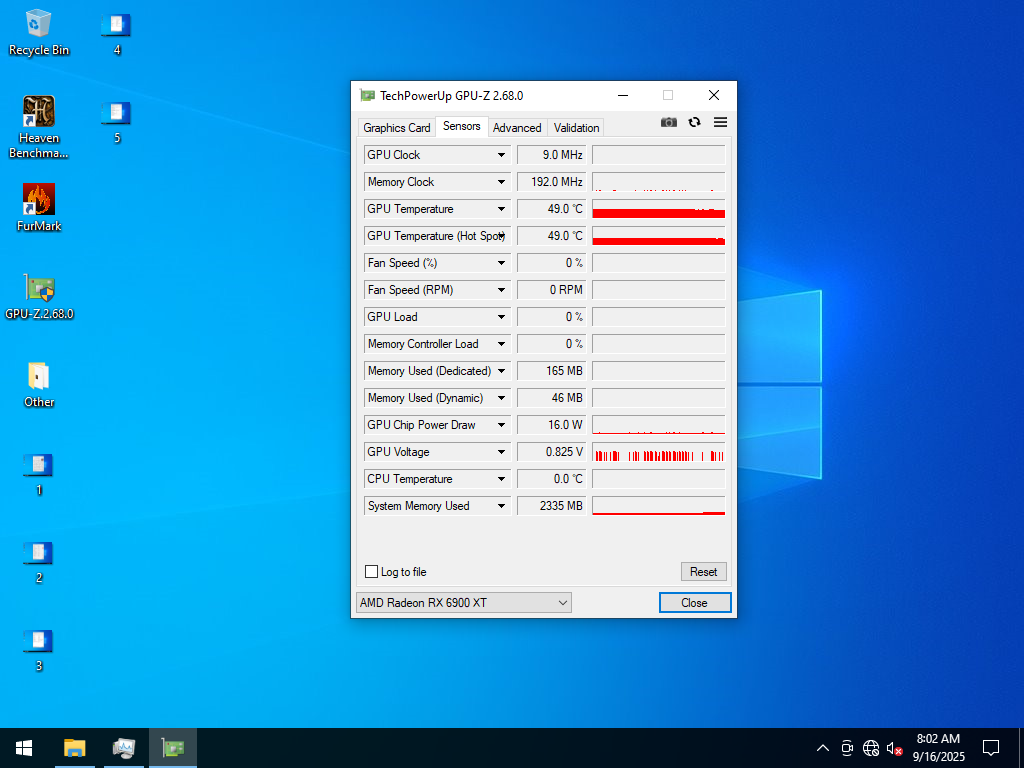
If you are using GPU-Z to check your card info, you should be able to see some checkboxes at the bottom of the first tab under the Computing and Technologies sections. If you don't see stuff enabled there, then your passthrough is probably not working. A proper passthrough should also show your card in the Windows' Task Manager. There should be an entry there for
GPU 0. -
Given that this card is installed on my server, and I'm not messing with installing Windows on it (not even on an external hard drive, I don't want to deal with its bootloader hijacking shenanigans), I'm not sure how much performance is being lost by using this passthrough setup. But it's already good enough for my needs.
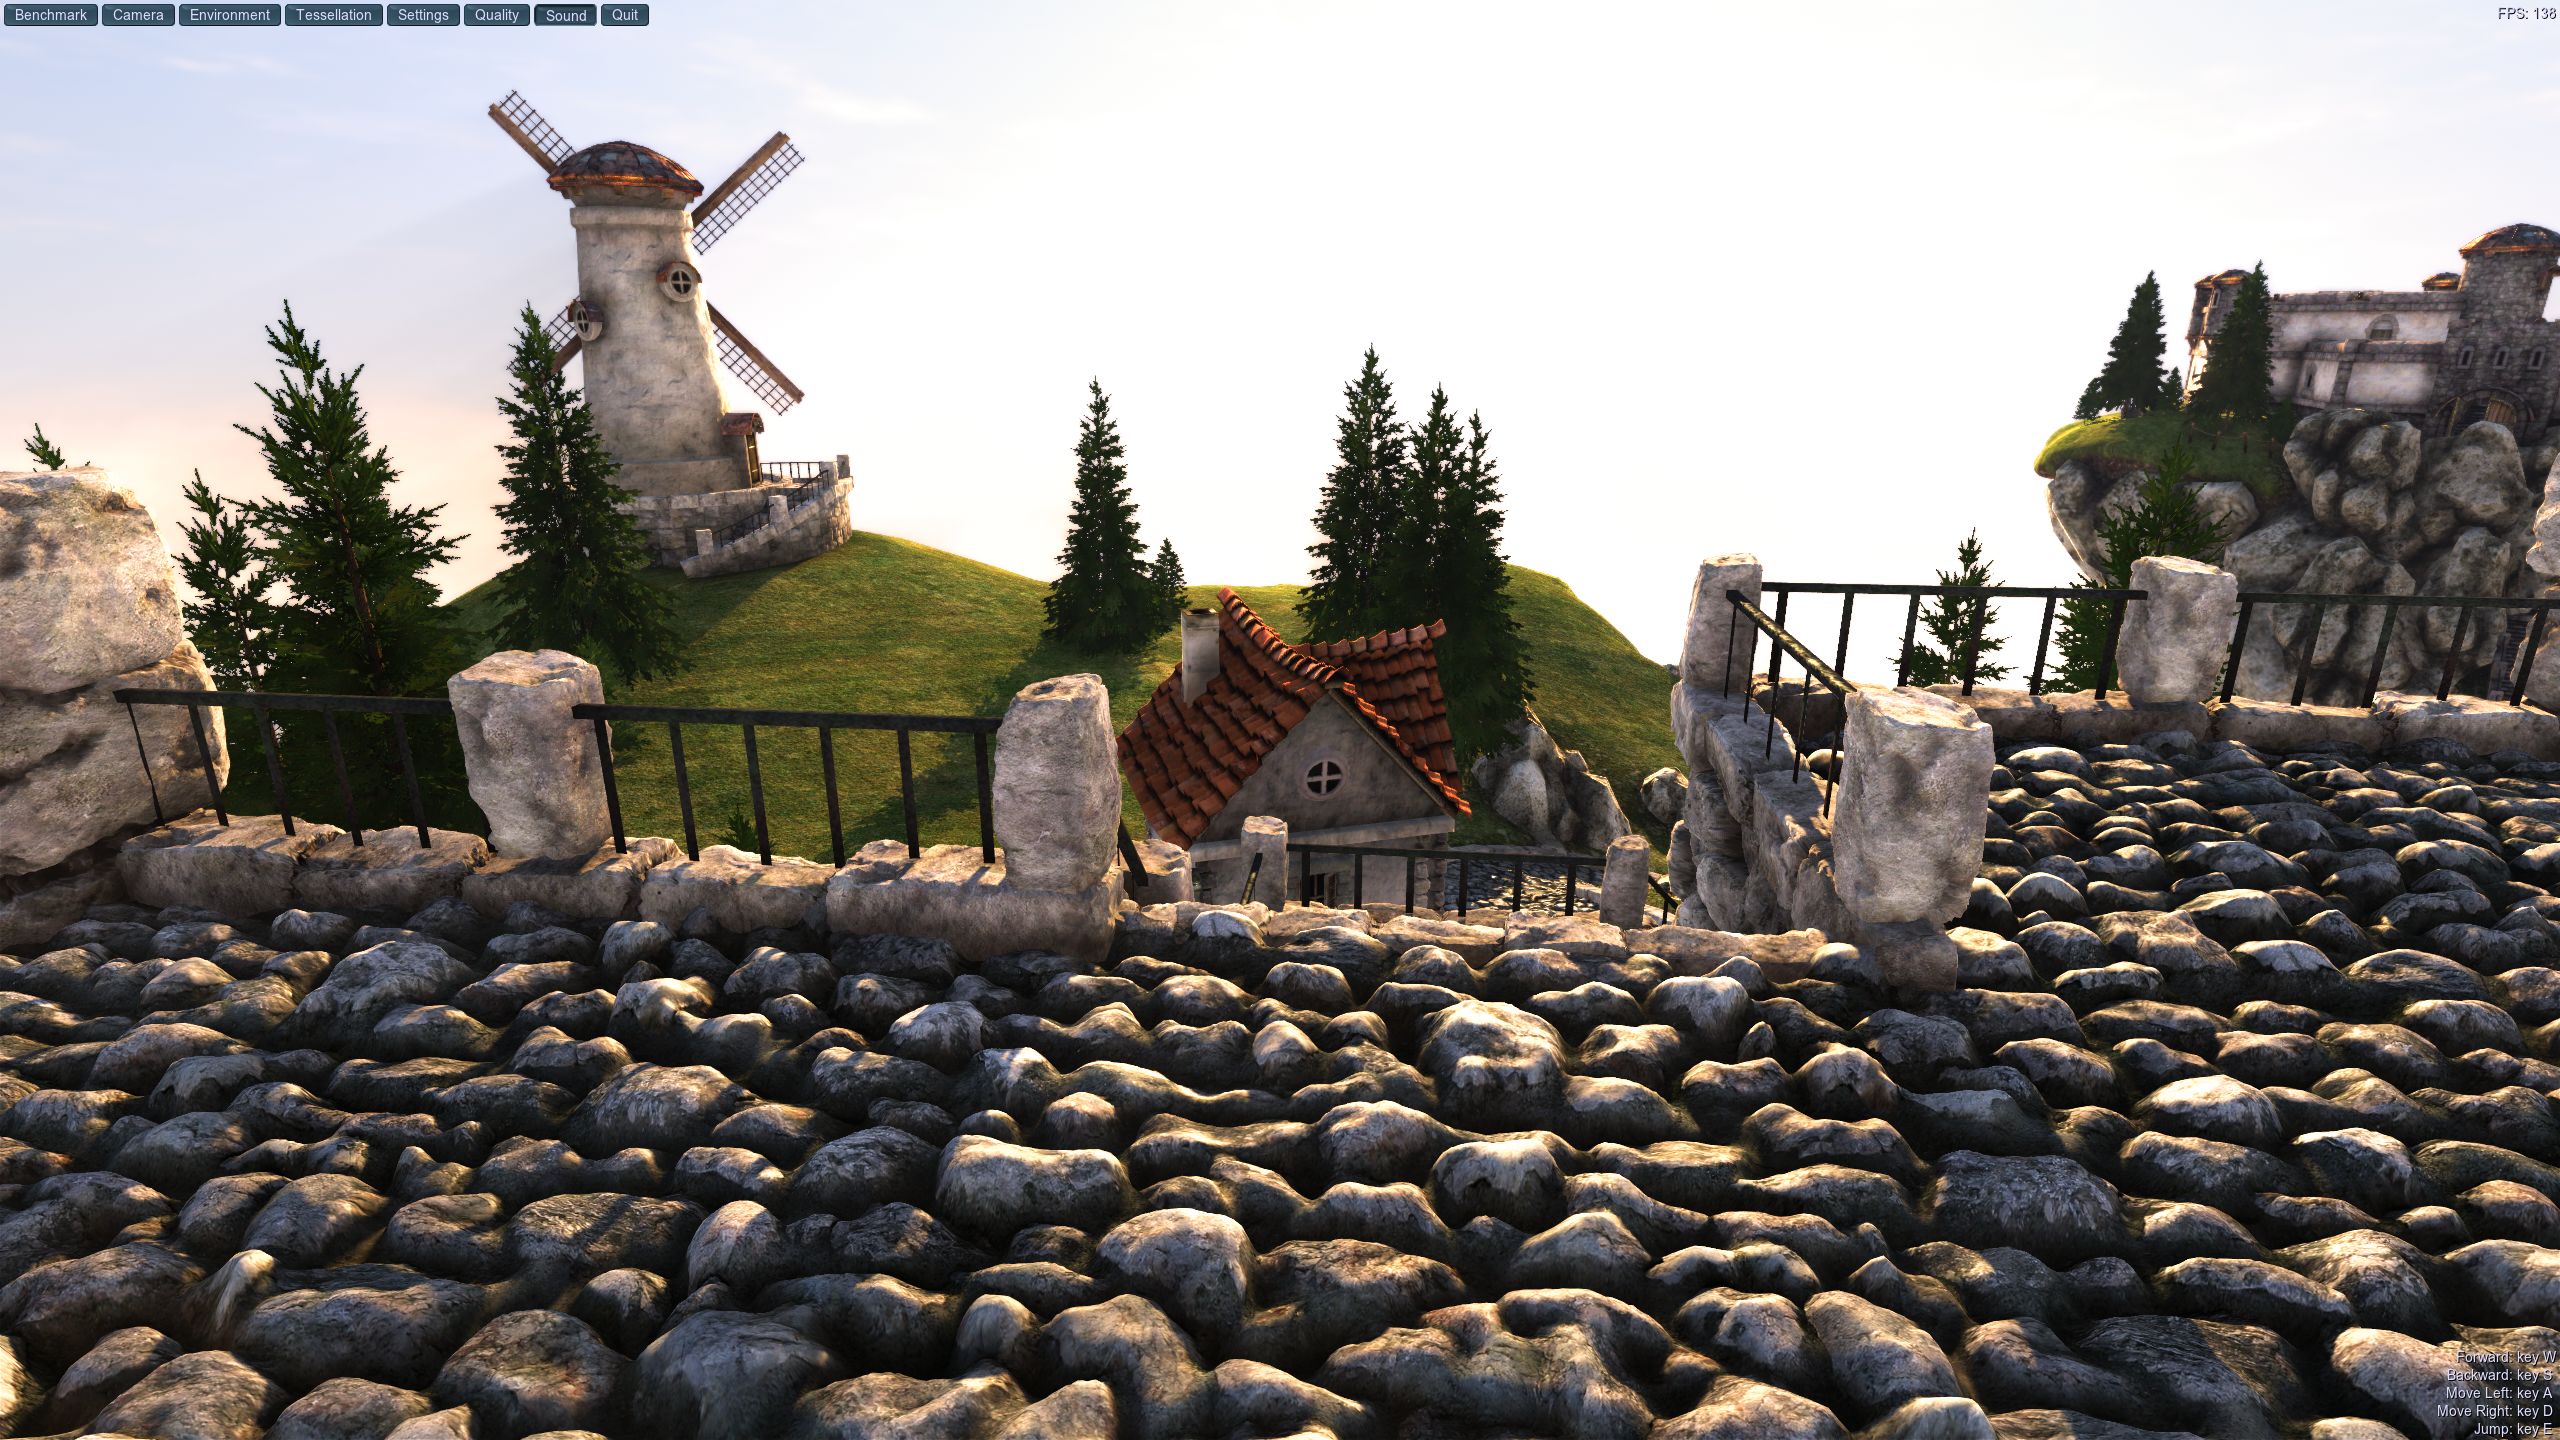
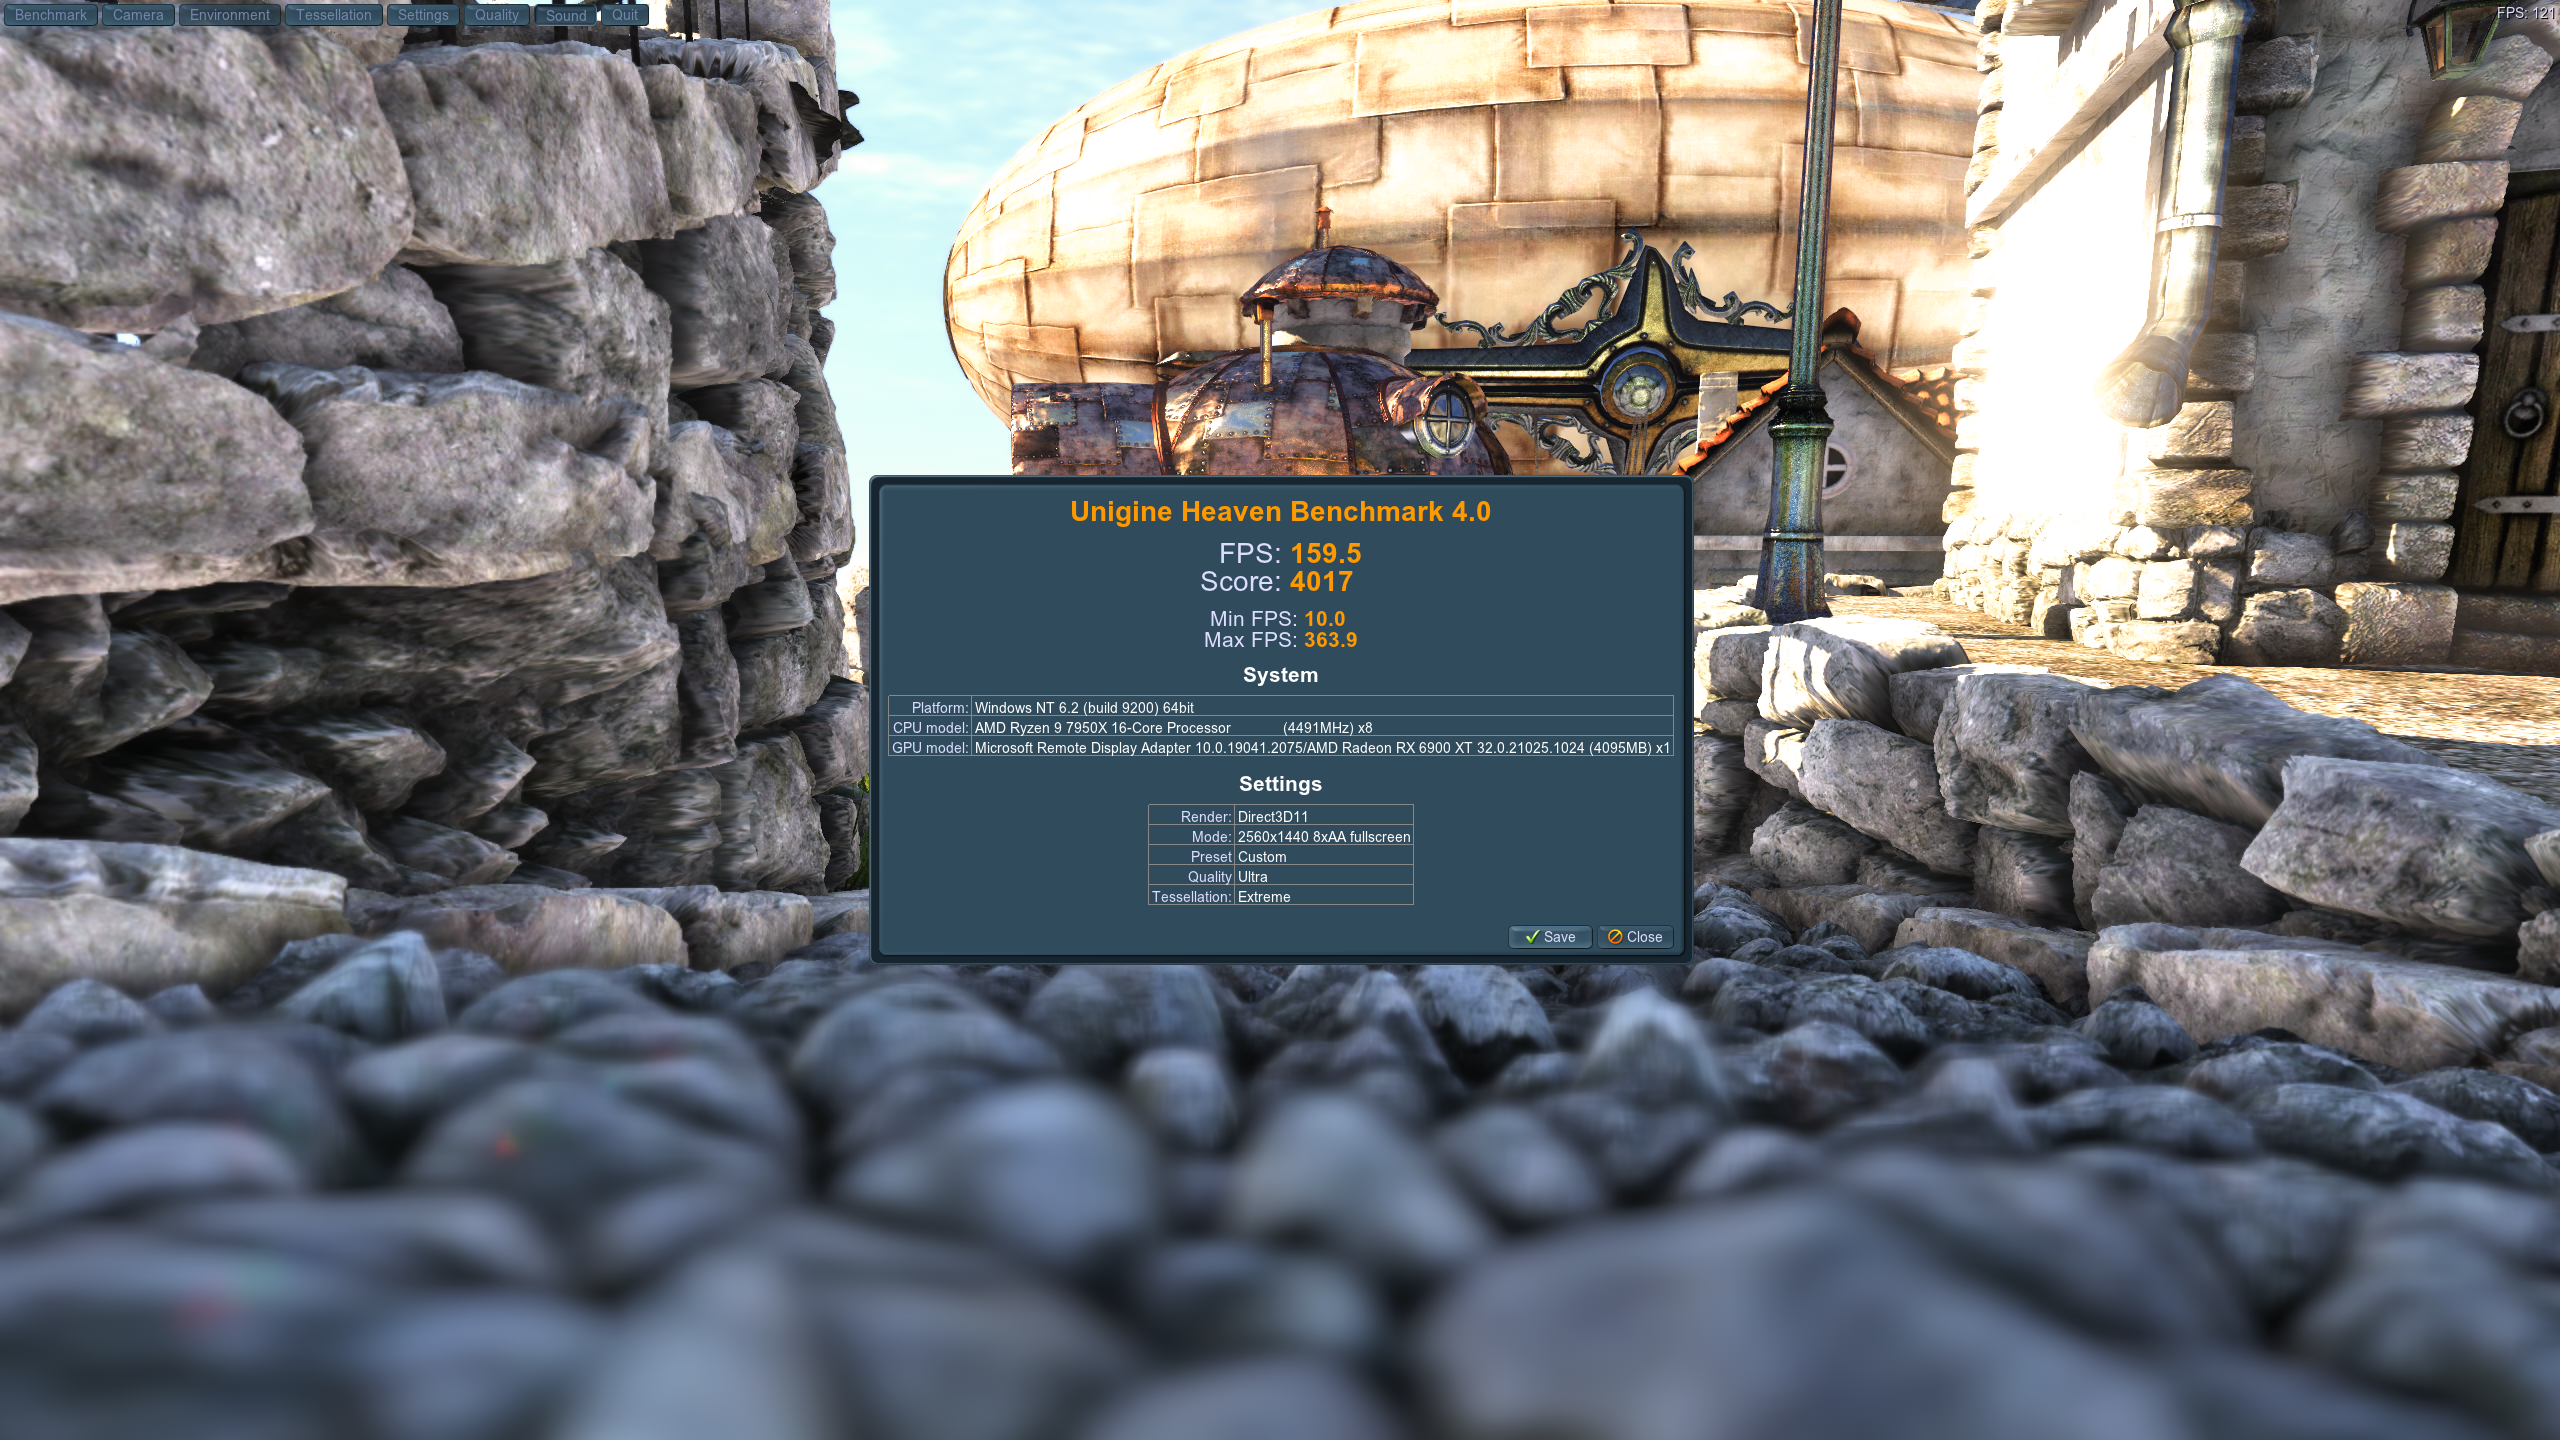
Screenshots

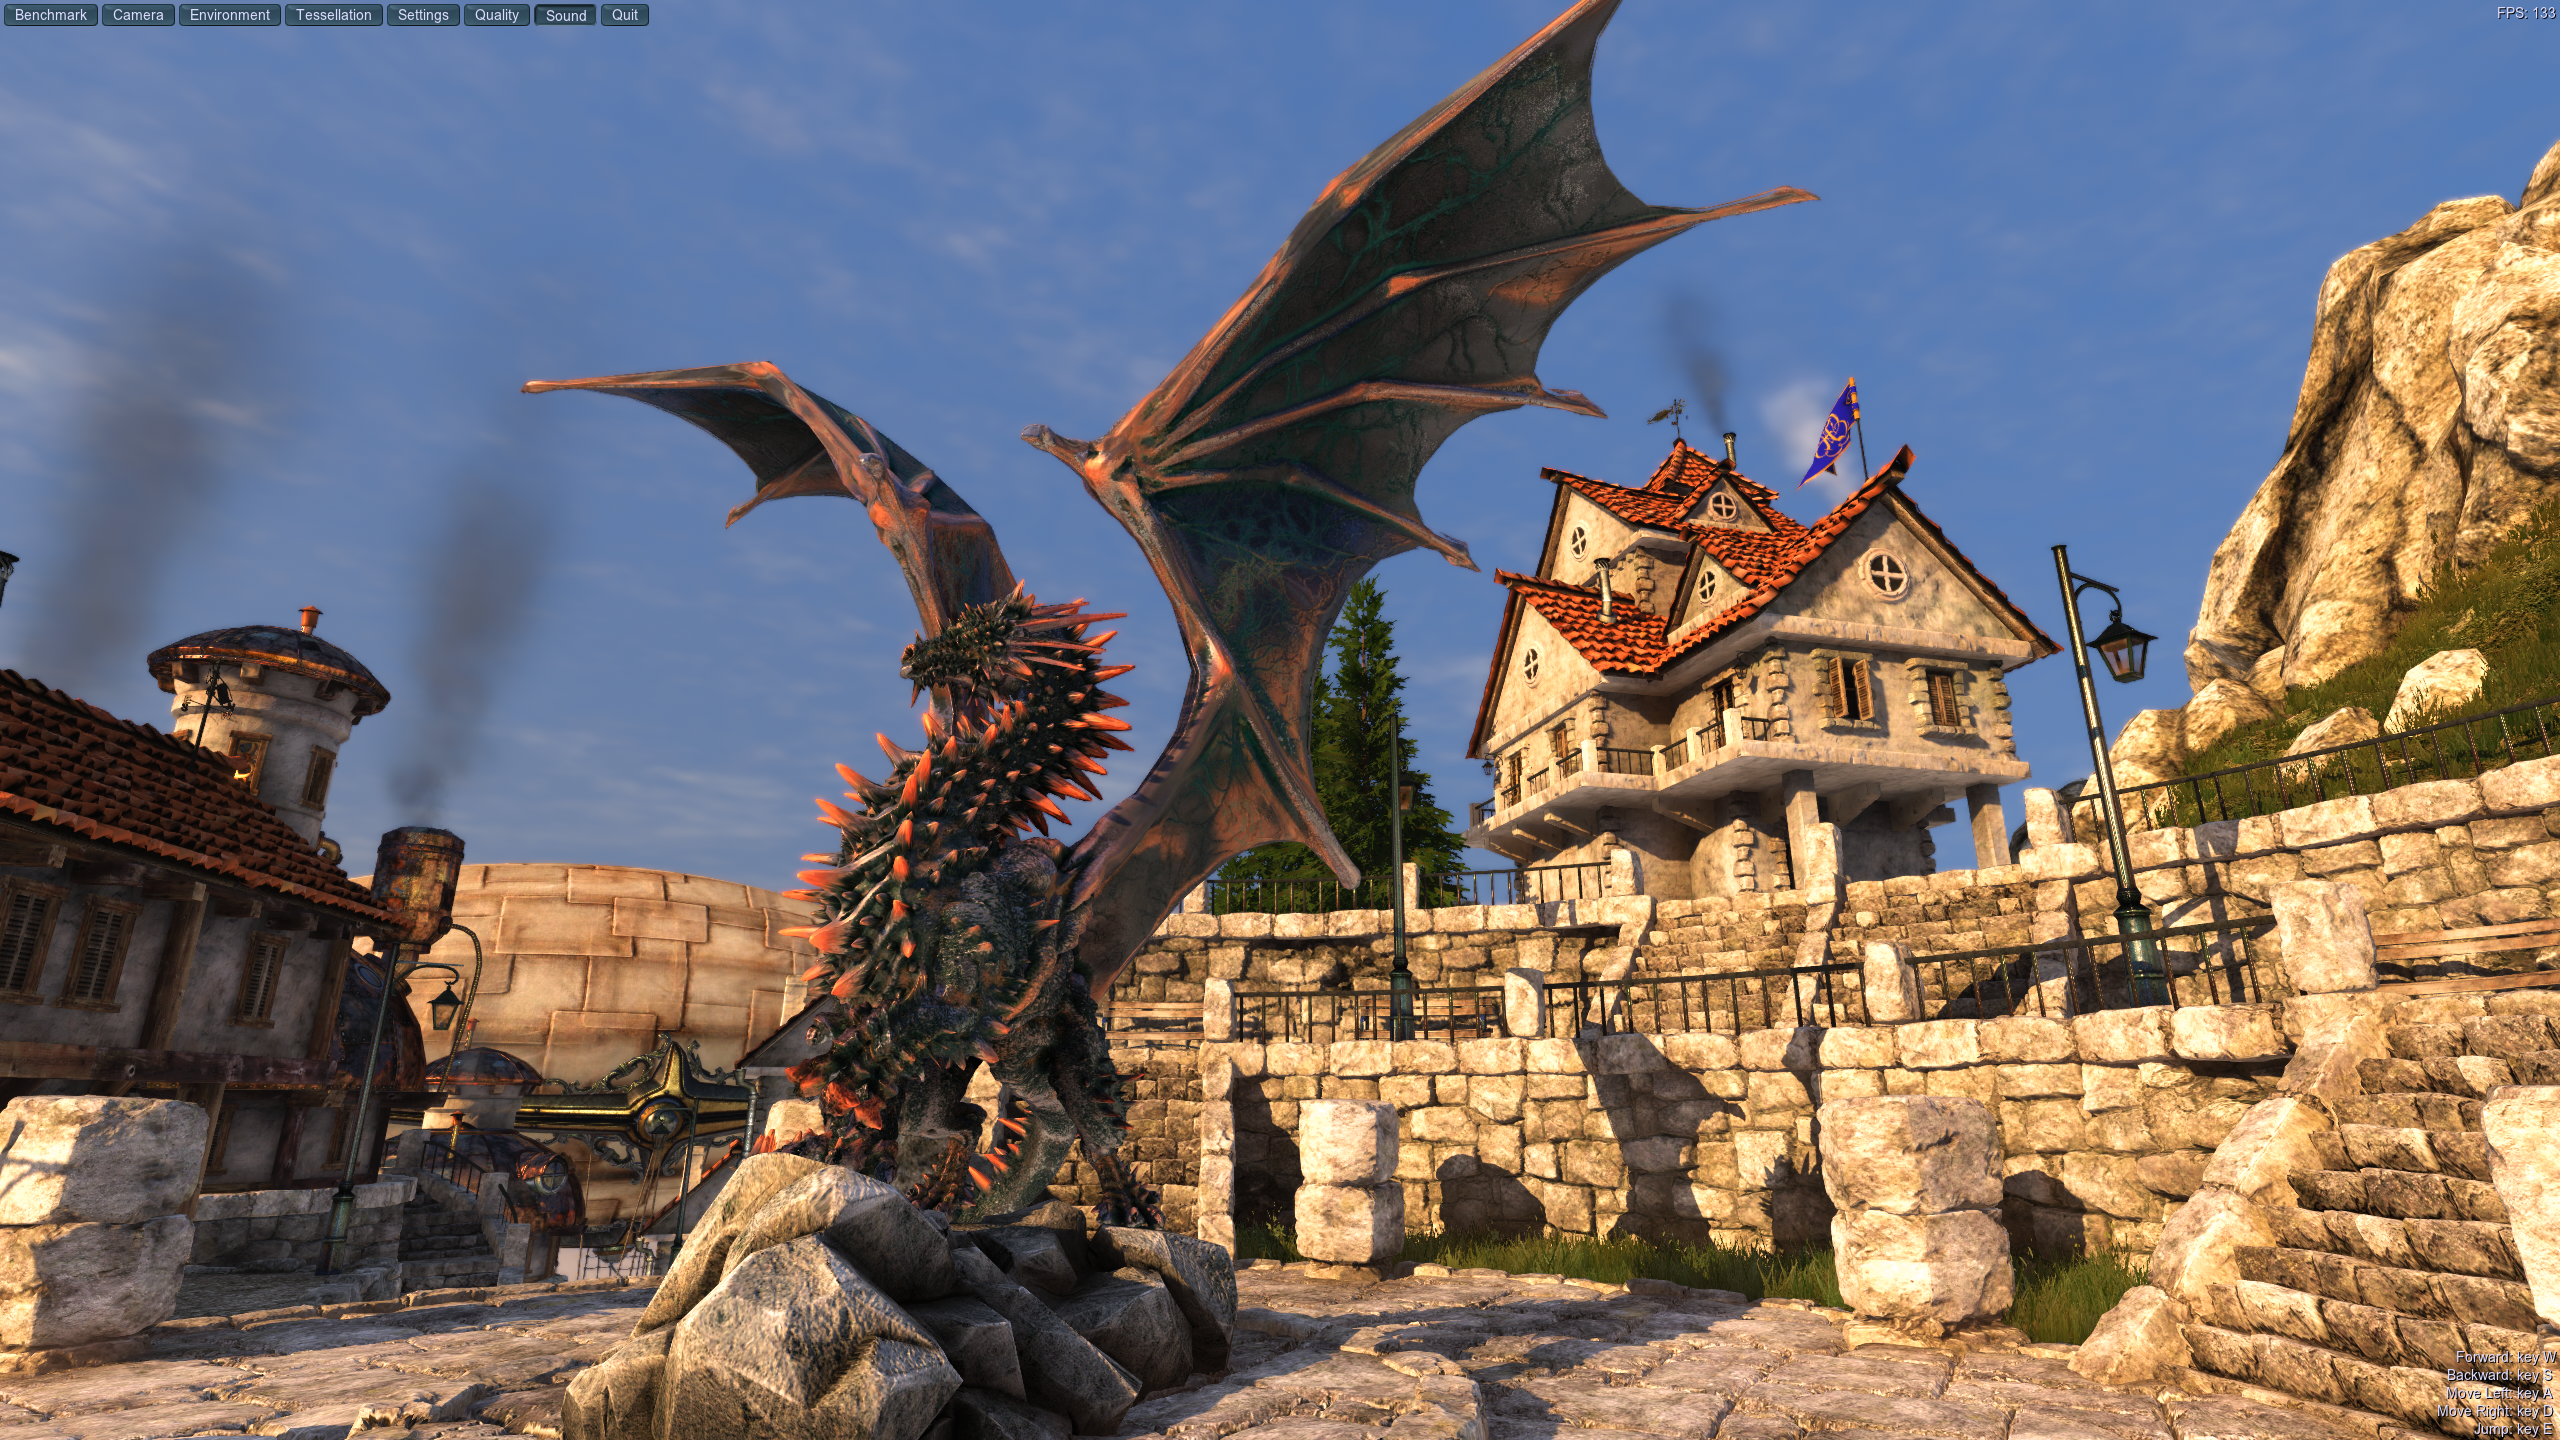
Heaven Benchmark
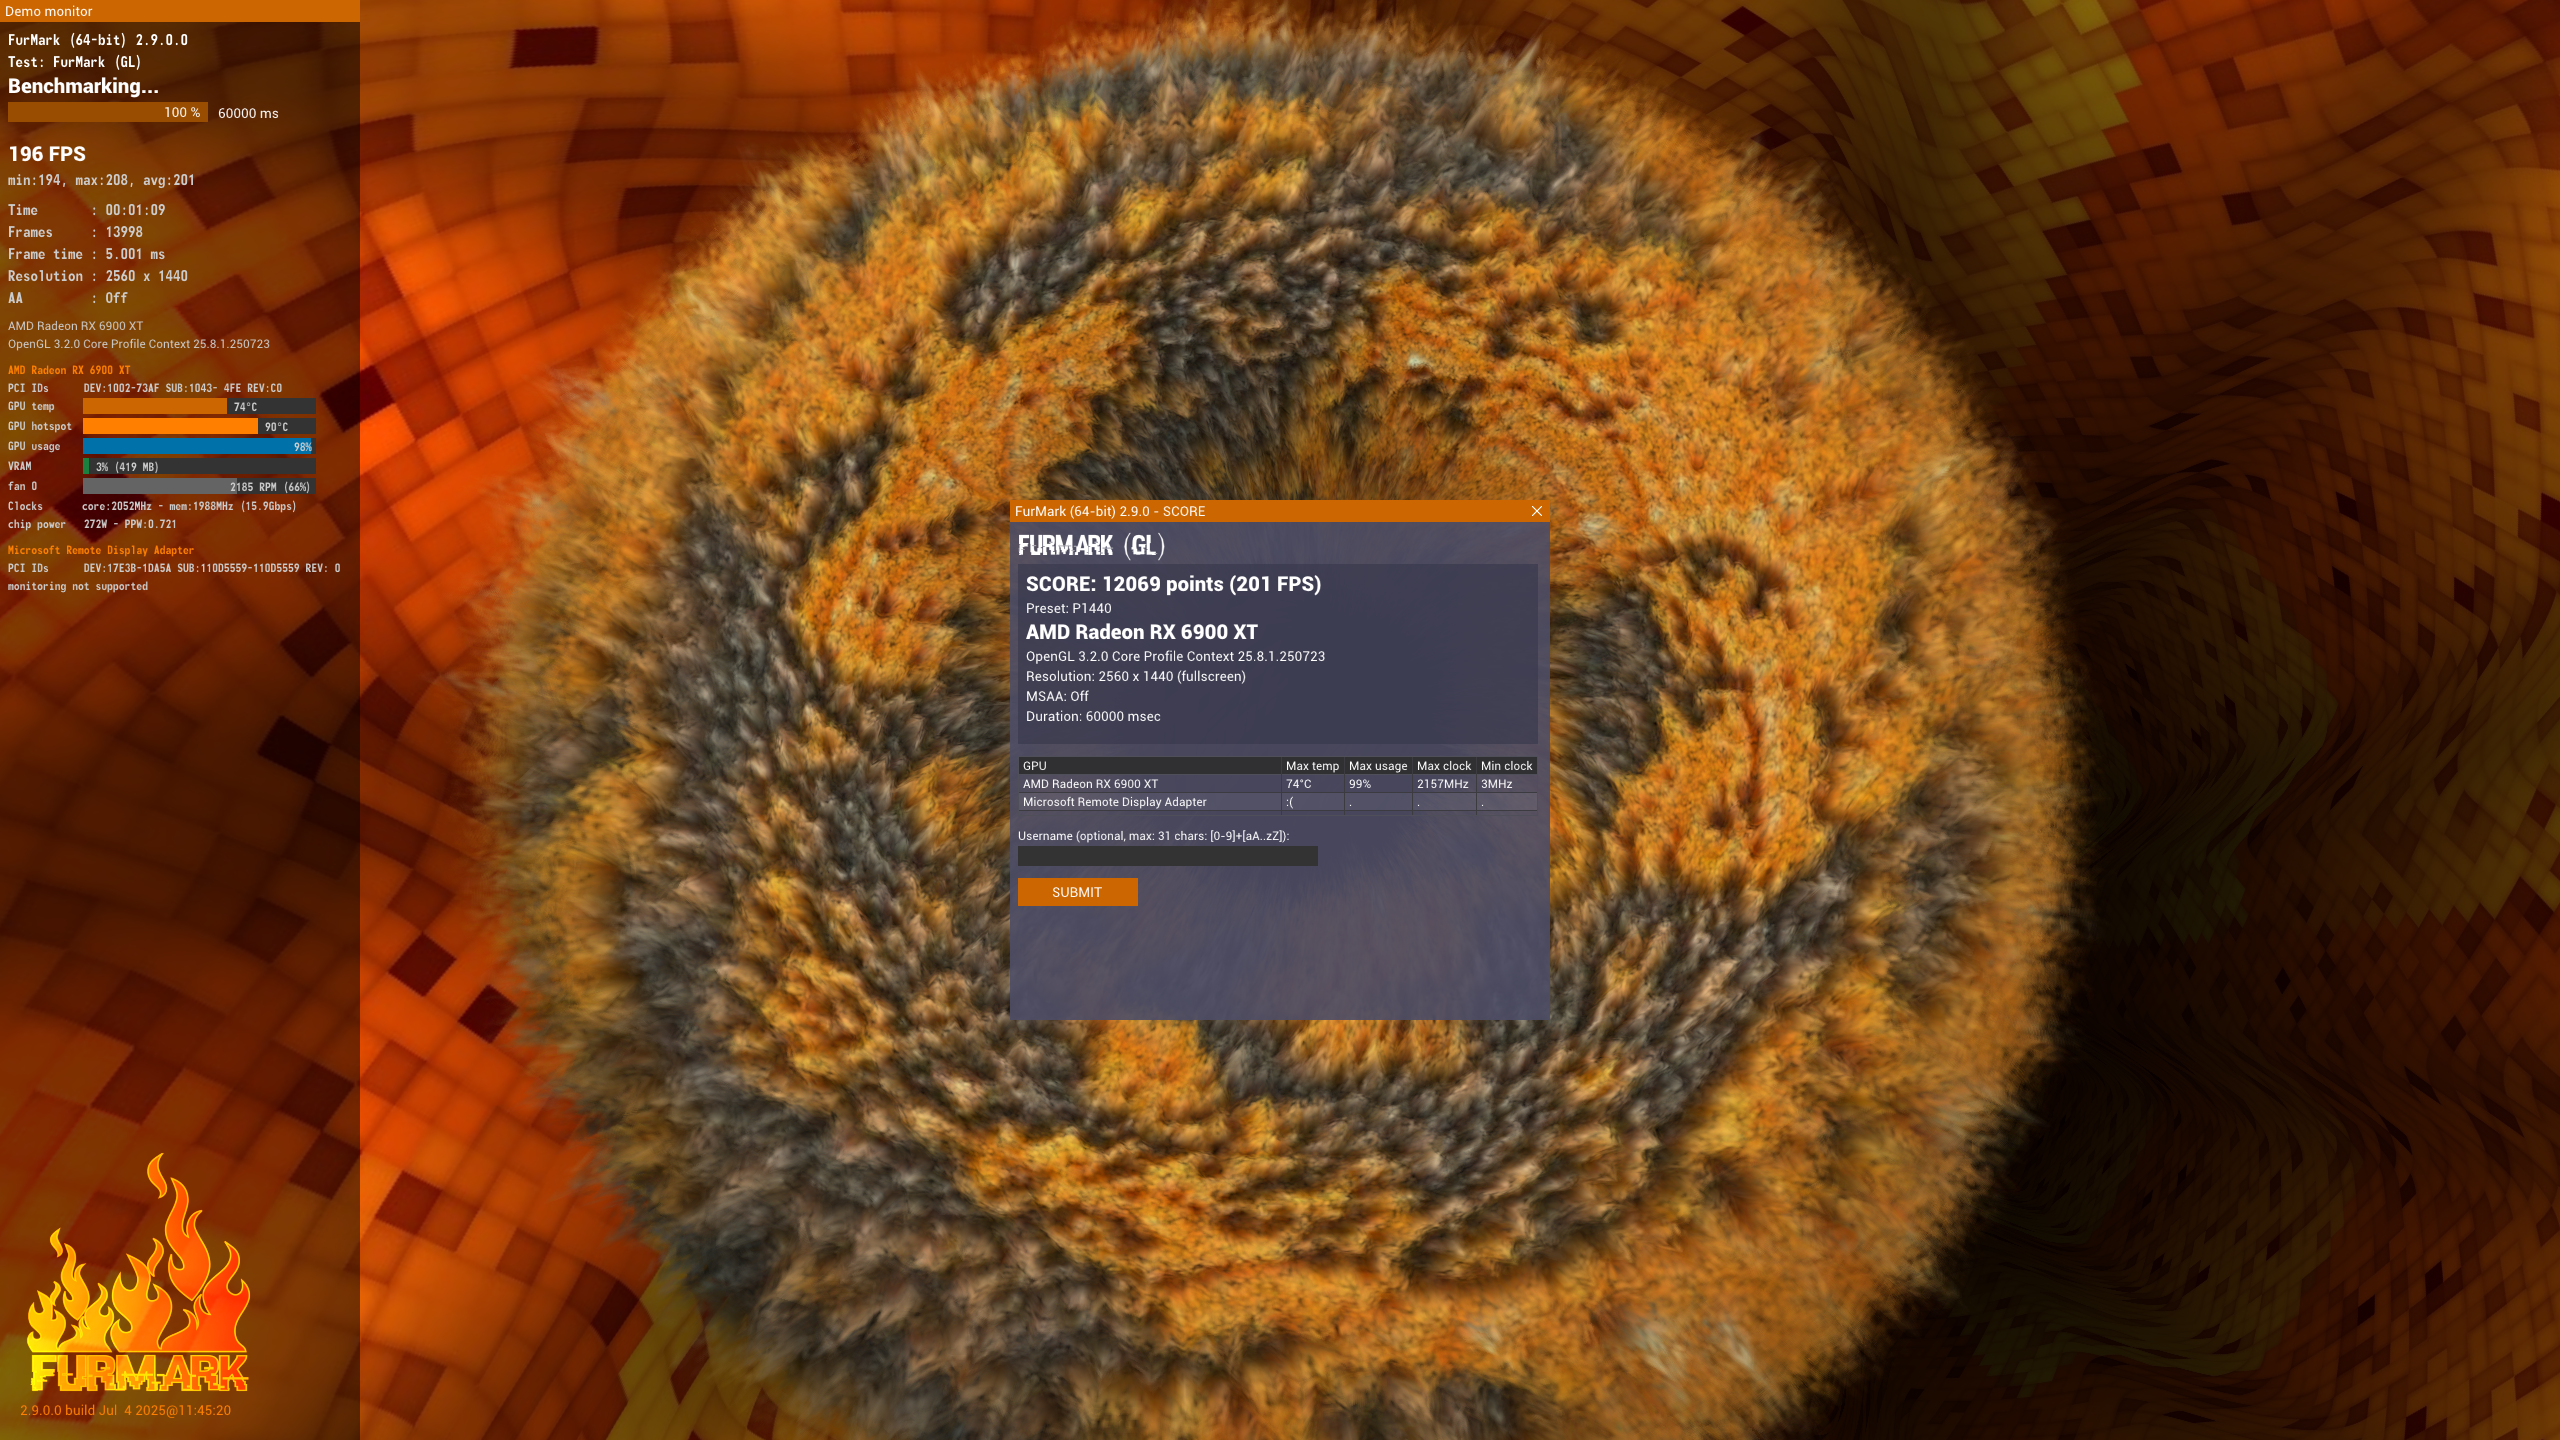
Furmark
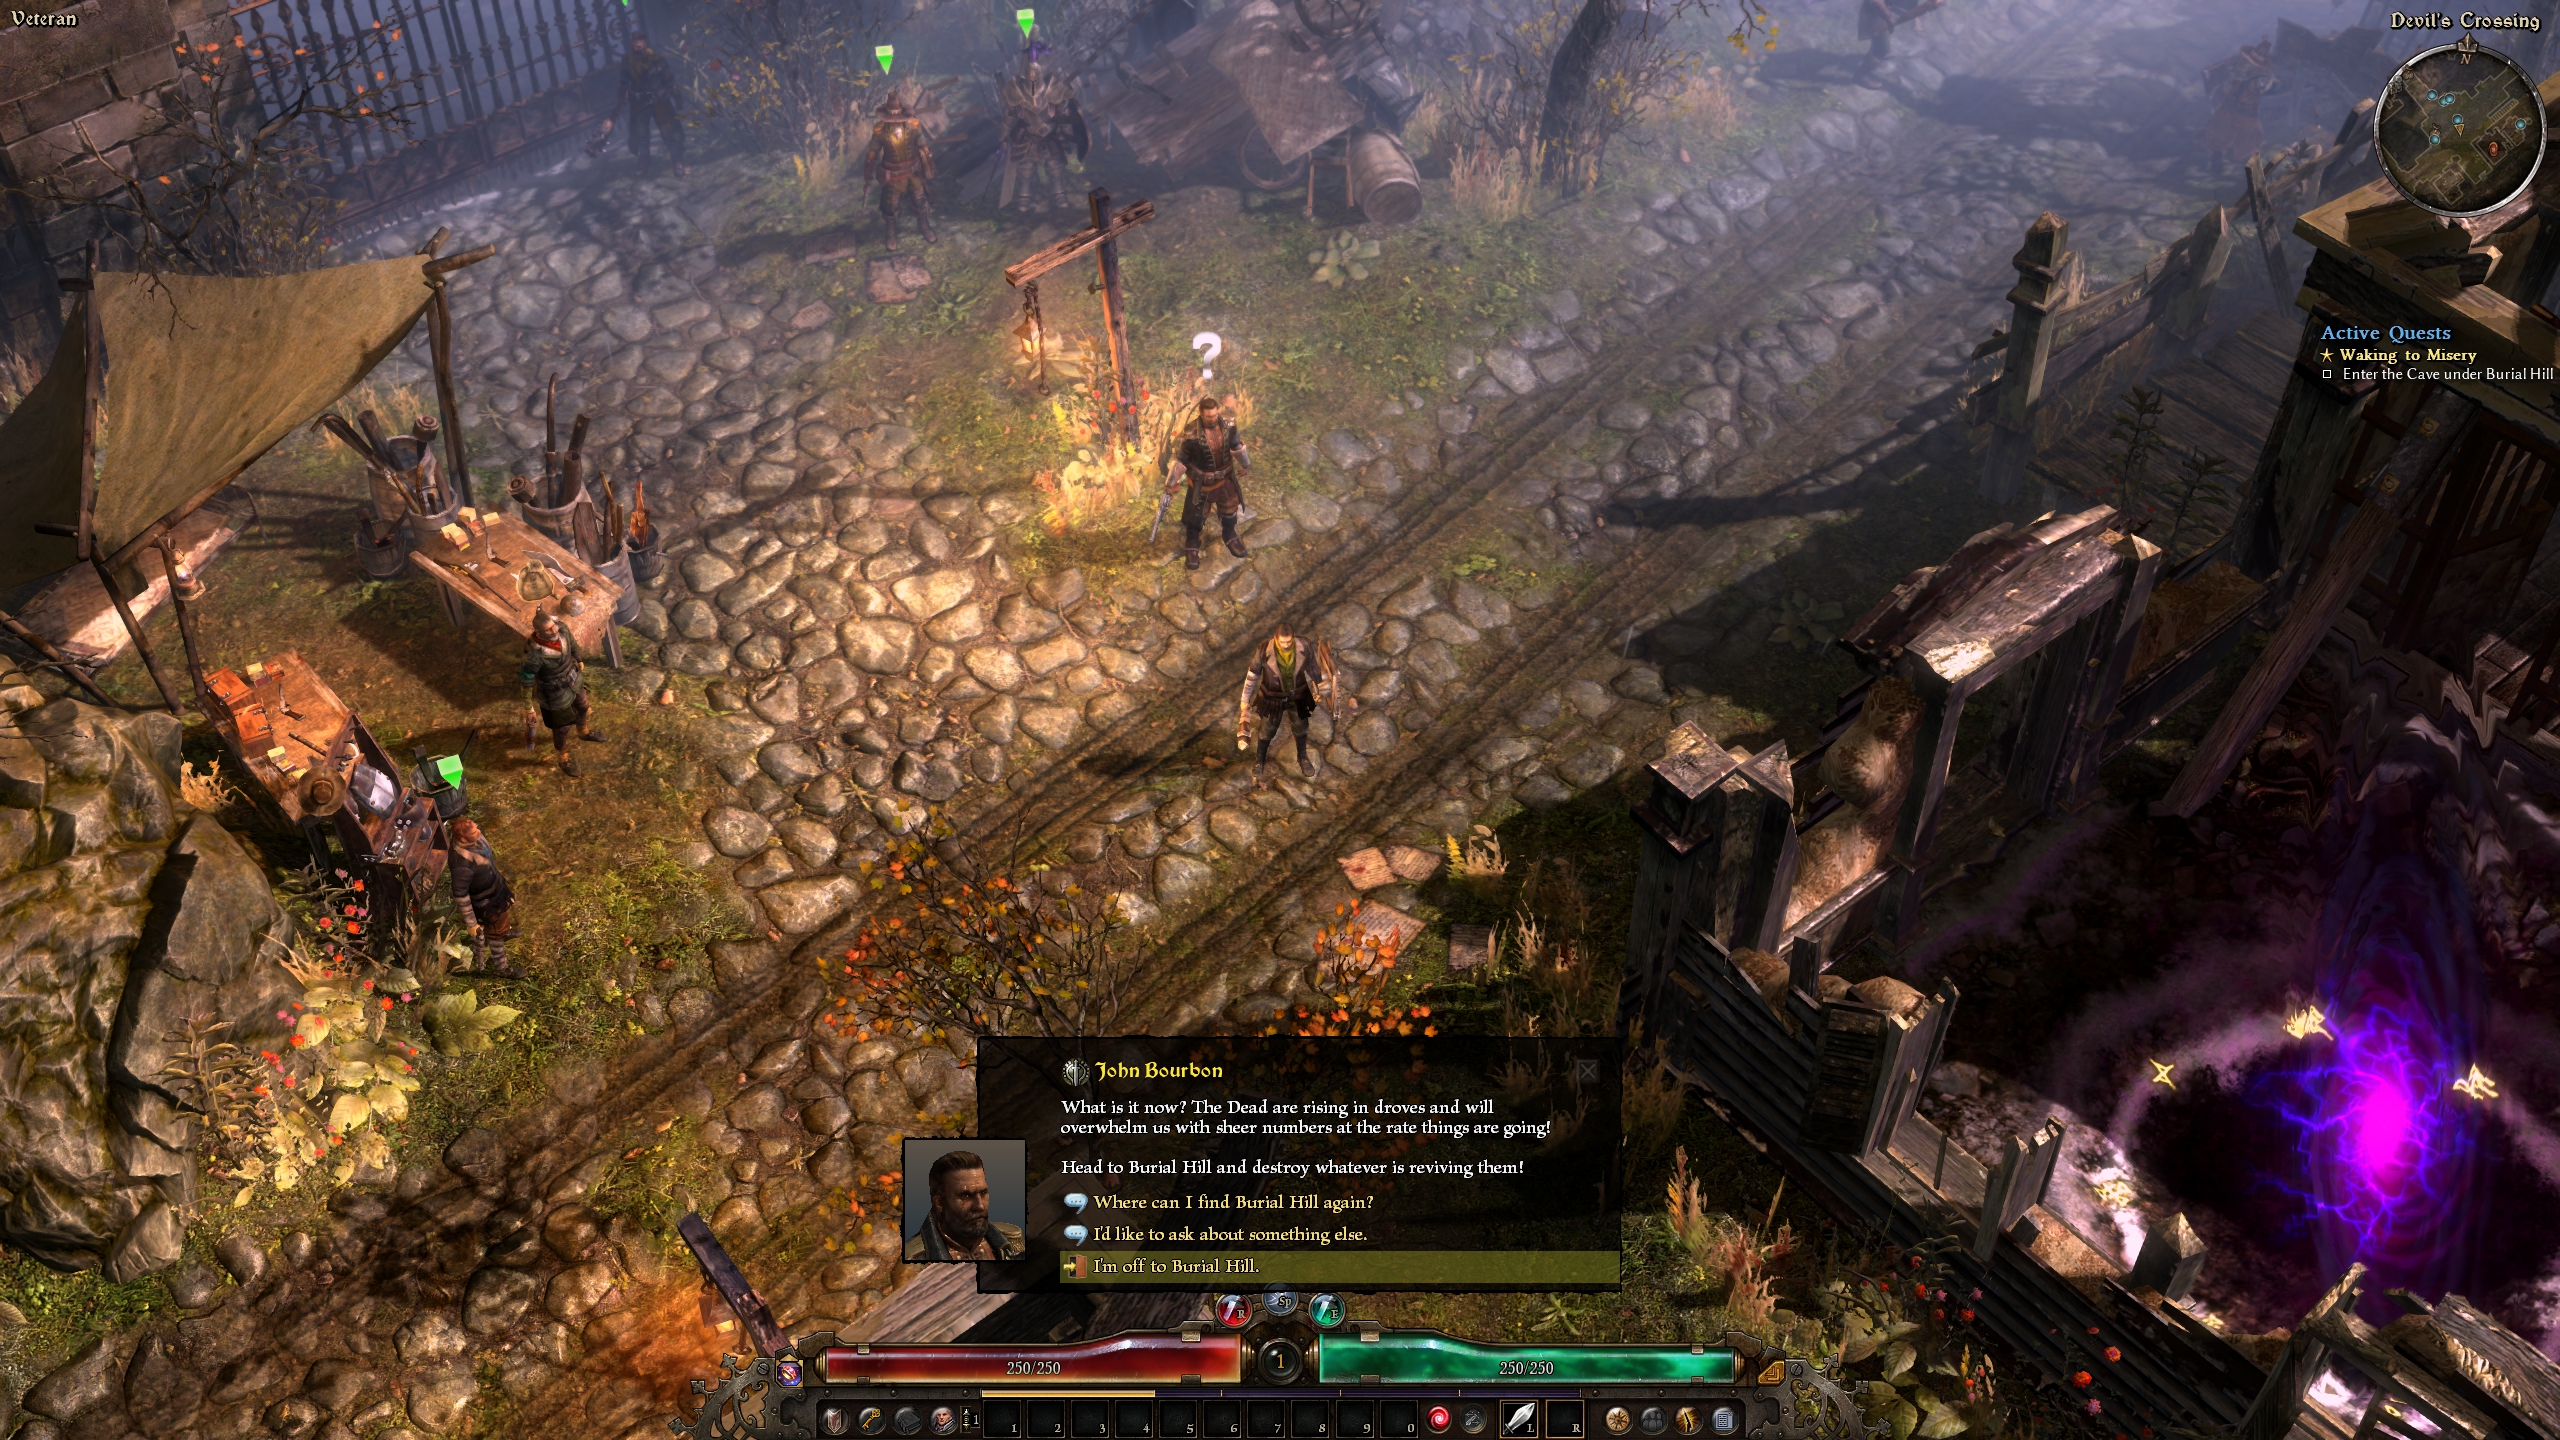
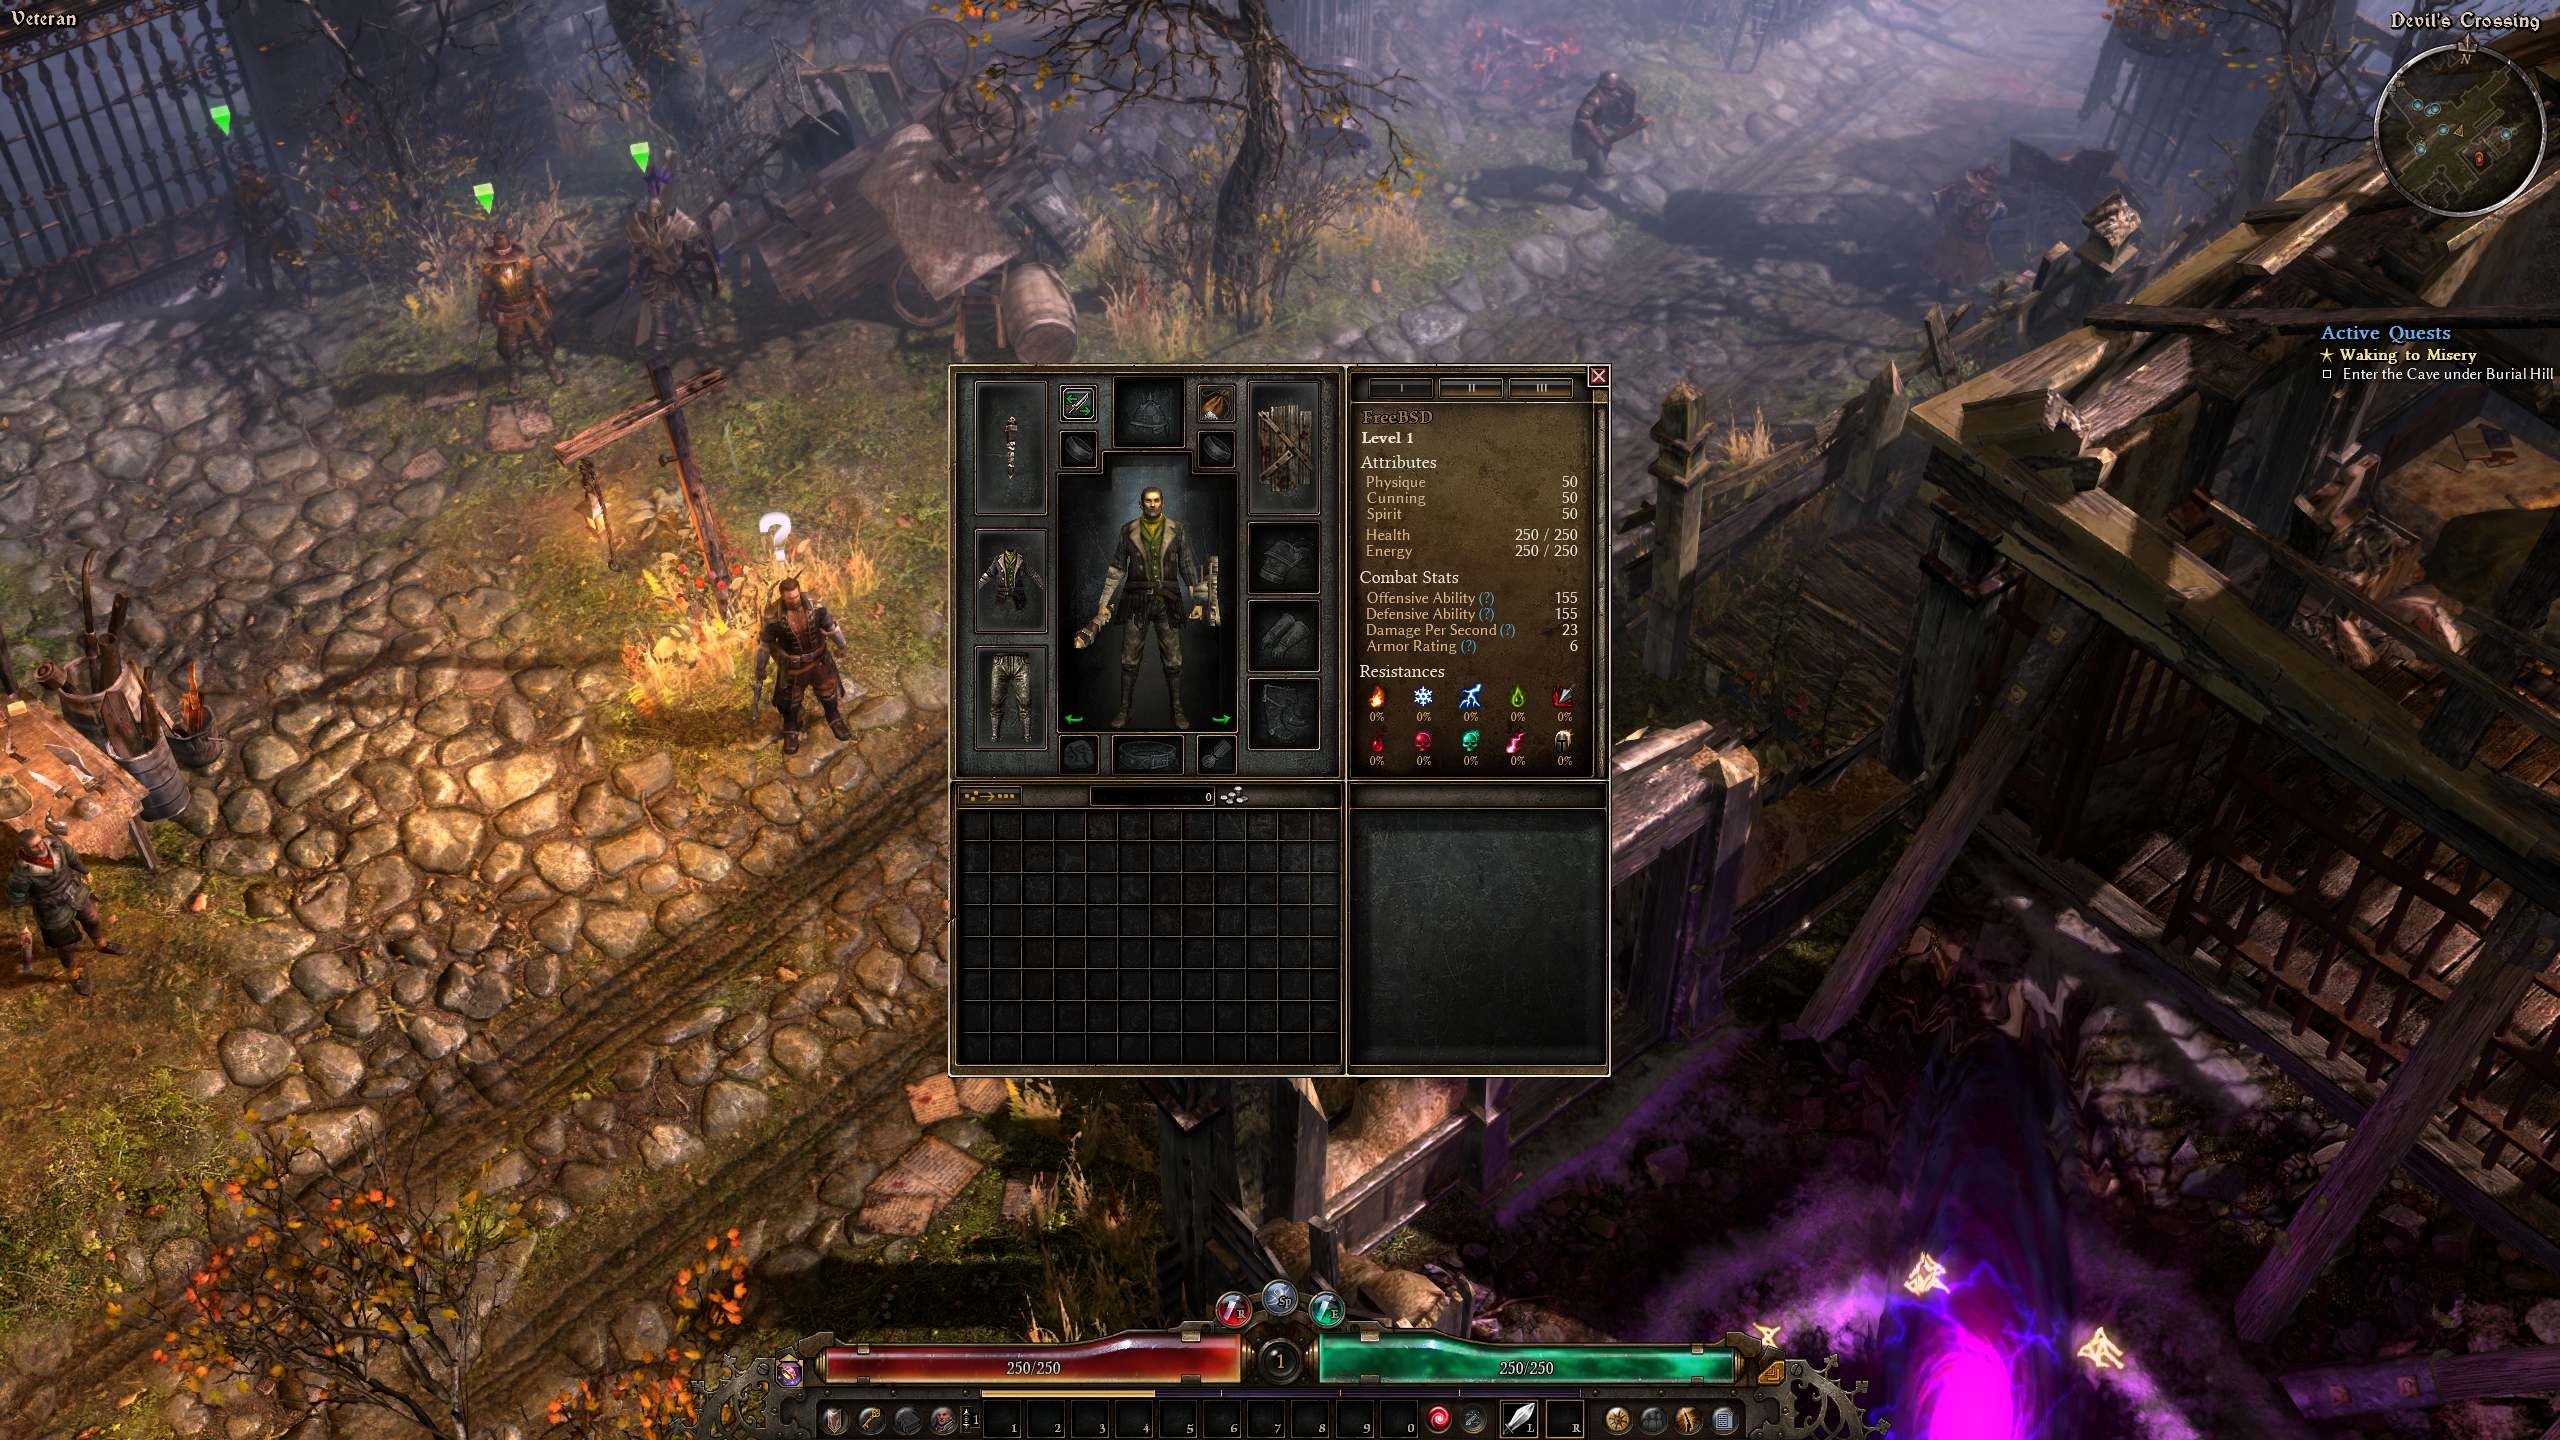
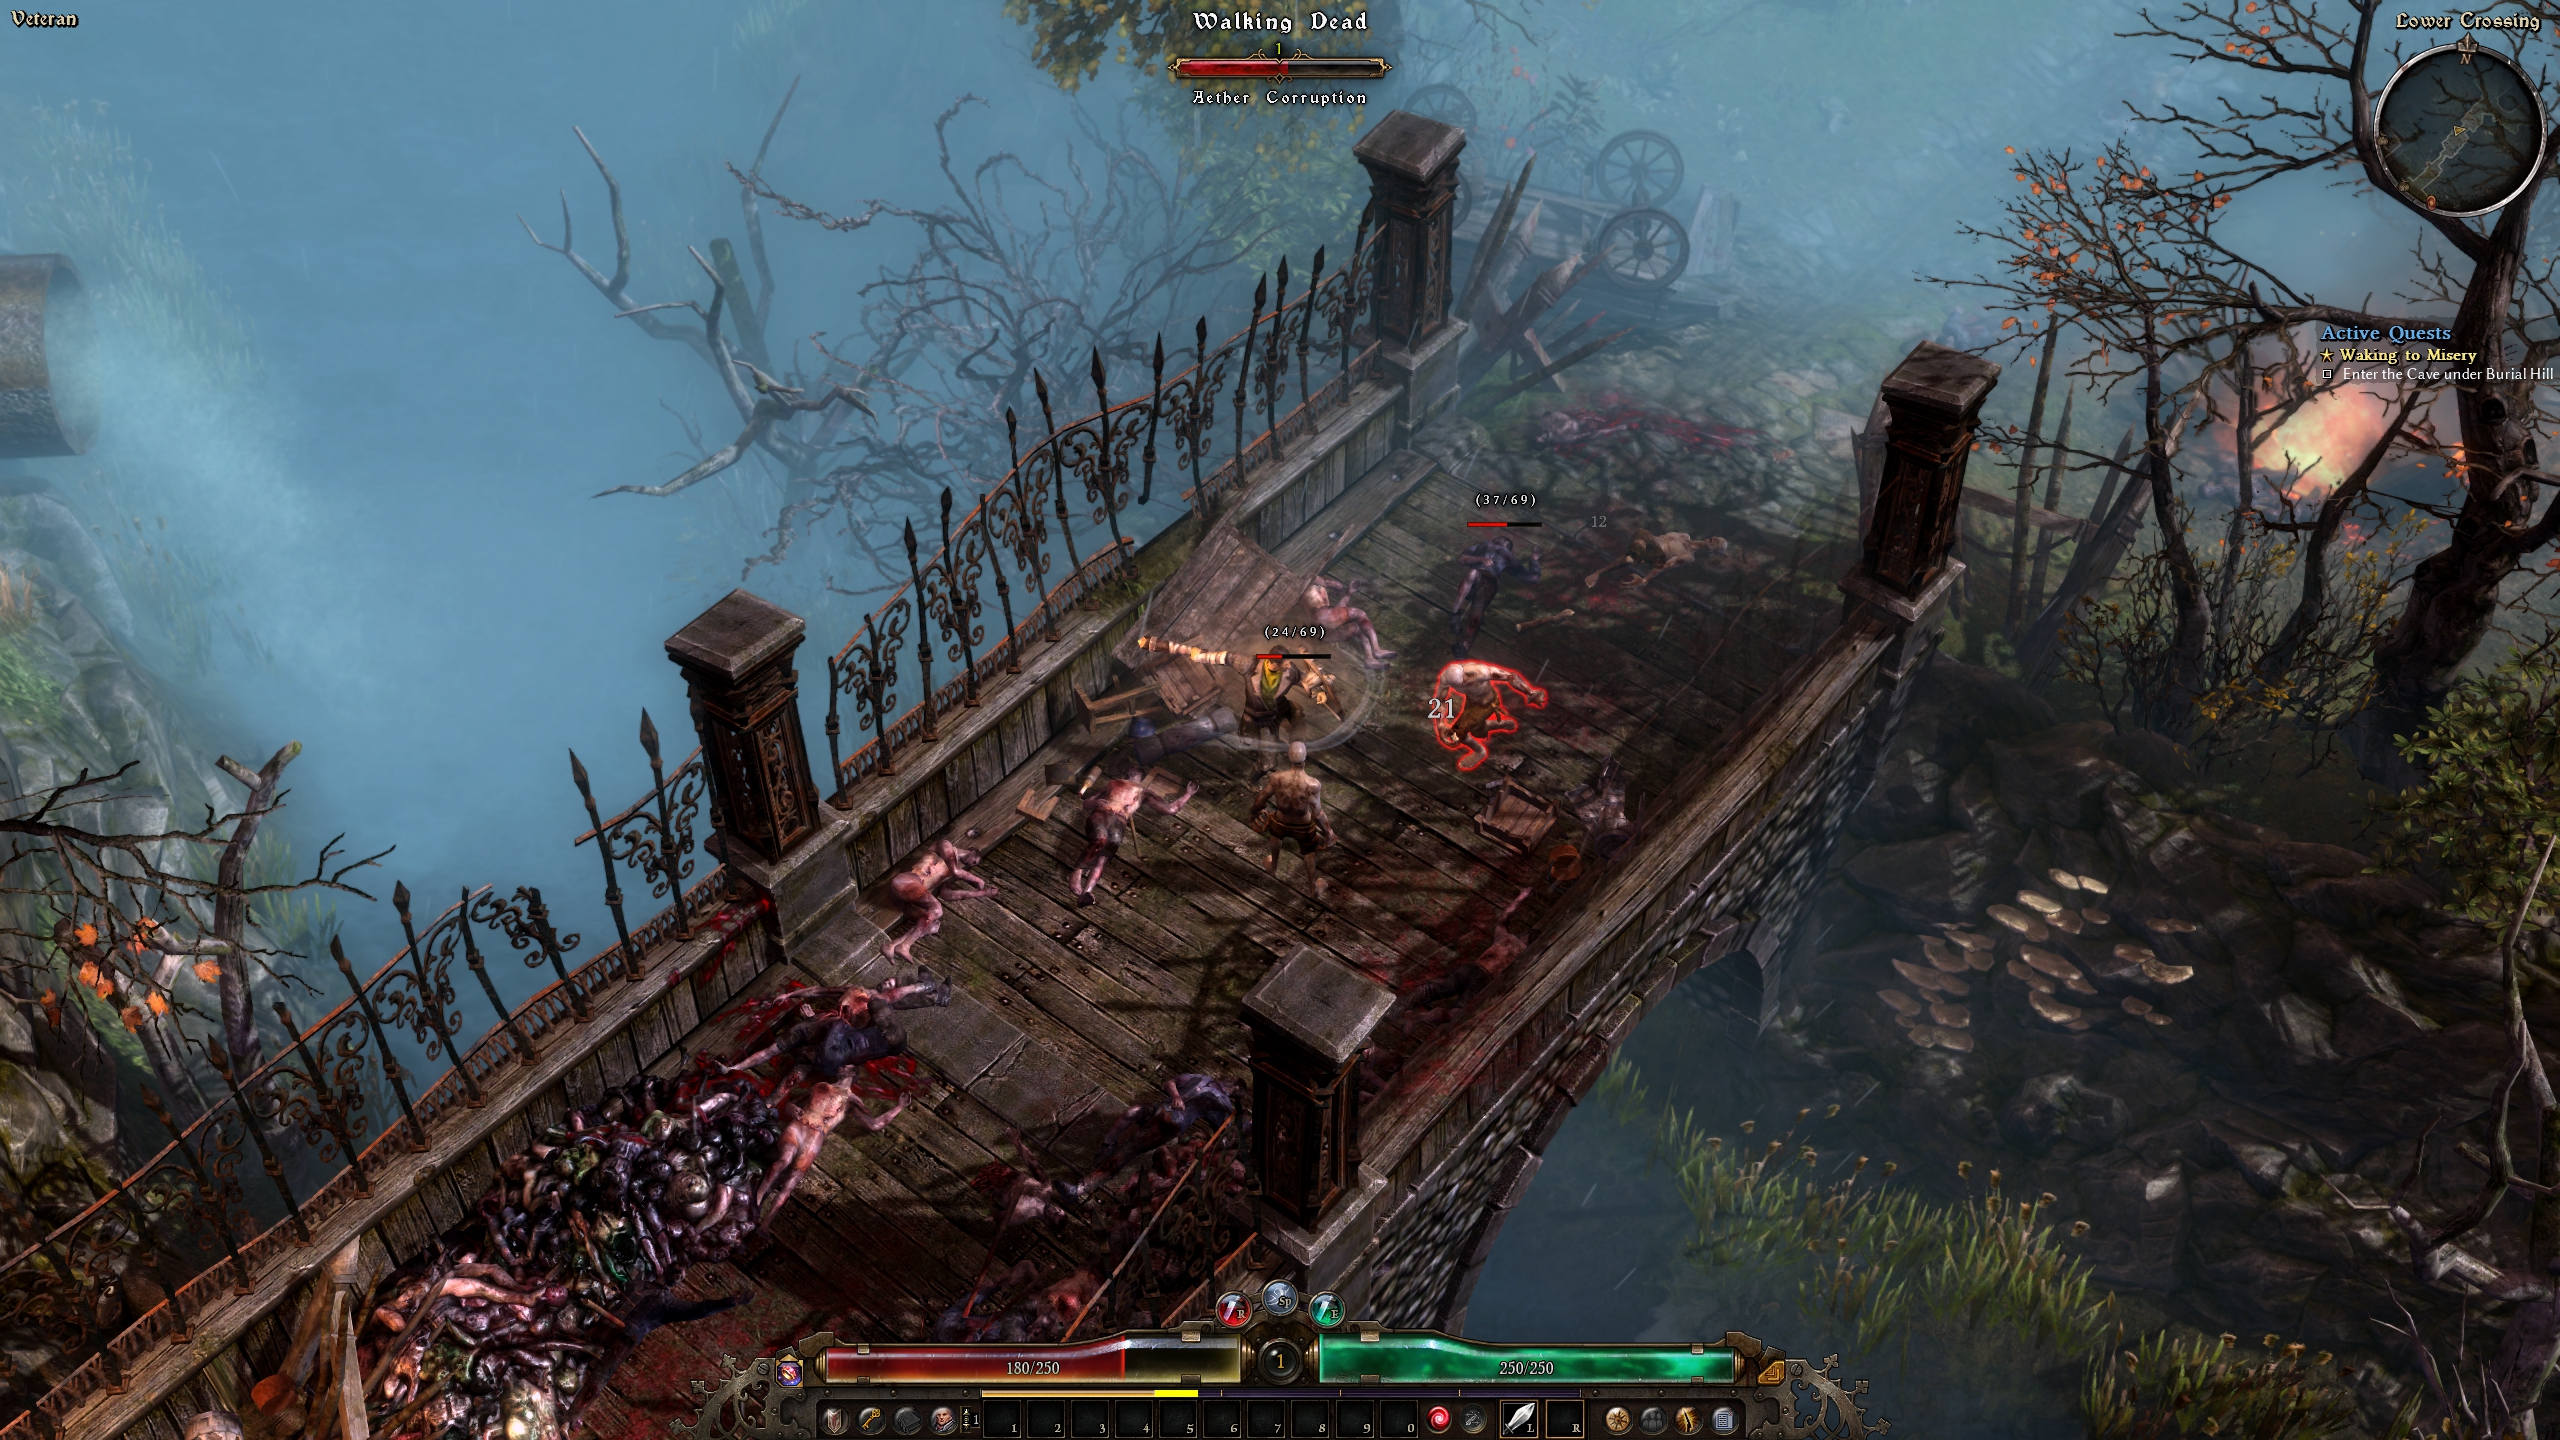
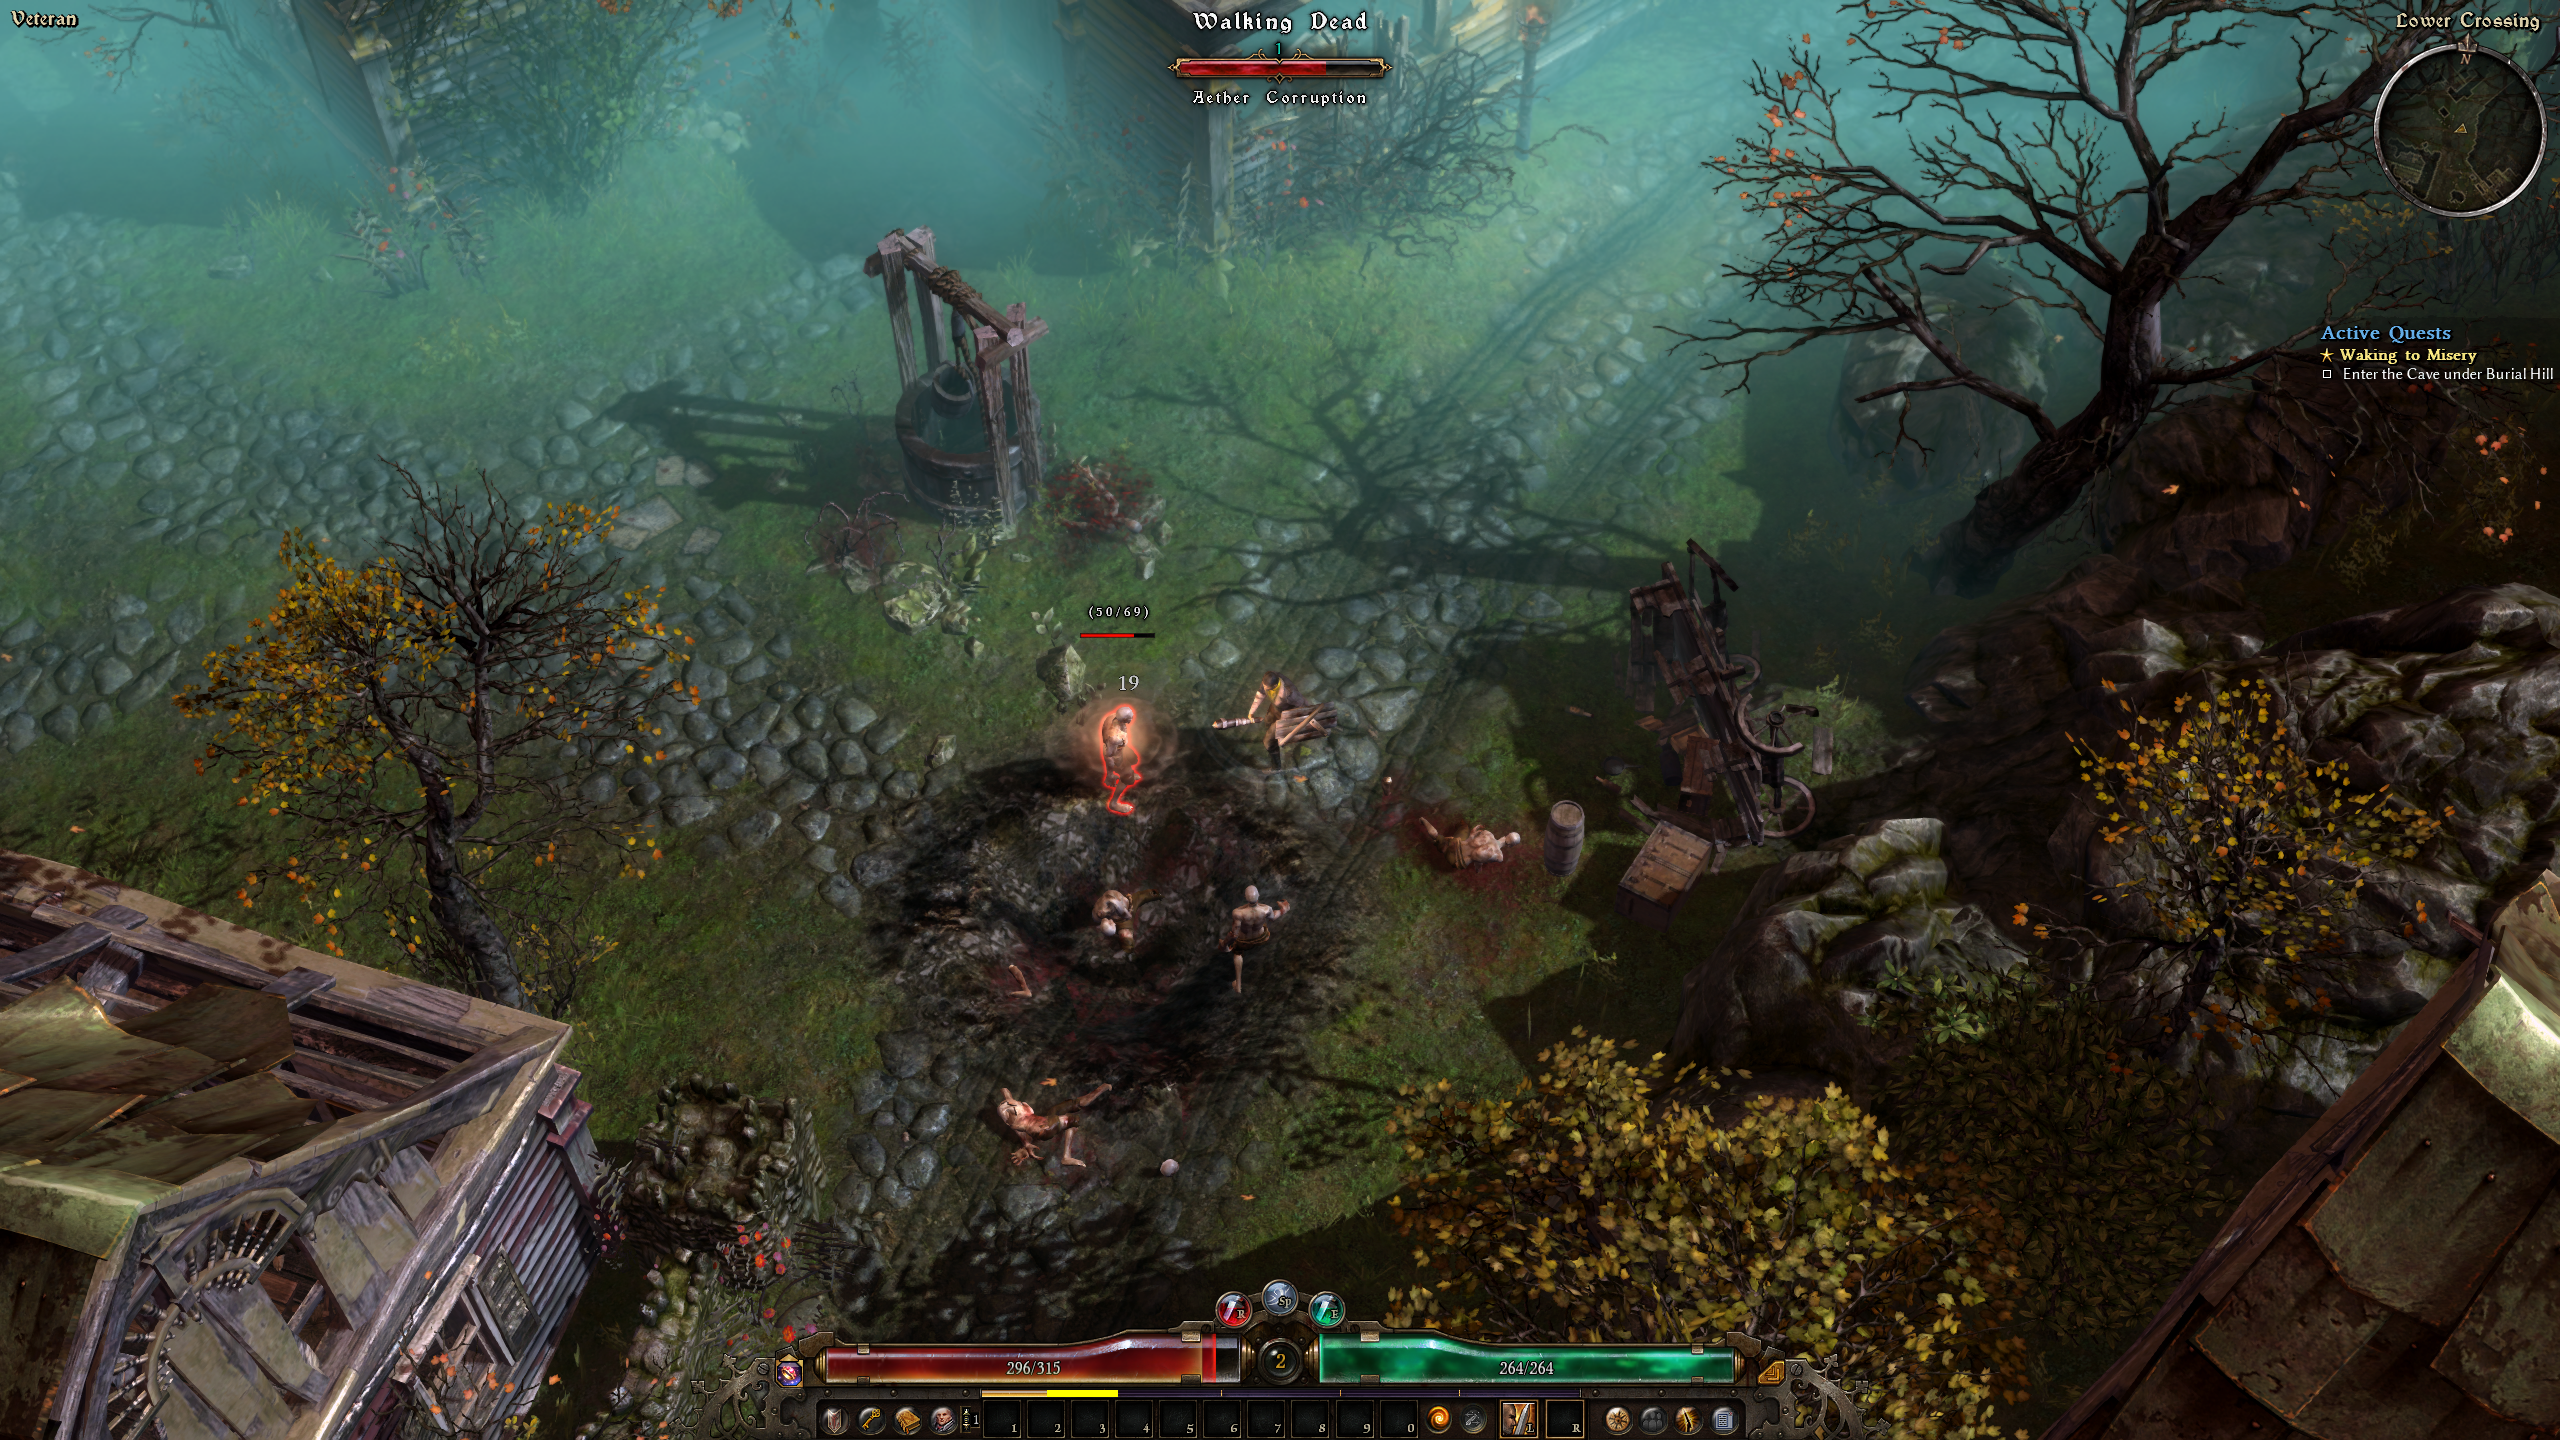
Grim Dawn

Terraria


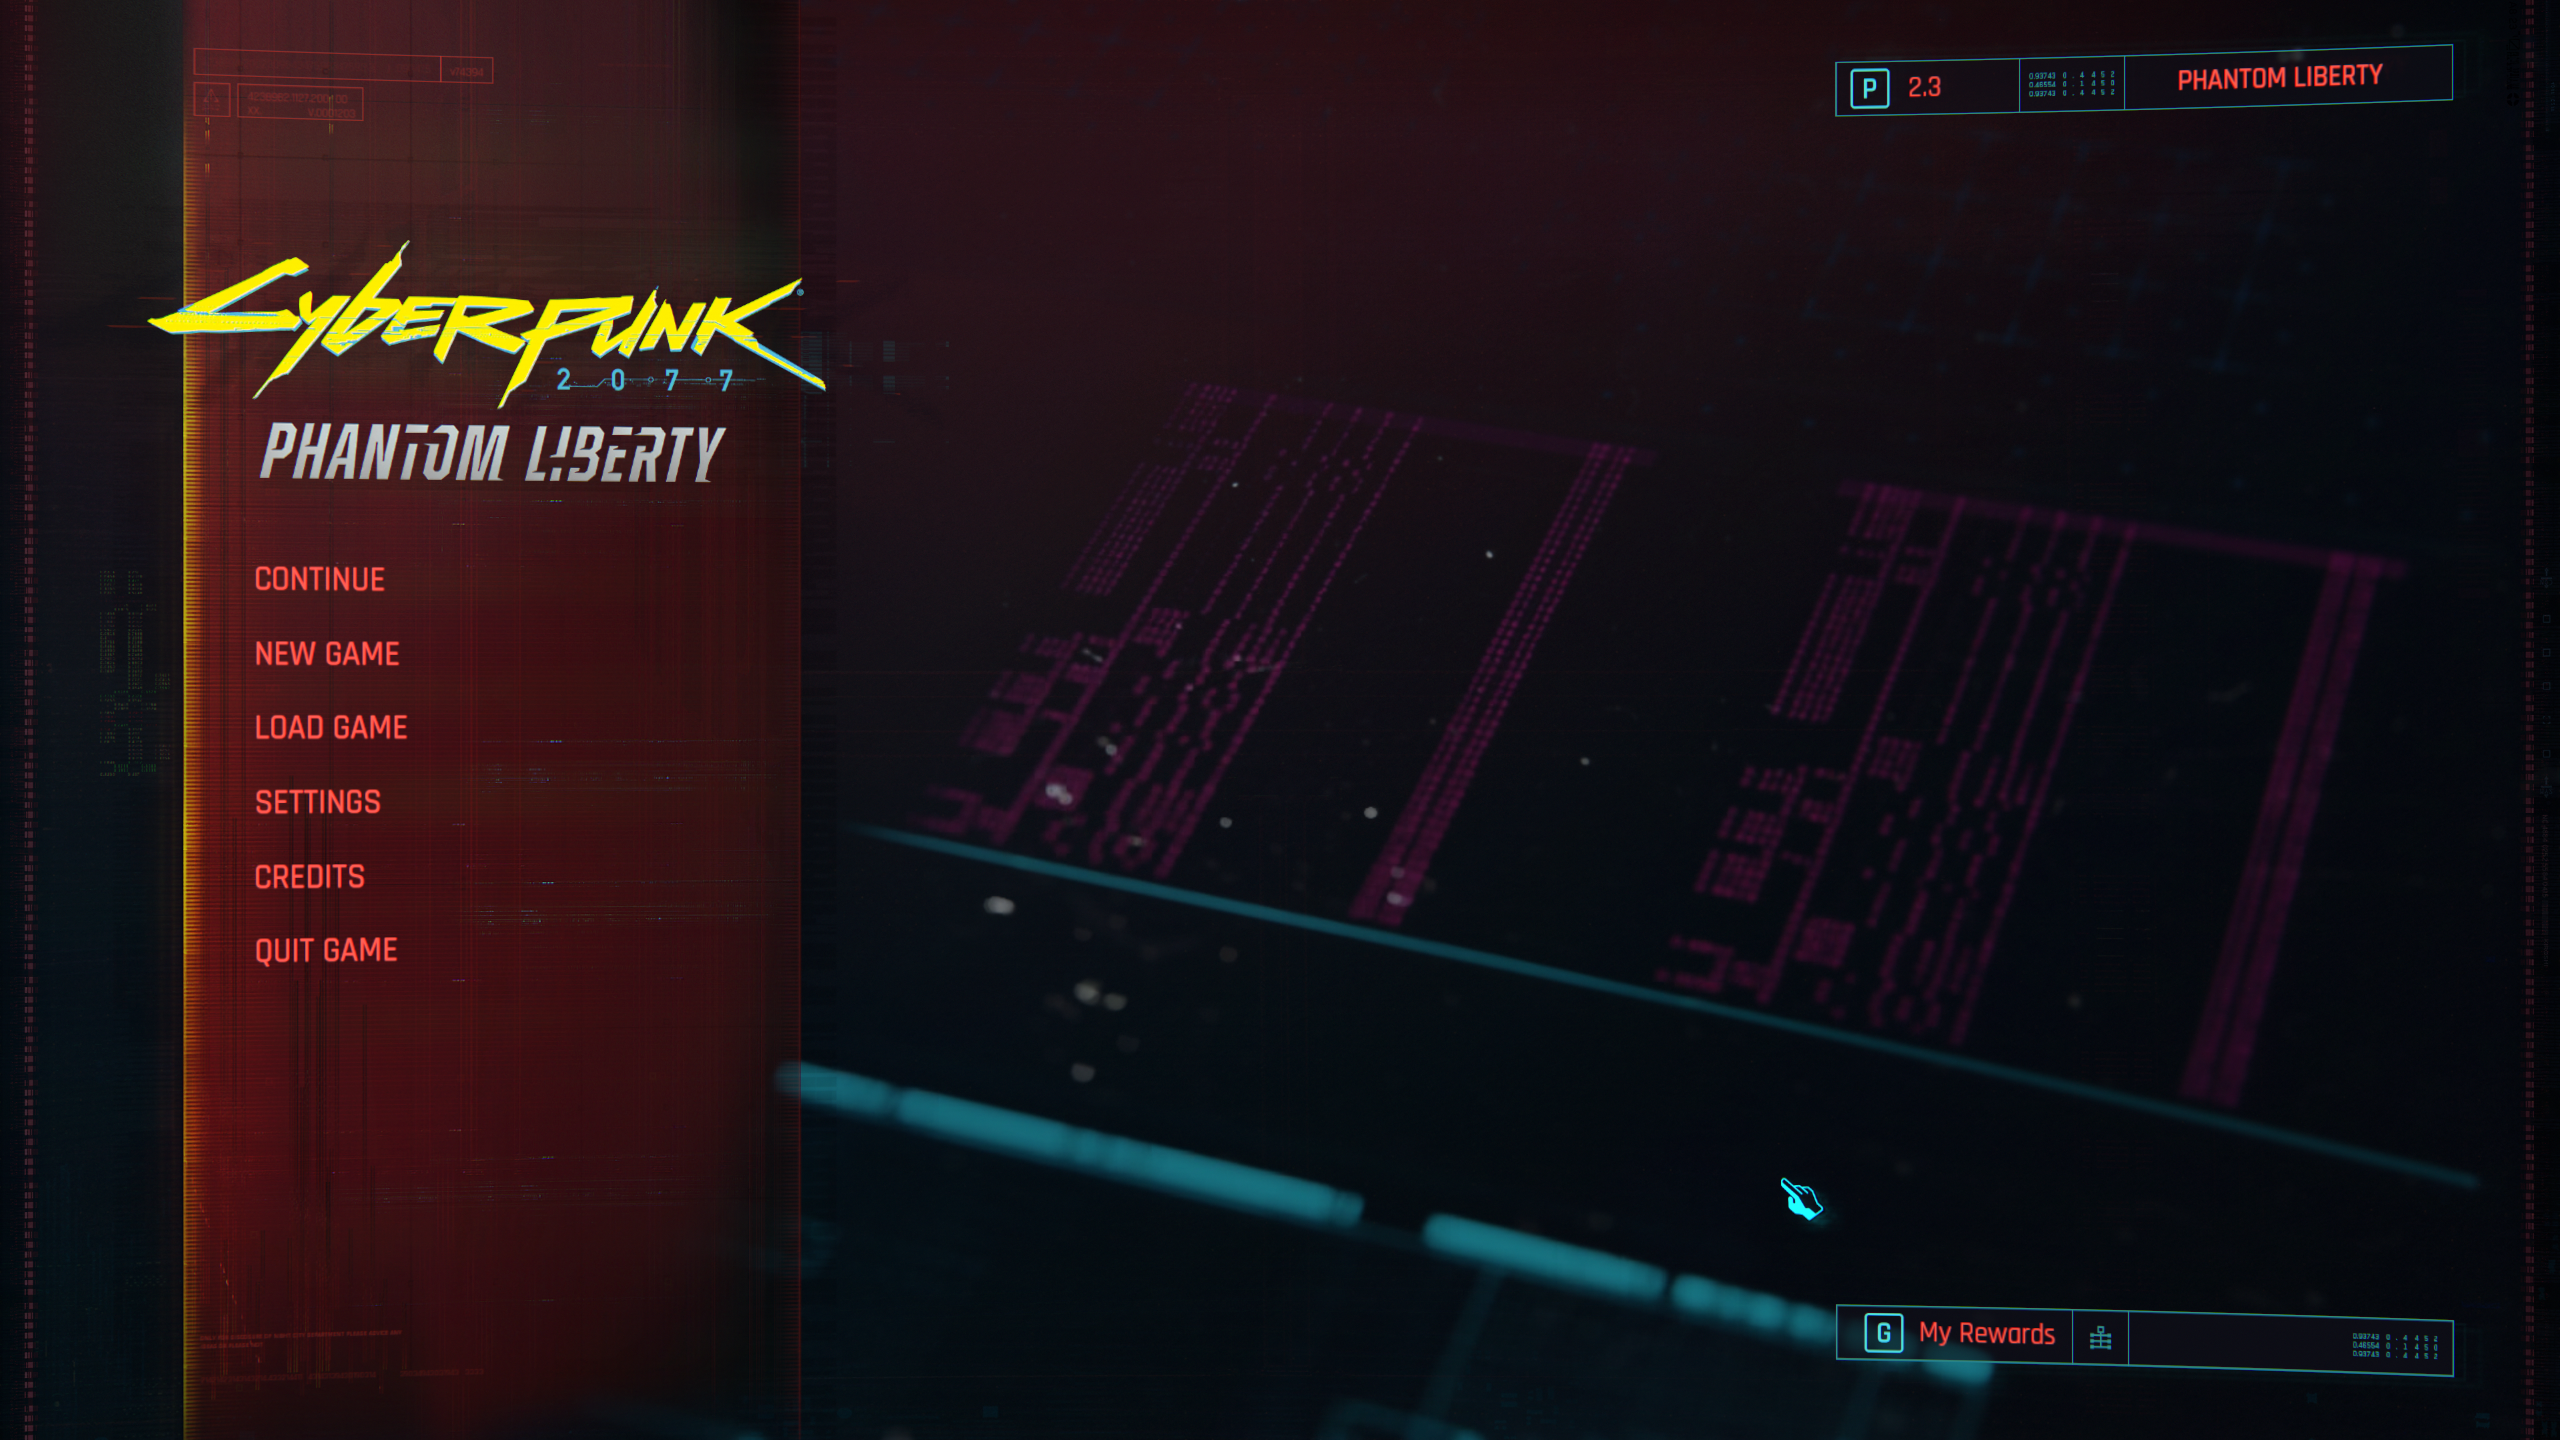
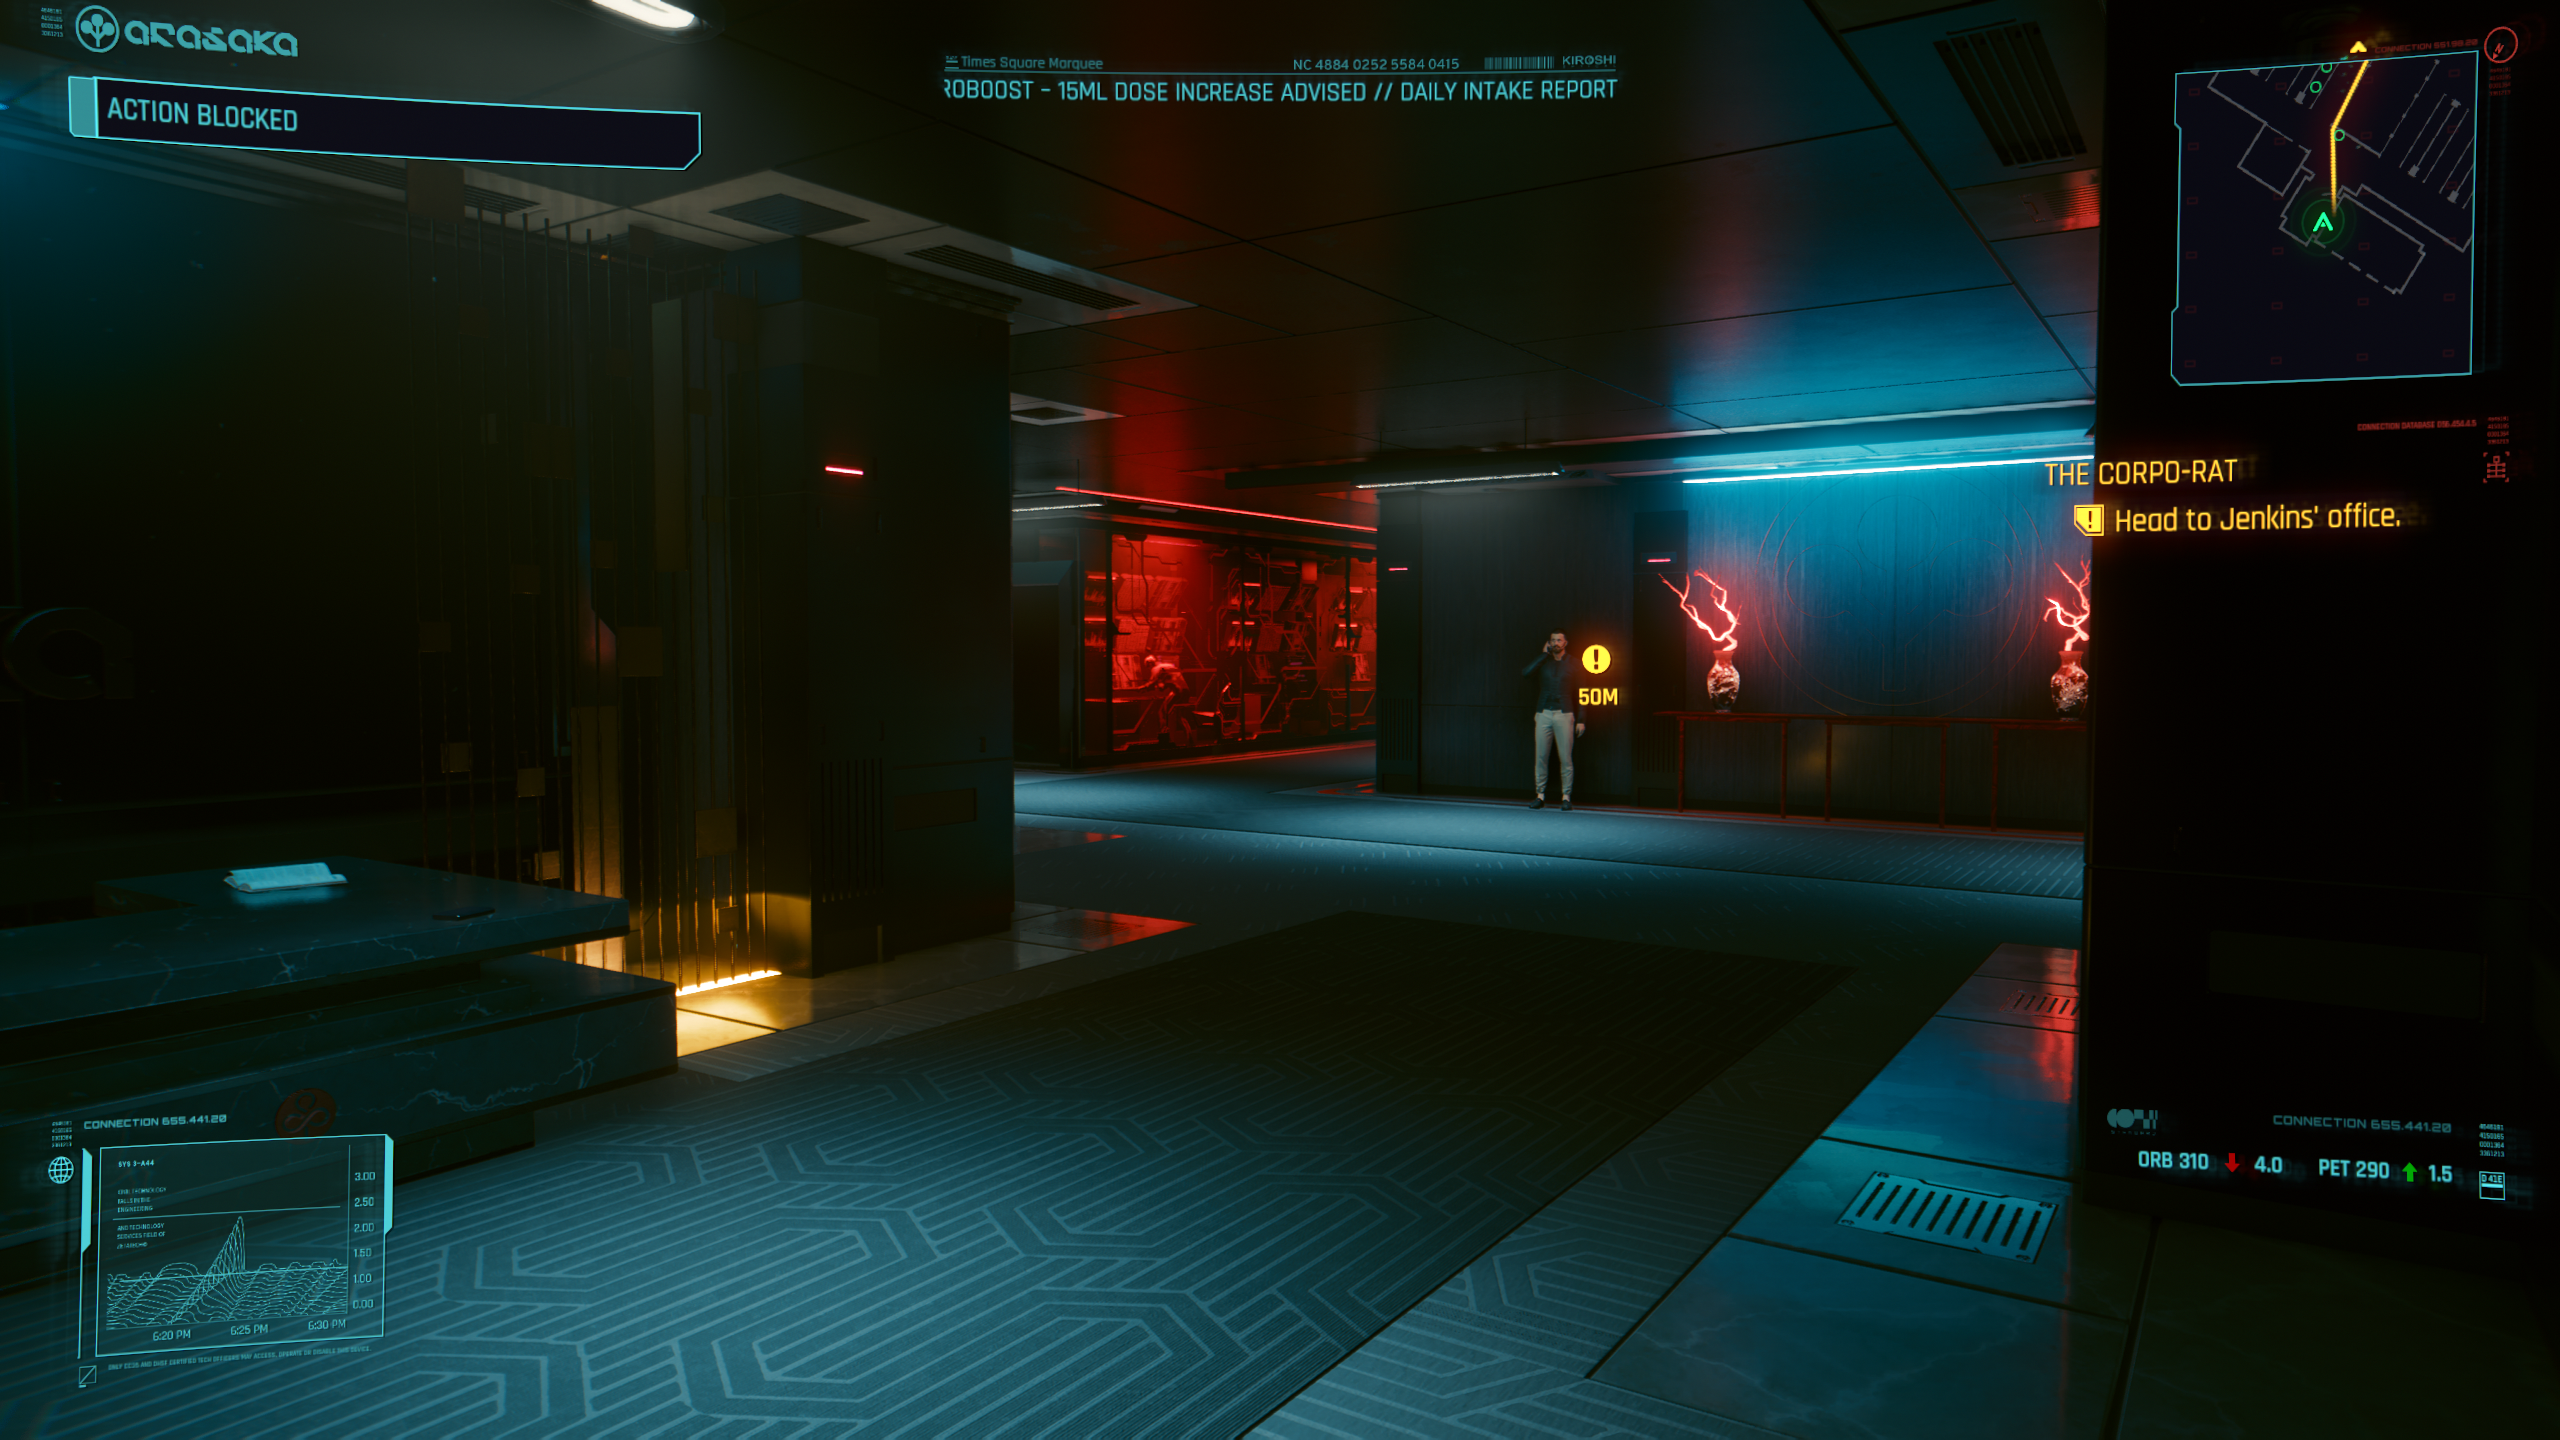
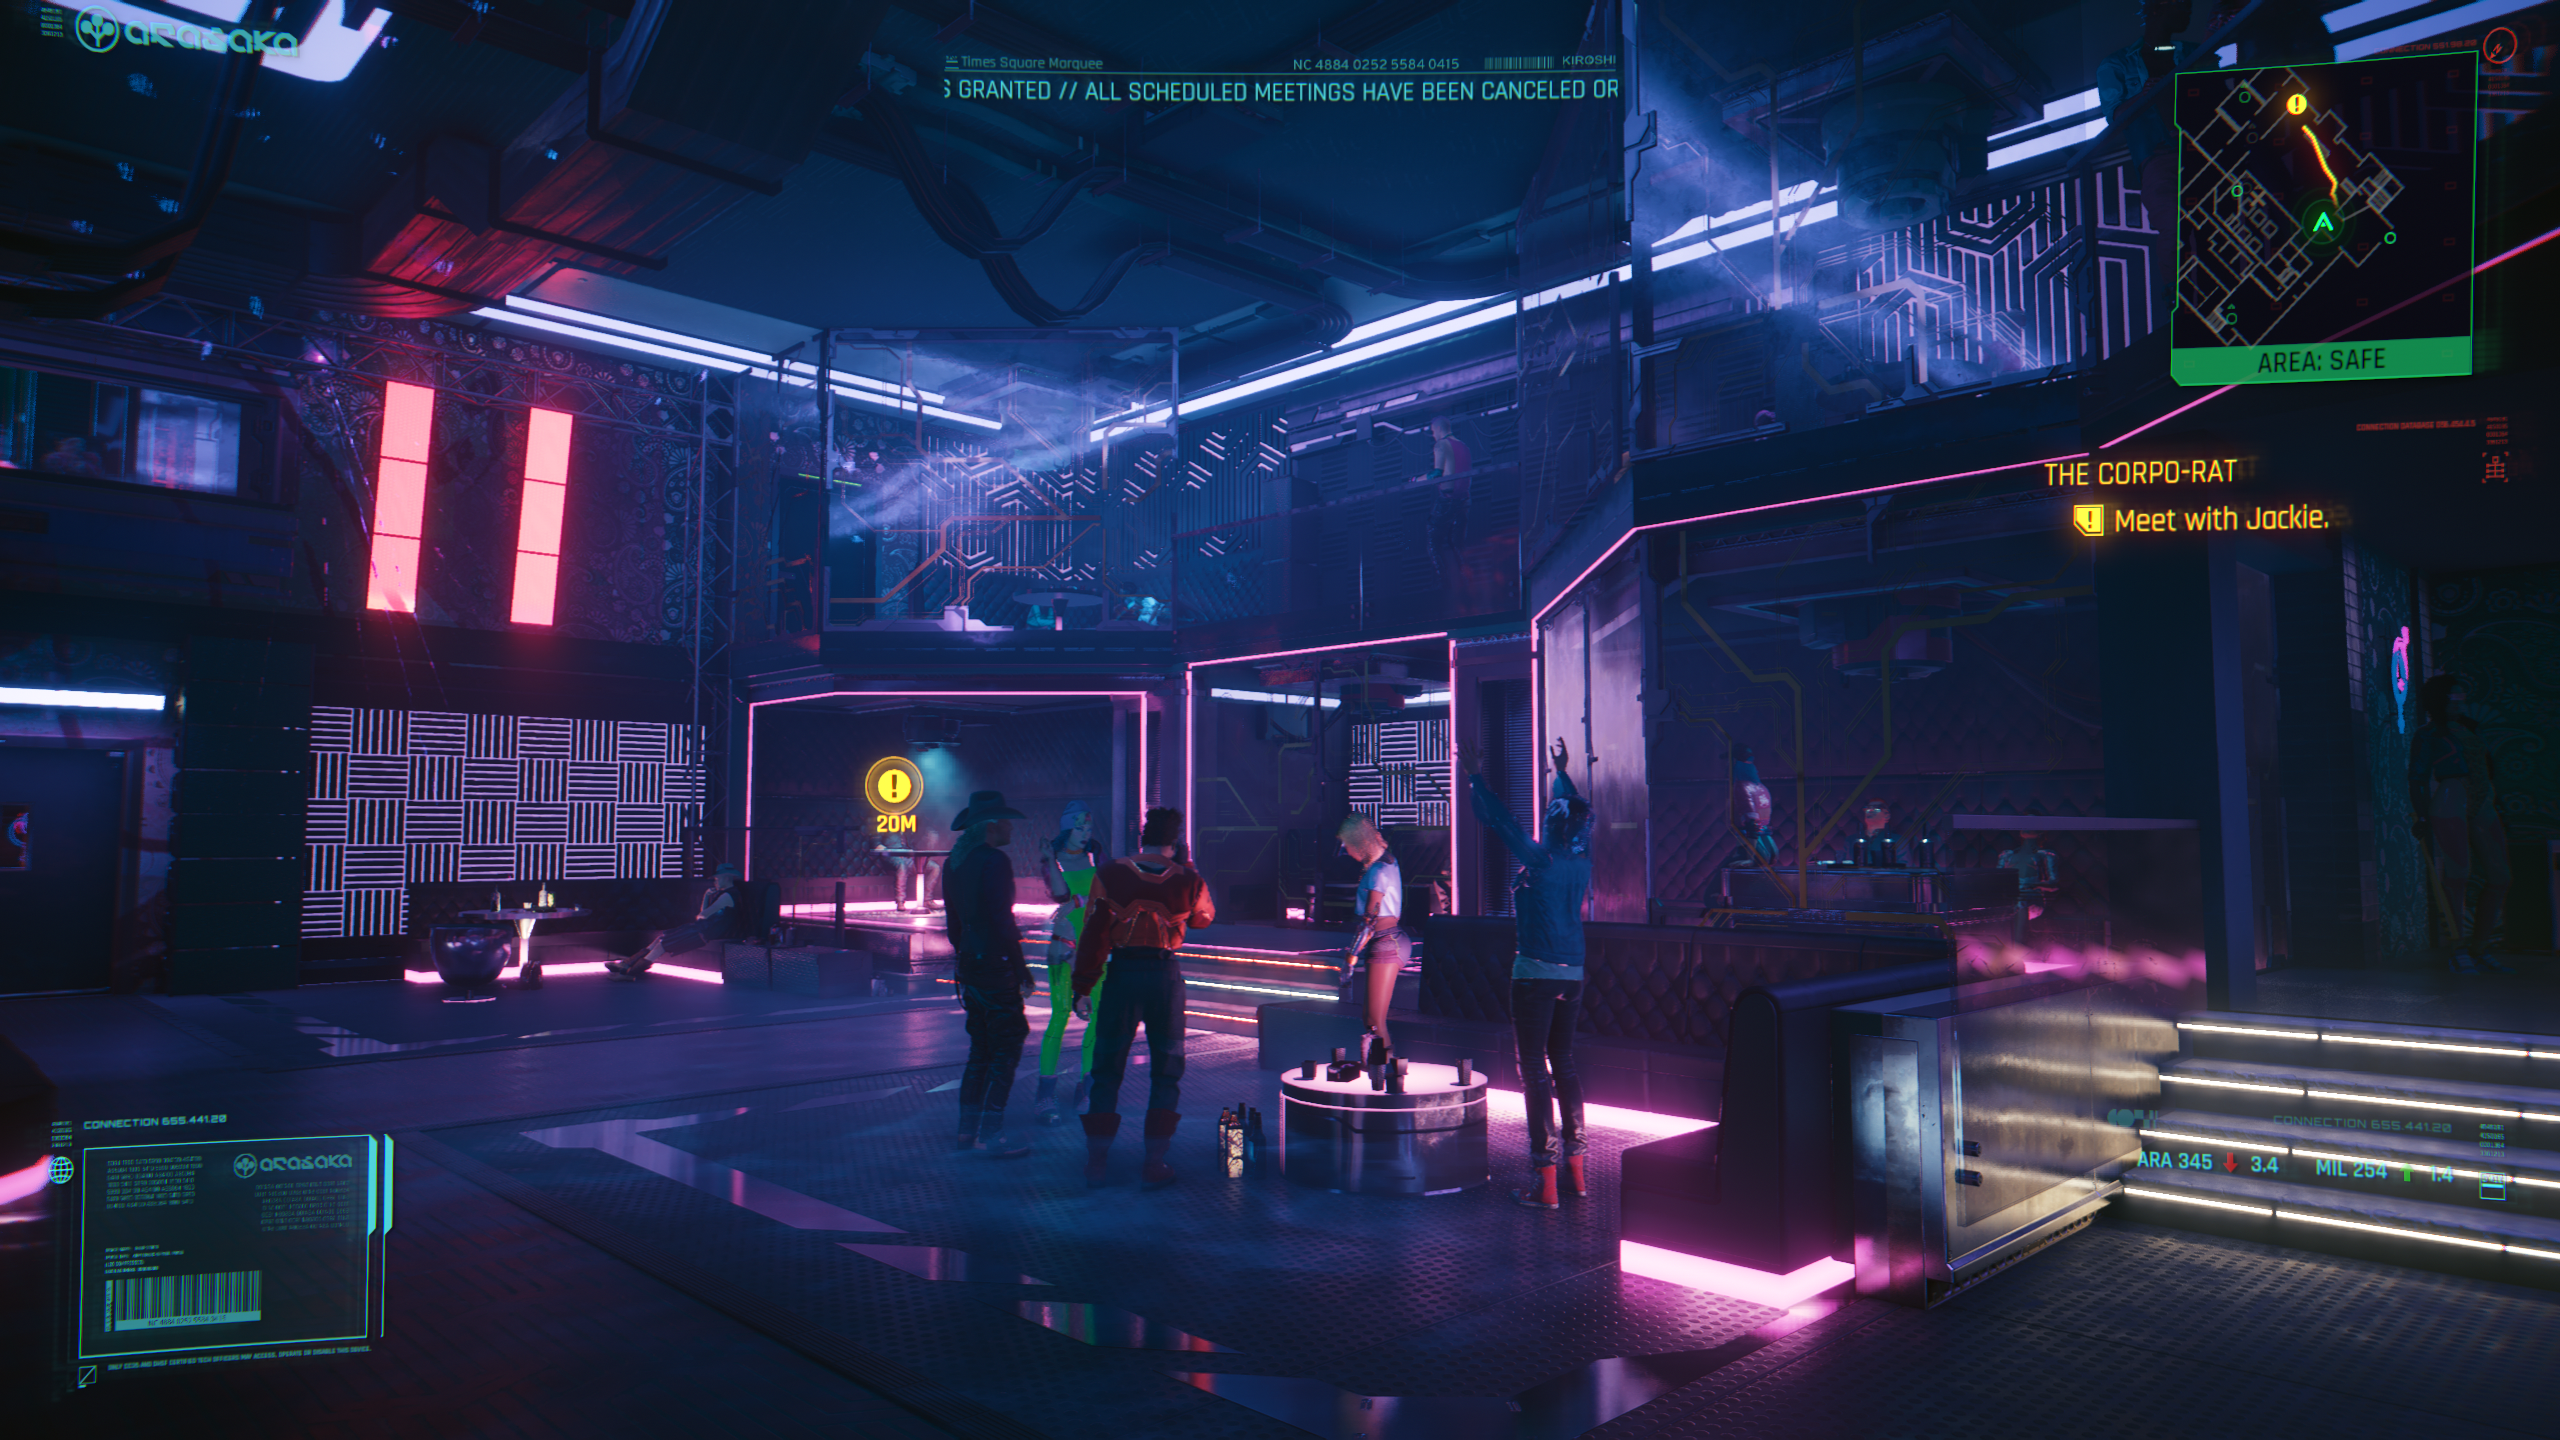
Cyberpunk 2077: Phantom Liberty


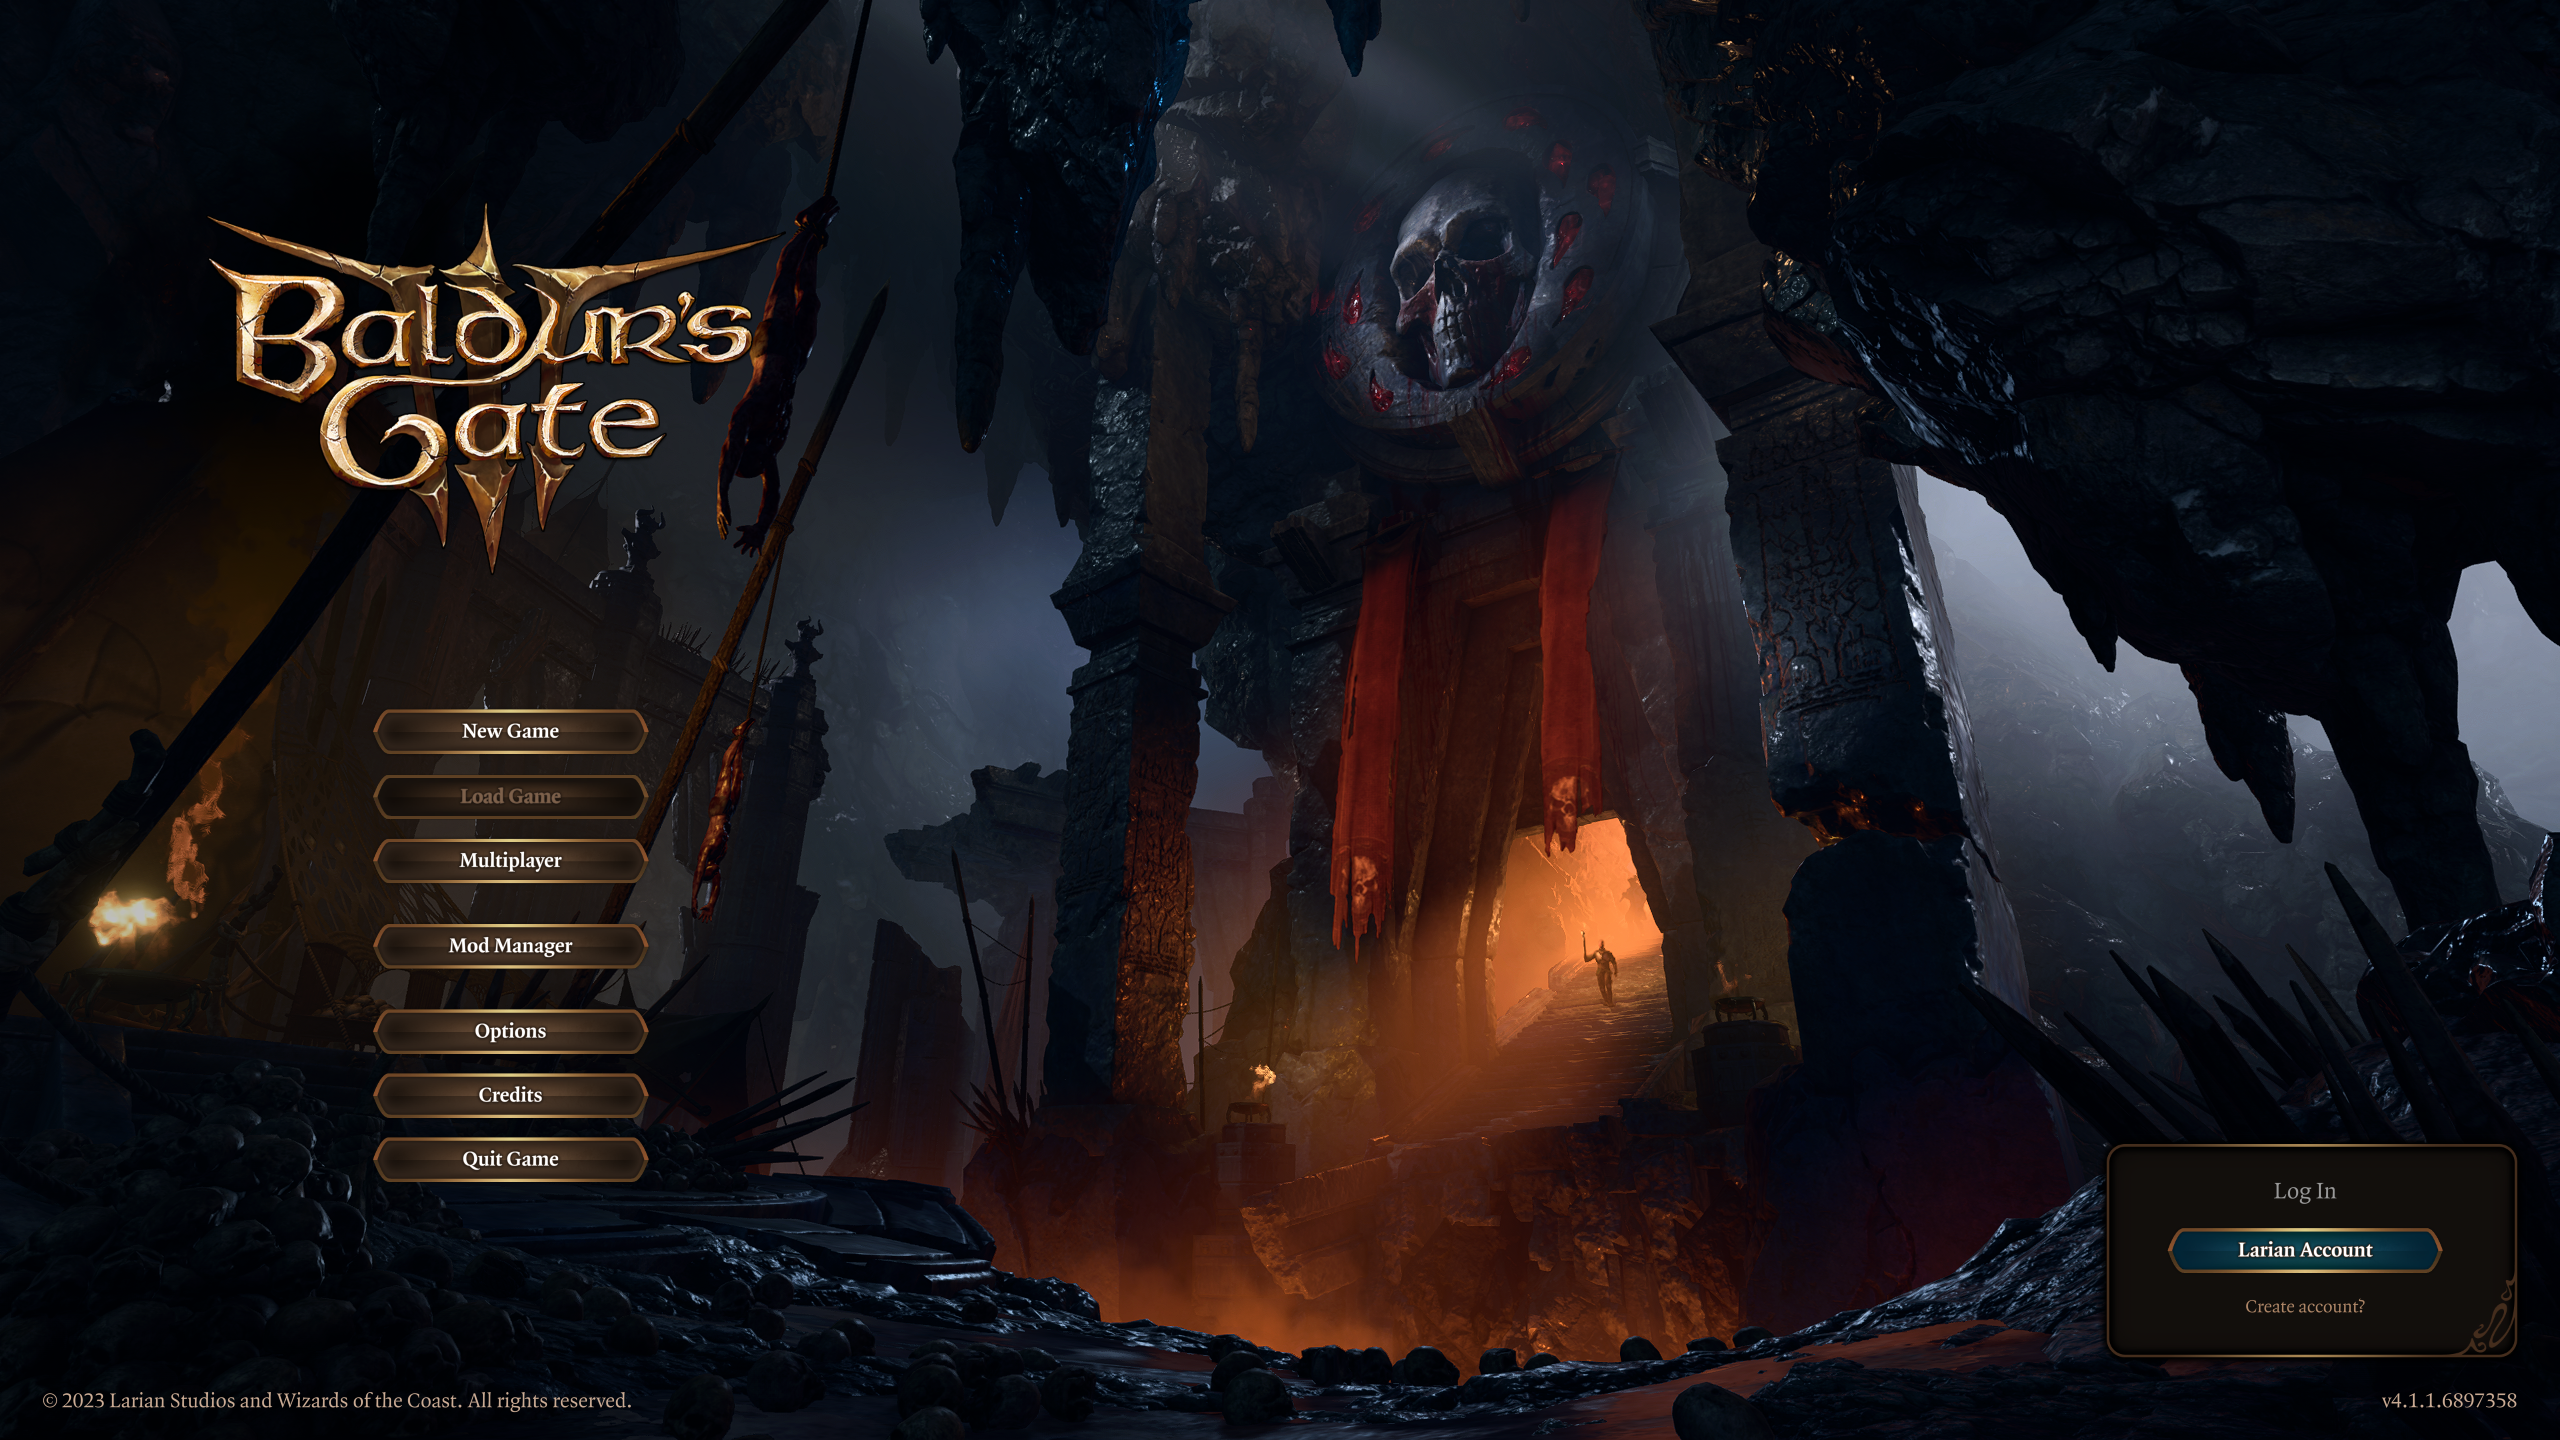
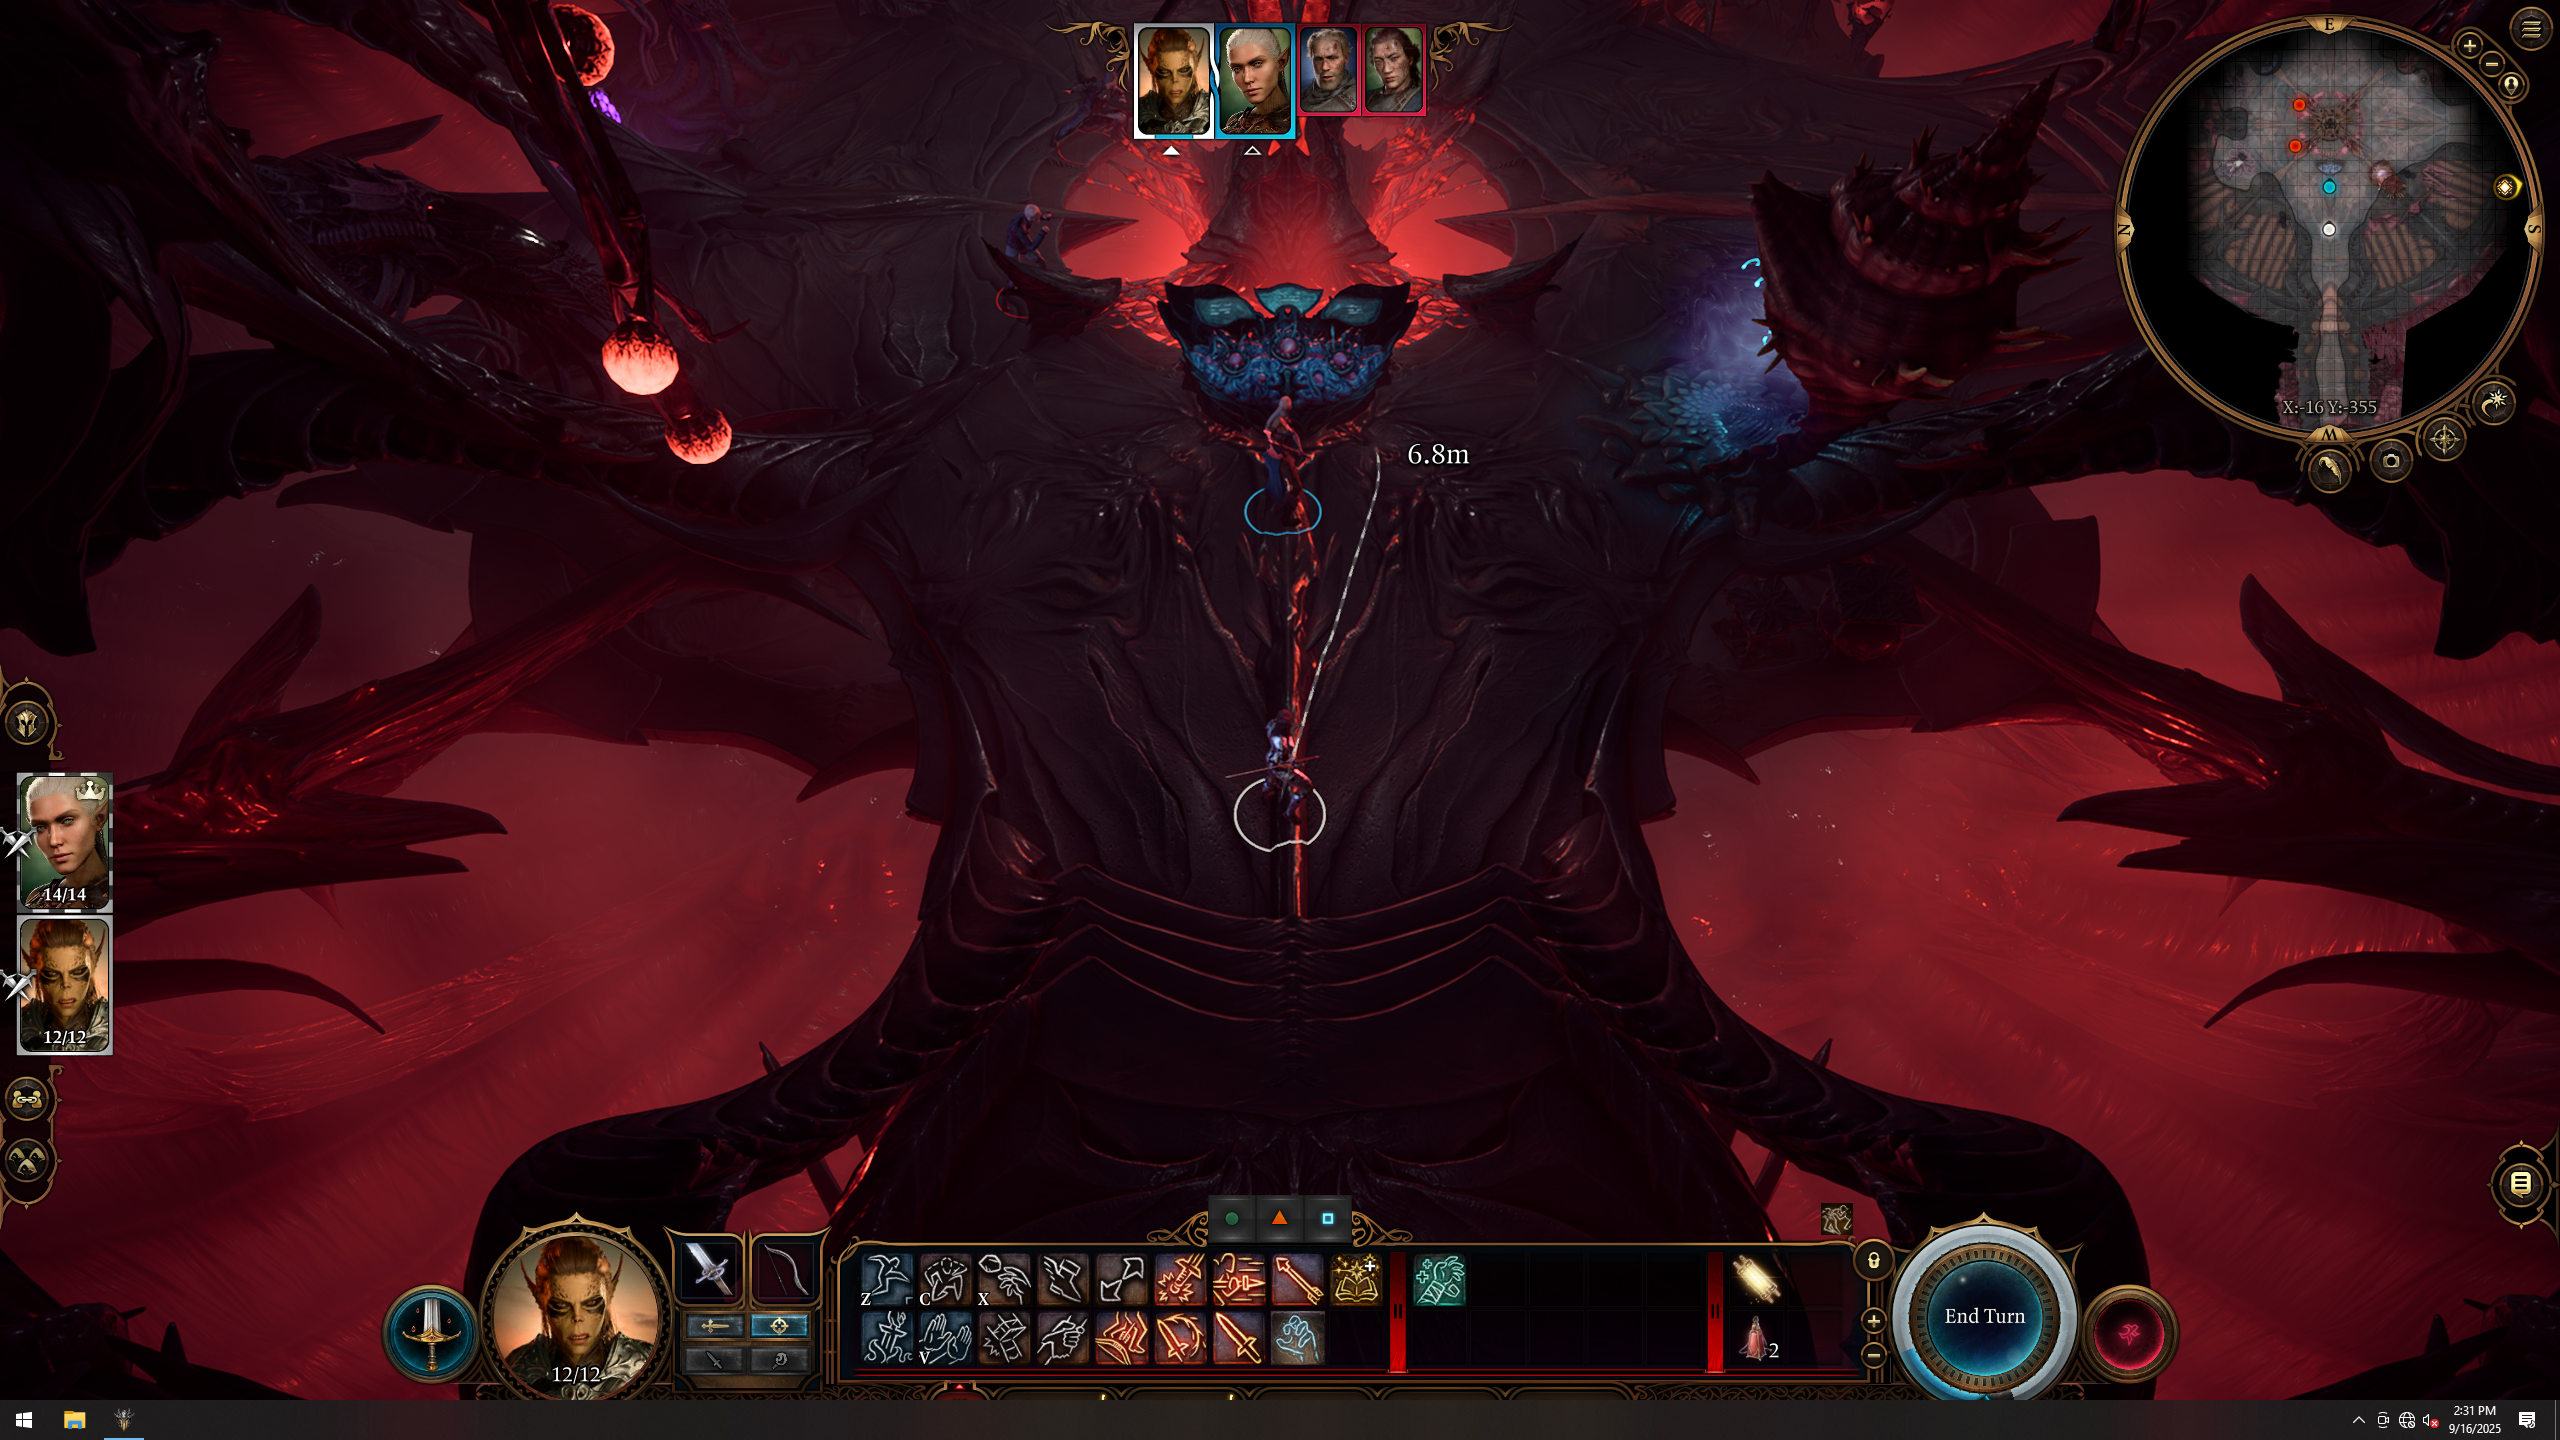
Baldur's Gate 3
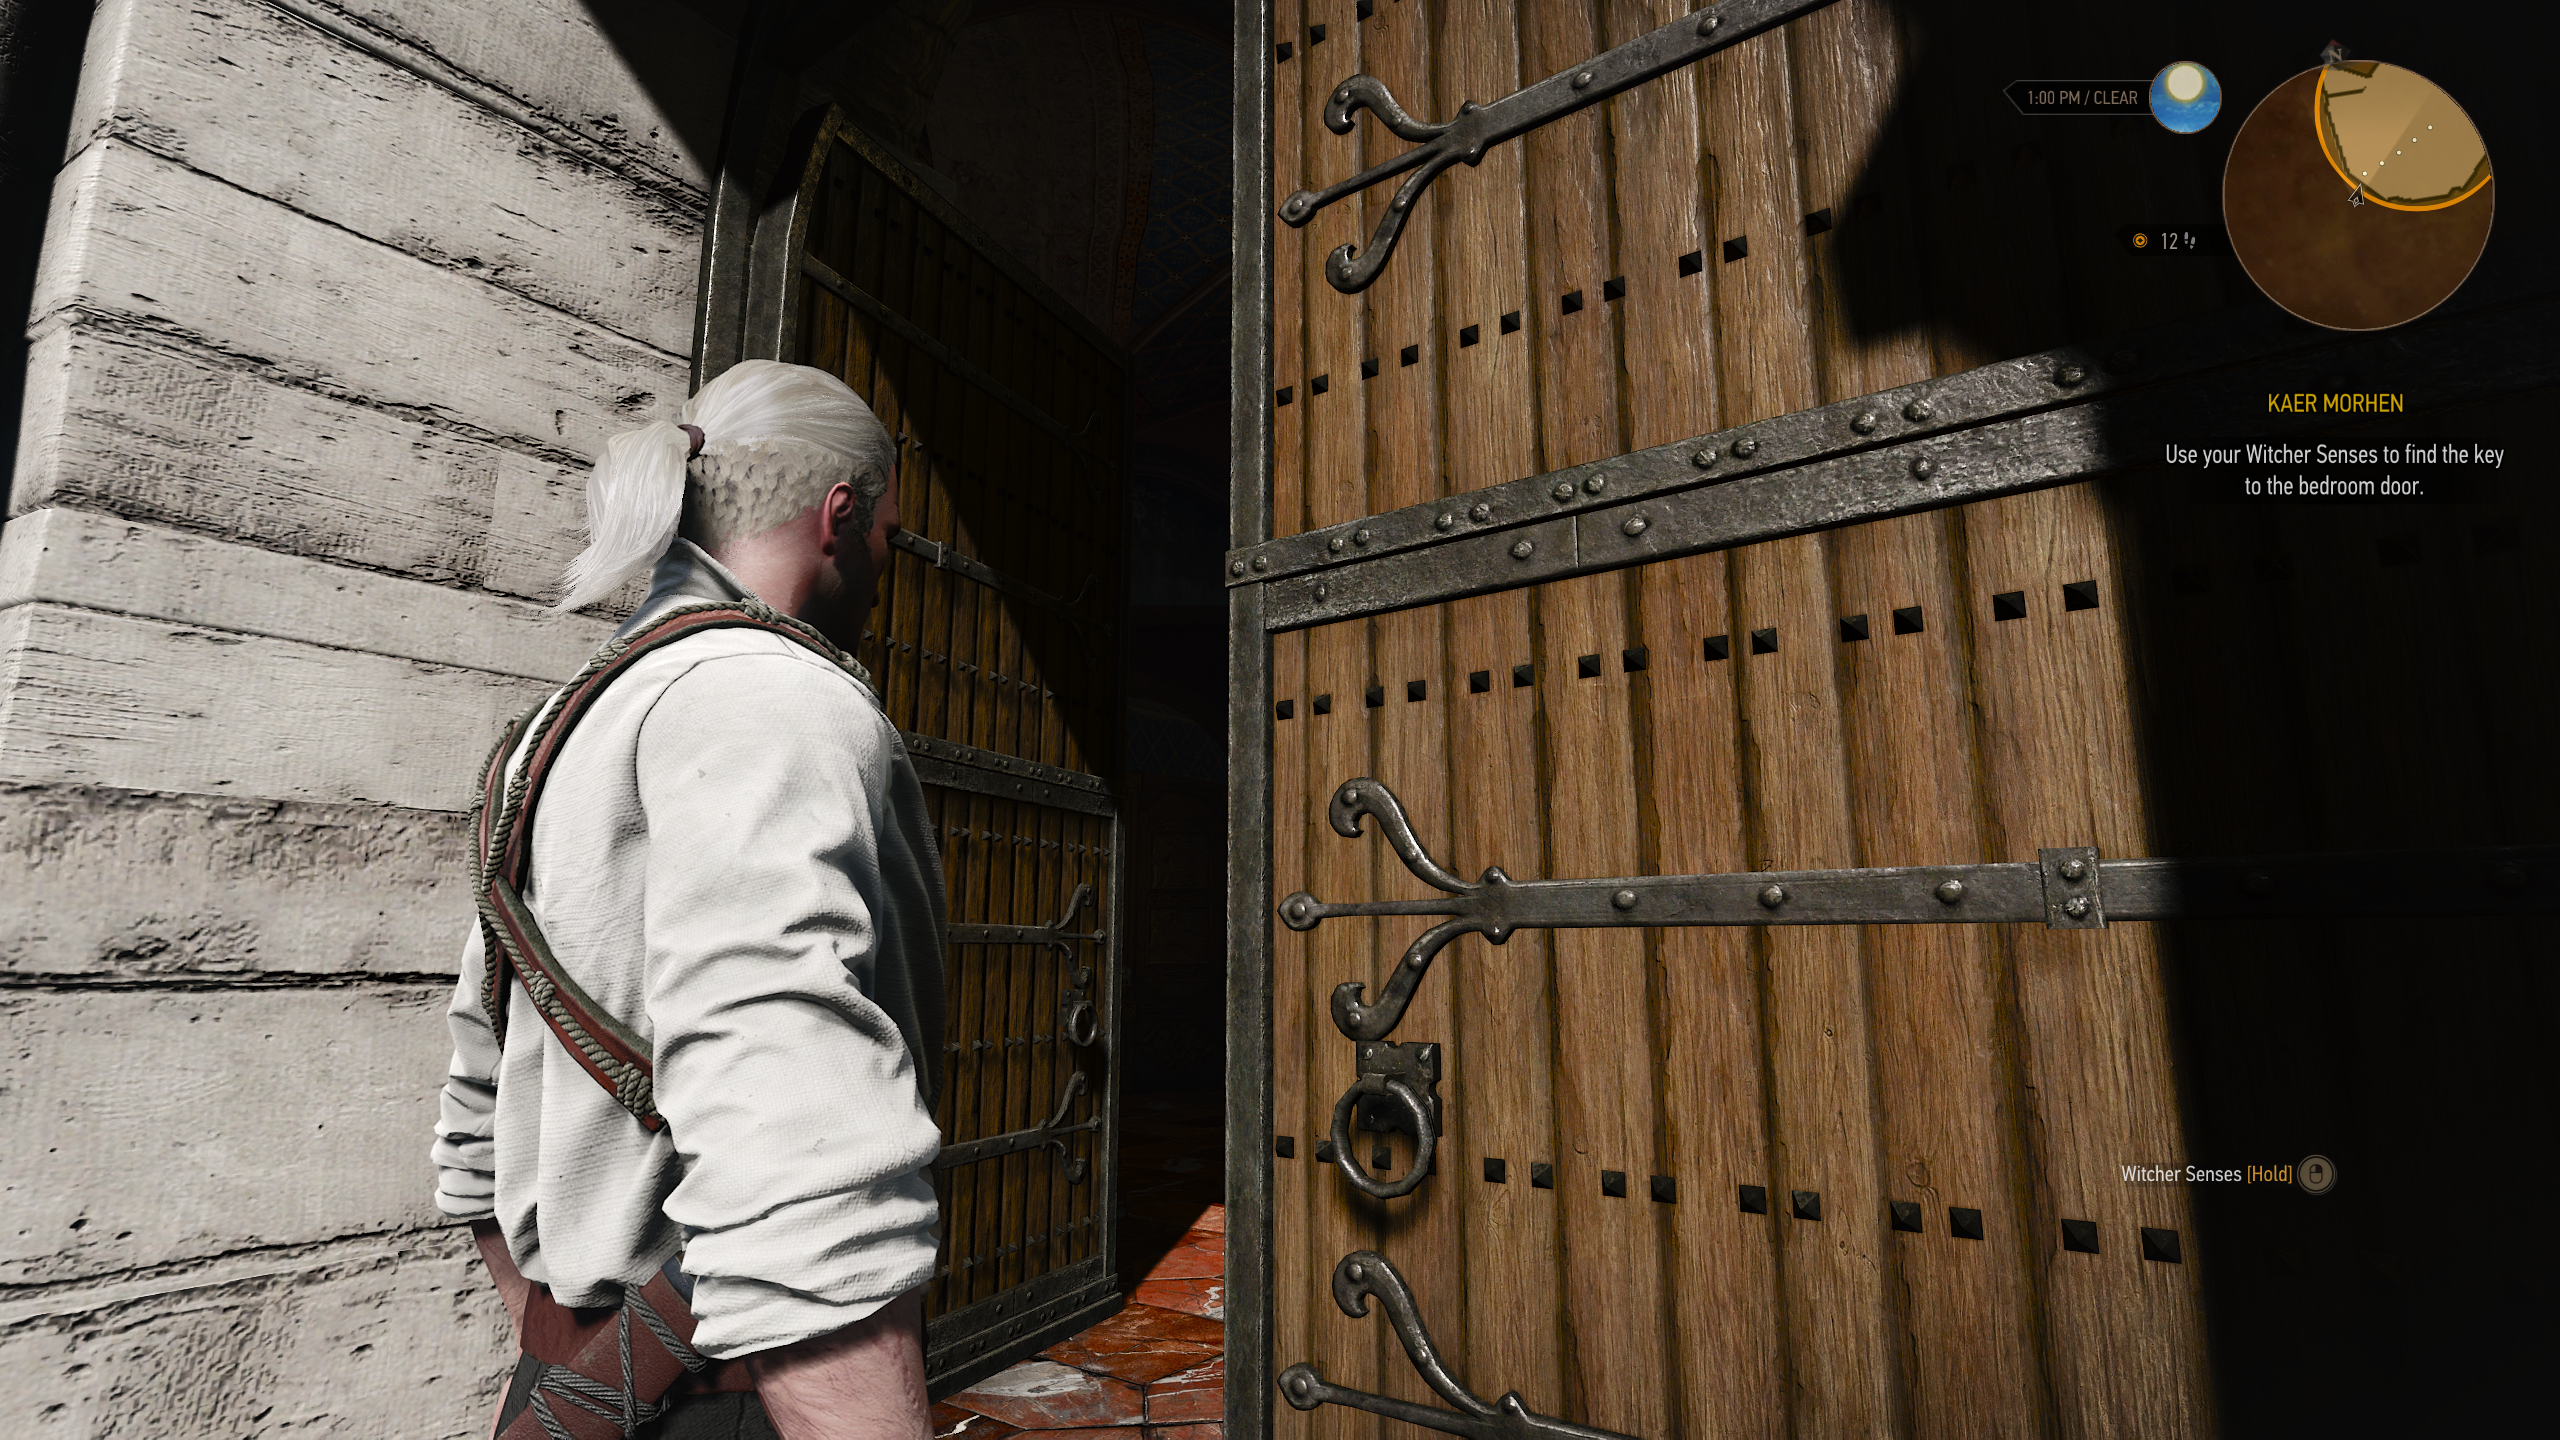
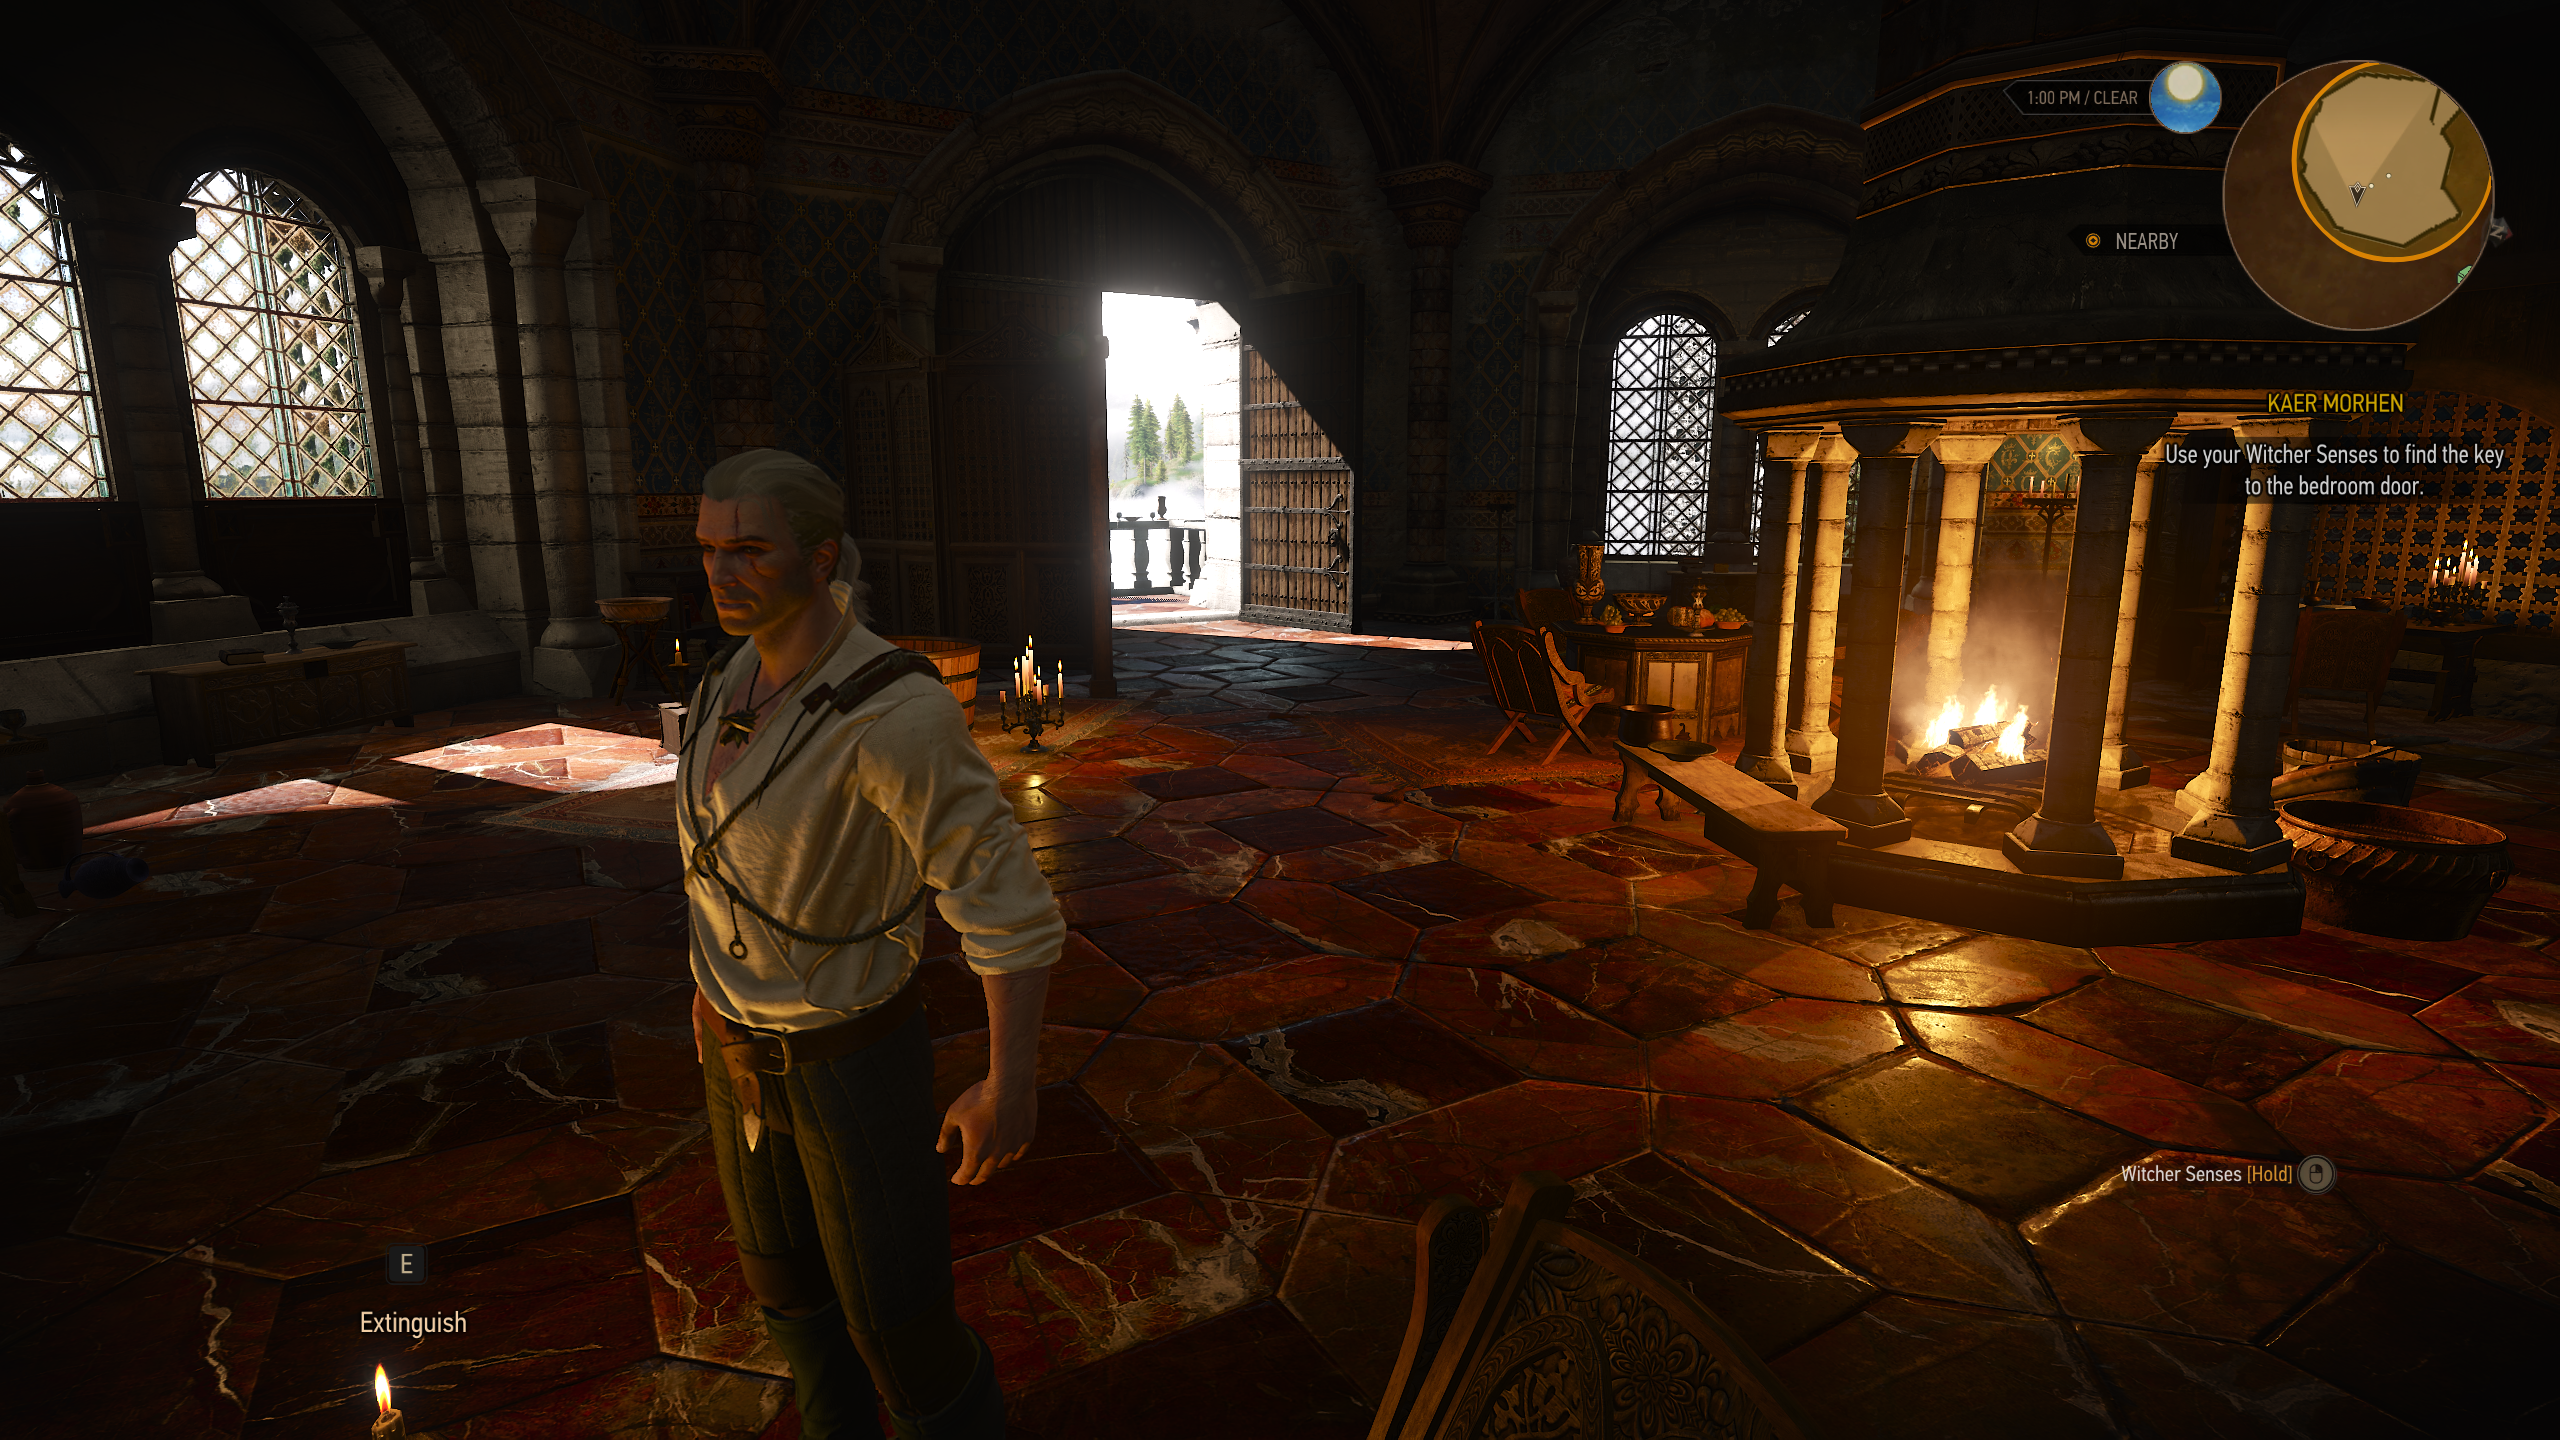
The Witcher III

Hollow Knight


Hollow Knight - Silksong


It Lurks Below


Devices To Passthrough
There are a few things we'll want to have connected directly into the VM (passthrough) to be able to game on it comfortably. This would be:
- A dedicated graphics card (used for video output and optimal performance)
- A keyboard and mouse (used for input and to play the games and other OS tasks)
- Sound (used to hear the games)
My KVM has multiple USB ports, a headphone jack, and an ethernet port. The KVM
itself is connected to the host machine via a single USB cable. This means that
we can get everything we need for the VM if we can pass in a single USB port
into the VM. Luckily after many trial and error, I was able to look at all of
the subclass = USB devices in pciconf -vl, passed them into the
VM, and test each port on my box to see which controller is controlling which
port. For my previous instructions I was using the USB controller that's connected
to the same bus that my integrated card is running on. I believe I may have been
experiencing VM crashes because of this at undetermined points in time. I have
now been able to switch over to a separate USB controller that bypasses the
integrated card bus completely. I'm hoping that there being less things being
passed in, and signals crossed, will increase VM stability. Only time will tell.
My motherboard seems to have 4 USB controllers, although I wasn't able to find the ports connected to the "USB 2.0" controller. But for the other three remaining, I was able to choose the following one:
ppt2@pci0:13:0:0:   class=0x0c0330 rev=0x01 hdr=0x00 vendor=0x1022 device=0x43f7 subvendor=0x1b21 subdevice=0x1142
    vendor     = 'Advanced Micro Devices, Inc. [AMD]'
    device     = '600 Series Chipset USB 3.2 Controller'
    class      = serial bus
    subclass   = USB
This one was chosen after my testing each port and seeing which ports would be comfortable and stable for my setup. I want to leave the other USB controllers on the host since I also have an external hdd connected to the host which has automatic ZFS incremental backups being sent over to it. I was able to connect my KVM and also the host's external backup hdd to two separate SS10 ports, so I'm still able to get pretty good performance transferring files from the LAN into the VM, and also doing external backups.
As for the graphic card, this was actually more straightforward. We have the AMD
card sitting on Bus 3, and it has two functions: 0, and 1. We
will need to pass both of these into the VM later. It looks as follows:
ppt0@pci0:3:0:0:    class=0x030000 rev=0xc0 hdr=0x00 vendor=0x1002 device=0x73af subvendor=0x1043 subdevice=0x04fe
    vendor     = 'Advanced Micro Devices, Inc. [AMD/ATI]'
    device     = 'Navi 21 [Radeon RX 6900 XT]'
    class      = display
    subclass   = VGA
ppt1@pci0:3:0:1:    class=0x040300 rev=0x00 hdr=0x00 vendor=0x1002 device=0xab28 subvendor=0x1002 subdevice=0xab28
    vendor     = 'Advanced Micro Devices, Inc. [AMD/ATI]'
    device     = 'Navi 21/23 HDMI/DP Audio Controller'
    class      = multimedia
subclass = HDAFinding the right USB ports is a bit time consuming but it's well worth
finding the right combination for you. There were very weird behaviors I saw
where I would enable a USB controller to pass into the VM, and all of a sudden
a bluetooth device would become available (in a failed state) inside of the VM.
Thus it seems that the way that vendors are wiring their peripherals is not
directly assumable. Meaning a USB controller may not just be a USB controller.
There may be some other stuff connected there. When I attempted to install the
Bluetooth drivers to this "bluetooth device", I got a BSOD with a
Kernel Security Check Failure error code. There is also documentation at
this link mentioning some weirdness
with multi-functional buses.
Required UEFI/BIOS Changes
The following options have either been enabled or disabled in UEFI:
- Enable:
SVM - Enable:
IOMMU - Enable:
Above 4G Decoding - Disable:
Resize BAR Support- FreeBSD doesn't support this and this was the main culprit that was preventing my card from working in the Windows VM.
- Disable:
CSM. The system should be running inUEFImode.
If IOMMU is properly enabled, you should see the following in your FreeBSD
host:
# dmesg | grep IOMMU
ivhd0: <AMD-Vi/IOMMU ivhd with EFR> on acpi0
Install Some Packages
We can start off by installing the bhyve firmware.
pkg install bhyve-firmwareYou'll need to install a VNC and RDP client on the machine that will be
connecting to the VM. On my FreeBSD laptop I have installed: tigervnc and
xfreerdp.
Configure the system for bhyve, passthrough, etc
The following settings allow the VM system to be used, allows for IOMMU to work on AMD, and also specifies the PCI devices for our dedicated card so that they aren't attached to the host and allows us to pass it into bhyve later.
NOTE: The PCI values below depend on your machine. Use pciconf -vl to
find them.
Load the bhyve kernel driver
kldload vmmAdd some configuration options to your bootloader config
/boot/loader.conf:
# Load Bhyve VM Driver
vmm_load="YES"

# Allow AMD-Vi (IOMMU) Passthrough Support
hw.vmm.amdvi.enable="1"

# Prevent FreeBSD from reserving these slots. We will use them for: GPU / USB / Audio.
pptdevs="3/0/0 3/0/1 13/0/0"
Create your storage backend
I'm just going to create a simple flat file for now. Adjust the size to your needs.
truncate -s 100G disk0.imgCreate the network devices
TAP Devices
This tunnable will allow your TAP devices to switch to the UP state as
soon as they are created. This TAP device will also be what we will give to
the VM so it can communicate back up to the host via the FreeBSD Kernel.
Let's first run the following commands:
sysctl net.link.tap.up_on_open=1
ifconfig tap0 create
and now add the following to your configuration so it persists across reboots:
/etc/sysctl.conf:
# Allow TAP devices to switch to UP state when they are created.
net.link.tap.up_on_open=1
Bridge
This will create a network device for the VM to use, and a bridge so that our host network adapter and the VM network adapter can communicate on the same network.
ifconfig bridge0 create addm ix0 addm tap0
ifconfig bridge0 up
NOTE: Replace ix0 with your host's network interface.
If you want to make these permanent, you can add something like this to your
/etc/rc.conf:
cloned_interfaces="bridge0 tap0"
ifconfig_bridge0="addm ix0 addm tap0 up"
Now the bridge0 and tap0 interfaces will be created at start up,
and the bridge will be configured so both of these interfaces can communicate
with each other.
Bhyve Scripts
This is a unified script that allows you to automatically start/stop the vm
during boot and shutdown. Adjust accordingly. Place this in your /usr/local/etc/rc.d/
directory with the name vm_gaming.
#!/bin/sh

# PROVIDE: vm_gaming
# REQUIRE: LOGIN FILESYSTEMS
# KEYWORD: shutdown

. /etc/rc.subr

name="vm_gaming"
rcvar="vm_gaming_enable"
start_cmd="${name}_start"
stop_cmd="${name}_stop"
status_cmd="${name}_status"
pidfile="/var/run/${name}.pid"

vm_path="/atlantis/vms/gaming"
vm_name="gaming"

load_rc_config $name

: ${vm_gaming_enable:="NO"}

vm_gaming_start()
{
    daemon \
        -o /var/log/${name}.log \
        -p "${pidfile}" \
        bhyve -APHSw -c sockets=1,cores=16,threads=1 -m 32G \
        -s 0,hostbridge \
        -s 1,nvme,${vm_path}/disk0.img \
        -s 3:0,passthru,3/0/0 \
        -s 3:1,passthru,3/0/1 \
        -s 13:0,passthru,13/0/0 \
        -s 30,xhci,tablet \
        -s 31,lpc \
        -l bootrom,/usr/local/share/uefi-firmware/BHYVE_UEFI.fd,fwcfg=qemu \
        -o console=stdio \
        ${vm_name}

        # Only use this when installing the VM for the first time or if
        # you need to debug the VM at early boot.
        #-s 29,fbuf,tcp=0.0.0.0:5900,w=1024,h=768,wait \

        # The Windows ISO and the VirtIO Drivers ISO.
        # You can download the latest stable virtio drivers at:
        # https://fedorapeople.org/groups/virt/virtio-win/direct-downloads/stable-virtio/virtio-win.iso
        #-s 4,ahci-cd,../files/Win10_22H2_English_x64v1_2023.iso \
        #-s 5,ahci-cd,../files/virtio-win-0.1.271.iso \

        # If you want a network device without using virtio, you can use e1000.
        # You should install the virtio drivers and use virtio-net instead for
        # better performance.
        #-s 2,e1000,tap0 \
        #-s 2,virtio-net,tap0 \
}

vm_gaming_stop()
{
    if [ ! -f "${pidfile}" ]; then
        echo "the gaming vm isn't running!"
        return
    fi

    # Send SIGTERM twice to make sure Windows listens to
    # the ACPI shutdown signal.
    pid="$(cat ${pidfile})"
    kill "${pid}"
    kill "${pid}"

    # Wait a bit for the guest to shutdown properly before
    # we continue shutting down the host.
    wait_for_pids "${pid}"

    bhyvectl --vm="${vm_name}" --destroy
}

vm_gaming_status()
{
    if [ -f "${pidfile}" ]; then
        echo "$(cat ${pidfile})"
    fi
}

run_rc_command "$1"
Now you can add vm_gaming_enable="YES" to /etc/rc.conf so that
your gaming VM starts up automatically at boot time. From my experiments, this
will properly also gracefully shutdown the VM. You should be using the normal
shutdown -r now to reboot the machine. It's not recommended to use
reboot when trying to do a graceful shutdown since that has a different
behavior. You can read the man pages for more info.
Enable Remote Desktop (RDP)
You can enable Remote Desktop by following the following steps on Windows 10 Pro:
- Open
Control Panel. - Click
System->Remote Desktop->Enable Remote Desktop. - Click
Confirm.
Your VM will now be accessible over the network. If you don't use normally have a
password set for your account, Remote Desktop won't let you log in by default.
You can change this behavior by changing the group policy for accounts without
a password:
- Run
gpedit.msc. - Navigate to
Windows Settings->Security Settings->Local Policies->Security Options. - Disable the key with the name:
Accounts: Limit local account use of blank passwords to console login only.
You should now be able to login over the network without a password.
pciconf -vl
hostb0@pci0:0:0:0:  class=0x060000 rev=0x00 hdr=0x00 vendor=0x1022 device=0x14d8 subvendor=0x1043 subdevice=0x8877
    vendor     = 'Advanced Micro Devices, Inc. [AMD]'
    device     = 'Raphael/Granite Ridge Root Complex'
    class      = bridge
    subclass   = HOST-PCI
amdviiommu0@pci0:0:0:2: class=0x080600 rev=0x00 hdr=0x00 vendor=0x1022 device=0x14d9 subvendor=0x1043 subdevice=0x8877
    vendor     = 'Advanced Micro Devices, Inc. [AMD]'
    device     = 'Raphael/Granite Ridge IOMMU'
    class      = base peripheral
    subclass   = IOMMU
hostb1@pci0:0:1:0:  class=0x060000 rev=0x00 hdr=0x00 vendor=0x1022 device=0x14da subvendor=0x0000 subdevice=0x0000
    vendor     = 'Advanced Micro Devices, Inc. [AMD]'
    device     = 'Raphael/Granite Ridge Dummy Host Bridge'
    class      = bridge
    subclass   = HOST-PCI
pcib1@pci0:0:1:1:   class=0x060400 rev=0x00 hdr=0x01 vendor=0x1022 device=0x14db subvendor=0x1043 subdevice=0x8877
    vendor     = 'Advanced Micro Devices, Inc. [AMD]'
    device     = 'Raphael/Granite Ridge GPP Bridge'
    class      = bridge
    subclass   = PCI-PCI
pcib4@pci0:0:1:2:   class=0x060400 rev=0x00 hdr=0x01 vendor=0x1022 device=0x14db subvendor=0x1043 subdevice=0x8877
    vendor     = 'Advanced Micro Devices, Inc. [AMD]'
    device     = 'Raphael/Granite Ridge GPP Bridge'
    class      = bridge
    subclass   = PCI-PCI
hostb2@pci0:0:2:0:  class=0x060000 rev=0x00 hdr=0x00 vendor=0x1022 device=0x14da subvendor=0x0000 subdevice=0x0000
    vendor     = 'Advanced Micro Devices, Inc. [AMD]'
    device     = 'Raphael/Granite Ridge Dummy Host Bridge'
    class      = bridge
    subclass   = HOST-PCI
pcib5@pci0:0:2:1:   class=0x060400 rev=0x00 hdr=0x01 vendor=0x1022 device=0x14db subvendor=0x1043 subdevice=0x8877
    vendor     = 'Advanced Micro Devices, Inc. [AMD]'
    device     = 'Raphael/Granite Ridge GPP Bridge'
    class      = bridge
    subclass   = PCI-PCI
pcib17@pci0:0:2:2:  class=0x060400 rev=0x00 hdr=0x01 vendor=0x1022 device=0x14db subvendor=0x1043 subdevice=0x8877
    vendor     = 'Advanced Micro Devices, Inc. [AMD]'
    device     = 'Raphael/Granite Ridge GPP Bridge'
    class      = bridge
    subclass   = PCI-PCI
hostb3@pci0:0:3:0:  class=0x060000 rev=0x00 hdr=0x00 vendor=0x1022 device=0x14da subvendor=0x0000 subdevice=0x0000
    vendor     = 'Advanced Micro Devices, Inc. [AMD]'
    device     = 'Raphael/Granite Ridge Dummy Host Bridge'
    class      = bridge
    subclass   = HOST-PCI
hostb4@pci0:0:4:0:  class=0x060000 rev=0x00 hdr=0x00 vendor=0x1022 device=0x14da subvendor=0x0000 subdevice=0x0000
    vendor     = 'Advanced Micro Devices, Inc. [AMD]'
    device     = 'Raphael/Granite Ridge Dummy Host Bridge'
    class      = bridge
    subclass   = HOST-PCI
hostb5@pci0:0:8:0:  class=0x060000 rev=0x00 hdr=0x00 vendor=0x1022 device=0x14da subvendor=0x0000 subdevice=0x0000
    vendor     = 'Advanced Micro Devices, Inc. [AMD]'
    device     = 'Raphael/Granite Ridge Dummy Host Bridge'
    class      = bridge
    subclass   = HOST-PCI
pcib18@pci0:0:8:1:  class=0x060400 rev=0x00 hdr=0x01 vendor=0x1022 device=0x14dd subvendor=0x1043 subdevice=0x8877
    vendor     = 'Advanced Micro Devices, Inc. [AMD]'
    device     = 'Raphael/Granite Ridge Internal GPP Bridge to Bus [C:A]'
    class      = bridge
    subclass   = PCI-PCI
pcib19@pci0:0:8:3:  class=0x060400 rev=0x00 hdr=0x01 vendor=0x1022 device=0x14dd subvendor=0x1043 subdevice=0x8877
    vendor     = 'Advanced Micro Devices, Inc. [AMD]'
    device     = 'Raphael/Granite Ridge Internal GPP Bridge to Bus [C:A]'
    class      = bridge
    subclass   = PCI-PCI
none0@pci0:0:20:0:  class=0x0c0500 rev=0x71 hdr=0x00 vendor=0x1022 device=0x790b subvendor=0x1043 subdevice=0x8877
    vendor     = 'Advanced Micro Devices, Inc. [AMD]'
    device     = 'FCH SMBus Controller'
    class      = serial bus
    subclass   = SMBus
isab0@pci0:0:20:3:  class=0x060100 rev=0x51 hdr=0x00 vendor=0x1022 device=0x790e subvendor=0x1043 subdevice=0x8877
    vendor     = 'Advanced Micro Devices, Inc. [AMD]'
    device     = 'FCH LPC Bridge'
    class      = bridge
    subclass   = PCI-ISA
hostb6@pci0:0:24:0: class=0x060000 rev=0x00 hdr=0x00 vendor=0x1022 device=0x14e0 subvendor=0x0000 subdevice=0x0000
    vendor     = 'Advanced Micro Devices, Inc. [AMD]'
    device     = 'Raphael/Granite Ridge Data Fabric; Function 0'
    class      = bridge
    subclass   = HOST-PCI
hostb7@pci0:0:24:1: class=0x060000 rev=0x00 hdr=0x00 vendor=0x1022 device=0x14e1 subvendor=0x0000 subdevice=0x0000
    vendor     = 'Advanced Micro Devices, Inc. [AMD]'
    device     = 'Raphael/Granite Ridge Data Fabric; Function 1'
    class      = bridge
    subclass   = HOST-PCI
hostb8@pci0:0:24:2: class=0x060000 rev=0x00 hdr=0x00 vendor=0x1022 device=0x14e2 subvendor=0x0000 subdevice=0x0000
    vendor     = 'Advanced Micro Devices, Inc. [AMD]'
    device     = 'Raphael/Granite Ridge Data Fabric; Function 2'
    class      = bridge
    subclass   = HOST-PCI
hostb9@pci0:0:24:3: class=0x060000 rev=0x00 hdr=0x00 vendor=0x1022 device=0x14e3 subvendor=0x0000 subdevice=0x0000
    vendor     = 'Advanced Micro Devices, Inc. [AMD]'
    device     = 'Raphael/Granite Ridge Data Fabric; Function 3'
    class      = bridge
    subclass   = HOST-PCI
hostb10@pci0:0:24:4:    class=0x060000 rev=0x00 hdr=0x00 vendor=0x1022 device=0x14e4 subvendor=0x0000 subdevice=0x0000
    vendor     = 'Advanced Micro Devices, Inc. [AMD]'
    device     = 'Raphael/Granite Ridge Data Fabric; Function 4'
    class      = bridge
    subclass   = HOST-PCI
hostb11@pci0:0:24:5:    class=0x060000 rev=0x00 hdr=0x00 vendor=0x1022 device=0x14e5 subvendor=0x0000 subdevice=0x0000
    vendor     = 'Advanced Micro Devices, Inc. [AMD]'
    device     = 'Raphael/Granite Ridge Data Fabric; Function 5'
    class      = bridge
    subclass   = HOST-PCI
hostb12@pci0:0:24:6:    class=0x060000 rev=0x00 hdr=0x00 vendor=0x1022 device=0x14e6 subvendor=0x0000 subdevice=0x0000
    vendor     = 'Advanced Micro Devices, Inc. [AMD]'
    device     = 'Raphael/Granite Ridge Data Fabric; Function 6'
    class      = bridge
    subclass   = HOST-PCI
hostb13@pci0:0:24:7:    class=0x060000 rev=0x00 hdr=0x00 vendor=0x1022 device=0x14e7 subvendor=0x0000 subdevice=0x0000
    vendor     = 'Advanced Micro Devices, Inc. [AMD]'
    device     = 'Raphael/Granite Ridge Data Fabric; Function 7'
    class      = bridge
    subclass   = HOST-PCI
pcib2@pci0:1:0:0:   class=0x060400 rev=0xc0 hdr=0x01 vendor=0x1002 device=0x1478 subvendor=0x0000 subdevice=0x0000
    vendor     = 'Advanced Micro Devices, Inc. [AMD/ATI]'
    device     = 'Navi 10 XL Upstream Port of PCI Express Switch'
    class      = bridge
    subclass   = PCI-PCI
pcib3@pci0:2:0:0:   class=0x060400 rev=0x00 hdr=0x01 vendor=0x1002 device=0x1479 subvendor=0x1002 subdevice=0x1479
    vendor     = 'Advanced Micro Devices, Inc. [AMD/ATI]'
    device     = 'Navi 10 XL Downstream Port of PCI Express Switch'
    class      = bridge
    subclass   = PCI-PCI
ppt0@pci0:3:0:0:    class=0x030000 rev=0xc0 hdr=0x00 vendor=0x1002 device=0x73af subvendor=0x1043 subdevice=0x04fe
    vendor     = 'Advanced Micro Devices, Inc. [AMD/ATI]'
    device     = 'Navi 21 [Radeon RX 6900 XT]'
    class      = display
    subclass   = VGA
ppt1@pci0:3:0:1:    class=0x040300 rev=0x00 hdr=0x00 vendor=0x1002 device=0xab28 subvendor=0x1002 subdevice=0xab28
    vendor     = 'Advanced Micro Devices, Inc. [AMD/ATI]'
    device     = 'Navi 21/23 HDMI/DP Audio Controller'
    class      = multimedia
    subclass   = HDA
nvme0@pci0:4:0:0:   class=0x010802 rev=0x00 hdr=0x00 vendor=0x144d device=0xa80a subvendor=0x144d subdevice=0xa801
    vendor     = 'Samsung Electronics Co Ltd'
    device     = 'NVMe SSD Controller PM9A1/PM9A3/980PRO'
    class      = mass storage
    subclass   = NVM
pcib6@pci0:5:0:0:   class=0x060400 rev=0x01 hdr=0x01 vendor=0x1022 device=0x43f4 subvendor=0x1b21 subdevice=0x3328
    vendor     = 'Advanced Micro Devices, Inc. [AMD]'
    device     = '600 Series Chipset PCIe Switch Upstream Port'
    class      = bridge
    subclass   = PCI-PCI
pcib7@pci0:6:0:0:   class=0x060400 rev=0x01 hdr=0x01 vendor=0x1022 device=0x43f5 subvendor=0x1b21 subdevice=0x3328
    vendor     = 'Advanced Micro Devices, Inc. [AMD]'
    device     = '600 Series Chipset PCIe Switch Downstream Port'
    class      = bridge
    subclass   = PCI-PCI
pcib8@pci0:6:4:0:   class=0x060400 rev=0x01 hdr=0x01 vendor=0x1022 device=0x43f5 subvendor=0x1b21 subdevice=0x3328
    vendor     = 'Advanced Micro Devices, Inc. [AMD]'
    device     = '600 Series Chipset PCIe Switch Downstream Port'
    class      = bridge
    subclass   = PCI-PCI
pcib9@pci0:6:8:0:   class=0x060400 rev=0x01 hdr=0x01 vendor=0x1022 device=0x43f5 subvendor=0x1b21 subdevice=0x3328
    vendor     = 'Advanced Micro Devices, Inc. [AMD]'
    device     = '600 Series Chipset PCIe Switch Downstream Port'
    class      = bridge
    subclass   = PCI-PCI
pcib15@pci0:6:12:0: class=0x060400 rev=0x01 hdr=0x01 vendor=0x1022 device=0x43f5 subvendor=0x1b21 subdevice=0x3328
    vendor     = 'Advanced Micro Devices, Inc. [AMD]'
    device     = '600 Series Chipset PCIe Switch Downstream Port'
    class      = bridge
    subclass   = PCI-PCI
pcib16@pci0:6:13:0: class=0x060400 rev=0x01 hdr=0x01 vendor=0x1022 device=0x43f5 subvendor=0x1b21 subdevice=0x3328
    vendor     = 'Advanced Micro Devices, Inc. [AMD]'
    device     = '600 Series Chipset PCIe Switch Downstream Port'
    class      = bridge
    subclass   = PCI-PCI
pcib10@pci0:9:0:0:  class=0x060400 rev=0x01 hdr=0x01 vendor=0x1022 device=0x43f4 subvendor=0x1b21 subdevice=0x3328
    vendor     = 'Advanced Micro Devices, Inc. [AMD]'
    device     = '600 Series Chipset PCIe Switch Upstream Port'
    class      = bridge
    subclass   = PCI-PCI
pcib11@pci0:10:0:0: class=0x060400 rev=0x01 hdr=0x01 vendor=0x1022 device=0x43f5 subvendor=0x1b21 subdevice=0x3328
    vendor     = 'Advanced Micro Devices, Inc. [AMD]'
    device     = '600 Series Chipset PCIe Switch Downstream Port'
    class      = bridge
    subclass   = PCI-PCI
pcib12@pci0:10:8:0: class=0x060400 rev=0x01 hdr=0x01 vendor=0x1022 device=0x43f5 subvendor=0x1b21 subdevice=0x3328
    vendor     = 'Advanced Micro Devices, Inc. [AMD]'
    device     = '600 Series Chipset PCIe Switch Downstream Port'
    class      = bridge
    subclass   = PCI-PCI
pcib13@pci0:10:12:0:    class=0x060400 rev=0x01 hdr=0x01 vendor=0x1022 device=0x43f5 subvendor=0x1b21 subdevice=0x3328
    vendor     = 'Advanced Micro Devices, Inc. [AMD]'
    device     = '600 Series Chipset PCIe Switch Downstream Port'
    class      = bridge
    subclass   = PCI-PCI
pcib14@pci0:10:13:0:    class=0x060400 rev=0x01 hdr=0x01 vendor=0x1022 device=0x43f5 subvendor=0x1b21 subdevice=0x3328
    vendor     = 'Advanced Micro Devices, Inc. [AMD]'
    device     = '600 Series Chipset PCIe Switch Downstream Port'
    class      = bridge
    subclass   = PCI-PCI
ix0@pci0:11:0:0:    class=0x020000 rev=0x01 hdr=0x00 vendor=0x8086 device=0x1557 subvendor=0x1dcf subdevice=0x0317
    vendor     = 'Intel Corporation'
    device     = '82599 10 Gigabit Network Connection'
    class      = network
    subclass   = ethernet
ppt2@pci0:13:0:0:   class=0x0c0330 rev=0x01 hdr=0x00 vendor=0x1022 device=0x43f7 subvendor=0x1b21 subdevice=0x1142
    vendor     = 'Advanced Micro Devices, Inc. [AMD]'
    device     = '600 Series Chipset USB 3.2 Controller'
    class      = serial bus
    subclass   = USB
ahci0@pci0:14:0:0:  class=0x010601 rev=0x01 hdr=0x00 vendor=0x1022 device=0x43f6 subvendor=0x1b21 subdevice=0x1062
    vendor     = 'Advanced Micro Devices, Inc. [AMD]'
    device     = '600 Series Chipset SATA Controller'
    class      = mass storage
    subclass   = SATA
xhci0@pci0:15:0:0:  class=0x0c0330 rev=0x01 hdr=0x00 vendor=0x1022 device=0x43f7 subvendor=0x1b21 subdevice=0x1142
    vendor     = 'Advanced Micro Devices, Inc. [AMD]'
    device     = '600 Series Chipset USB 3.2 Controller'
    class      = serial bus
    subclass   = USB
ahci1@pci0:16:0:0:  class=0x010601 rev=0x01 hdr=0x00 vendor=0x1022 device=0x43f6 subvendor=0x1b21 subdevice=0x1062
    vendor     = 'Advanced Micro Devices, Inc. [AMD]'
    device     = '600 Series Chipset SATA Controller'
    class      = mass storage
    subclass   = SATA
nvme1@pci0:17:0:0:  class=0x010802 rev=0x00 hdr=0x00 vendor=0x144d device=0xa80a subvendor=0x144d subdevice=0xa801
    vendor     = 'Samsung Electronics Co Ltd'
    device     = 'NVMe SSD Controller PM9A1/PM9A3/980PRO'
    class      = mass storage
    subclass   = NVM
vgapci0@pci0:18:0:0:    class=0x030000 rev=0xc1 hdr=0x00 vendor=0x1002 device=0x164e subvendor=0x1043 subdevice=0x8877
    vendor     = 'Advanced Micro Devices, Inc. [AMD/ATI]'
    device     = 'Raphael'
    class      = display
    subclass   = VGA
hdac0@pci0:18:0:1:  class=0x040300 rev=0x00 hdr=0x00 vendor=0x1002 device=0x1640 subvendor=0x1043 subdevice=0x8877
    vendor     = 'Advanced Micro Devices, Inc. [AMD/ATI]'
    device     = 'Rembrandt Radeon High Definition Audio Controller'
    class      = multimedia
    subclass   = HDA
none1@pci0:18:0:2:  class=0x108000 rev=0x00 hdr=0x00 vendor=0x1022 device=0x1649 subvendor=0x1043 subdevice=0x8877
    vendor     = 'Advanced Micro Devices, Inc. [AMD]'
    device     = 'Family 19h PSP/CCP'
    class      = encrypt/decrypt
xhci1@pci0:18:0:3:  class=0x0c0330 rev=0x00 hdr=0x00 vendor=0x1022 device=0x15b6 subvendor=0x1043 subdevice=0x8877
    vendor     = 'Advanced Micro Devices, Inc. [AMD]'
    device     = 'Raphael/Granite Ridge USB 3.1 xHCI'
    class      = serial bus
    subclass   = USB
xhci2@pci0:18:0:4:  class=0x0c0330 rev=0x00 hdr=0x00 vendor=0x1022 device=0x15b7 subvendor=0x1043 subdevice=0x8877
    vendor     = 'Advanced Micro Devices, Inc. [AMD]'
    device     = 'Raphael/Granite Ridge USB 3.1 xHCI'
    class      = serial bus
    subclass   = USB
xhci3@pci0:19:0:0:  class=0x0c0330 rev=0x00 hdr=0x00 vendor=0x1022 device=0x15b8 subvendor=0x1043 subdevice=0x8877
    vendor     = 'Advanced Micro Devices, Inc. [AMD]'
    device     = 'Raphael/Granite Ridge USB 2.0 xHCI'
    class      = serial bus
    subclass   = USB
Other
Resize BAR Support (Before/After Disabling)
This was how the BAR information looked like before and after disabling
Resize BAR Support in the BIOS. Pay attention to the size of Bar 10
and 18:
Resize BAR Support - Enabled
# pciconf -lbevV pci0:3:0:0
ppt0@pci0:3:0:0:        class=0x030000 rev=0xc0 hdr=0x00 vendor=0x1002 device=0x73af subvendor=0x1043 subdevice=0x04fe
    vendor     = 'Advanced Micro Devices, Inc. [AMD/ATI]'
    device     = 'Navi 21 [Radeon RX 6900 XT]'
    class      = display
    subclass   = VGA
    bar   [10] = type Prefetchable Memory, range 64, base 0xf800000000, size 17179869184, disabled
    bar   [18] = type Prefetchable Memory, range 64, base 0xfc00000000, size 268435456, disabled
    bar   [20] = type I/O Port, range 32, base 0xf000, size 256, disabled
    bar   [24] = type Memory, range 32, base 0xf6a00000, size 1048576, disabled
  PCI-e errors = Correctable Error Detected
                 Unsupported Request Detected
     Corrected = Advisory Non-Fatal Error
Resize BAR Support - Disabled
# pciconf -lbevV pci0:3:0:0
ppt0@pci0:3:0:0:        class=0x030000 rev=0xc0 hdr=0x00 vendor=0x1002 device=0x73af subvendor=0x1043 subdevice=0x04fe
    vendor     = 'Advanced Micro Devices, Inc. [AMD/ATI]'
    device     = 'Navi 21 [Radeon RX 6900 XT]'
    class      = display
    subclass   = VGA
    bar   [10] = type Prefetchable Memory, range 64, base 0xfce0000000, size 268435456, disabled
    bar   [18] = type Prefetchable Memory, range 64, base 0xfcf0000000, size 2097152, disabled
    bar   [20] = type I/O Port, range 32, base 0xf000, size 256, disabled
    bar   [24] = type Memory, range 32, base 0xf6a00000, size 1048576, disabled
  PCI-e errors = Correctable Error Detected
                 Unsupported Request Detected
     Corrected = Advisory Non-Fatal Error
Extract vBIOS (Not Required for Windows)
The vBIOS is not required
to be extracted nor used in bhyve when using Windows.
However, below I'll put the instructions I used to successfully extract the
ROM from my card. FreeBSD does not support this so the easiest way to do this
is to boot a Linux Live CD and extract it from there. You should try and use a
Linux Live CD with a modern kernel in order to extract this file. Originally I
tried using my Linux Mint 22.1 ISO to extract, but no rom file was shown at
/sys/bus/pci/devices/0000\:03\:00.0/rom. However, when I booted into a
Fedora 42 Live CD running kernel 6.14.0-63.fc42.x86_64, the file was
available, and I was able to successfully extract it with the following steps:
root@localhost-live:~# echo 1 > /sys/bus/pci/devices/0000\:03\:00.0/rom
root@localhost-live:~# cat /sys/bus/pci/devices/0000\:03\:00.0/rom > vbios_6900.rom
root@localhost-live:~# echo 0 > /sys/bus/pci/devices/0000\:03\:00.0/rom
This is how the directories looked like for devices: 3/0/0 and 3/0/1:
root@localhost-live:~# ls /sys/bus/pci/devices/0000\:03\:00.0/
aer_dev_correctable        current_link_width  local_cpulist   reset             revision
aer_dev_fatal              d3cold_allowed      local_cpus      reset_method      rom
aer_dev_nonfatal           device              max_link_speed  resource          subsystem
ari_enabled                dma_mask_bits       max_link_width  resource0         subsystem_device
boot_vga                   driver_override     modalias        resource0_resize  subsystem_vendor
broken_parity_status       enable              msi_bus         resource0_wc      uevent
class                      firmware_node       numa_node       resource2         vendor
config                     iommu               power           resource2_resize  waiting_for_supplier
consistent_dma_mask_bits   iommu_group         power_state     resource2_wc
consumer:pci:0000:03:00.1  irq                 remove          resource4
current_link_speed         link                rescan          resource5

root@localhost-live:~# ls /sys/bus/pci/devices/0000\:03\:00.1/
aer_dev_correctable       current_link_width  iommu           msi_bus      revision
aer_dev_fatal             d3cold_allowed      iommu_group     msi_irqs     sound
aer_dev_nonfatal          device              irq             numa_node    subsystem
ari_enabled               dma_mask_bits       link            power        subsystem_device
broken_parity_status      driver              local_cpulist   power_state  subsystem_vendor
class                     driver_override     local_cpus      remove       supplier:pci:0000:03:00.0
config                    enable              max_link_speed  rescan       uevent
consistent_dma_mask_bits  firmware_node       max_link_width  resource     vendor
current_link_speed        hdaudioC0D0         modalias        resource0
I was also able to extract the ROM from within the Windows VM inside of bhyve.
You probably want to do it outside but it worked for me and gave me a ROM file
with the same hash and file size as the amdvbflash dump. You can also use
the amdvbflash utility that apparently
has been taking down from some other github repos. I also did notice that the file
sizes and contents of the vbios file between the direct Linux extract and the
amdvbflash/GPU-Z versions were different. I just did a basic analysis of the file sizes
and some of the hex contents between both files, and the files start off with the
same hex information, but they eventually diverge in terms of both memory addresses
mentioned, and contents as the file progresses. For example:
SHA1: amdvbflash Extracted ROM: 517e09d7ac6be5da0b0fac7d09f782a3c9494343
File Size: 1.0M

SHA1: GPU-Z Extracted ROM: 517e09d7ac6be5da0b0fac7d09f782a3c9494343
File Size: 1.0M

SHA1: Direct Linux Extracted ROM: abbdfd11c246f570839fa7ad78186dcb12408595
File Size: 119K
It also seems TechPowerUp has a public BIOS collection, but you probably should still dump it directly from your current card for best results since there may be incompatibilities or weirdness if you mix them up. I also would not recommend flashing the vBIOS since you may end up bricking your card.
References
- https://wiki.freebsd.org/bhyve
- https://wiki.freebsd.org/bhyve/pci_passthru
- https://docs.freebsd.org/en/books/handbook/virtualization/#virtualization-host-bhyve
- https://forums.freebsd.org/threads/a-solid-howto-with-bhyve-on-freebsd-14-and-windows-11.92236/
- GPU passthrough with bhyve - Corvin Köhne - EuroBSDcon 2023
- November 2021: FreeBSD Vendor Summit: GPU and TPM2 Passthrough with bhyve, Beckoff
- https://forums.freebsd.org/threads/experience-from-bhyve-freebsd-14-1-gpu-passthrough-with-windows-10-guest.94118/
- https://wiki.freebsd.org/bhyve/Windows
- https://www.ateamsystems.com/tech-blog/howto-windows-10-bhyve-w-freebsd-11/
- https://github.com/isc30/ryzen-gpu-passthrough-proxmox
- https://freebsdfoundation.org/wp-content/uploads/2023/05/a66452da2b483e5e92bde6533b7236c4d11382eb-1-1.pdf
- https://curtisshoward.com/post/fixing-amd-gpu-passthrough-reset-issues-in-windows/
- https://www.reddit.com/r/bhyve/comments/10cwu47/bhyve_gpu_passthrough_windows_11_gaming/